Welcome to InKing Royalty’s February Blog Hop! This year’s Blog Hop themes are inspired by a single word – and this month our projects are centered around BIRTHDAY. It’s always special to celebrate the birthday of someone you love, so handmade birthday cards are always fun to share. We are excited to share our creations with you today! After you read my post, I hope you’ll hop over to the next person on the list at the base of this post.

What could be sweeter than a couple Hershey’s nuggets dressed up with extra special packaging? This nugget holder was based on a tic tac holder shown to me by Kadie Labadie. Thanks, Kadie! I’ll share the tic tac holders tomorrow along with a video demonstration on how I modified it for today’s nugget holder.
STAMPIN’ PRETTY STEP-BY-STEP TUTORIAL:
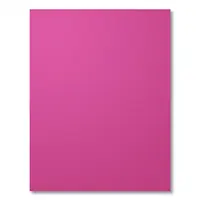
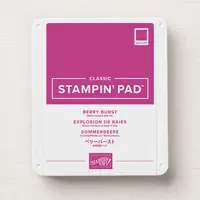
Start with a 3 3/4 x 2 1/2 piece of Berry Burst card stock. Score the short distance at 1 1/2 and 2 1/4.

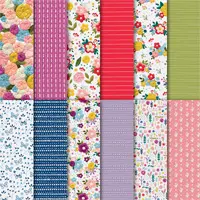
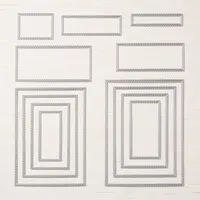
TIP: I discovered that the 2 7/8 x 7/8 (approx.) die from Stampin’ Up! Rectangle Stitched Dies wraps a Hershey’s nugget perfectly. I used the die with Needlepoint Nook Designer Series Paper and wrapped two Hershey’s nuggets (silver). Adhere around the nugget with Glue Dots or Tear Tape Adhesive to keep in place.

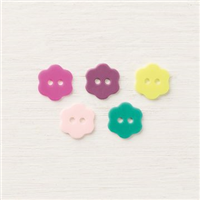
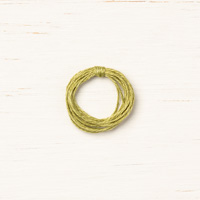
Wrap Old Olive Linen Thread around the outside of the nuggets, thread through a Berry Burst Flower Button and secure with a bow. Adhere the nuggets to the Berry Burst base with Glue Dots or Stampin’ Dimensionals.
Cut two 1 1/4 x 2 1/4 pieces and one 1/2 x 2 1/4 piece of Needlepoint Nook Designer Series Paper to adhere (Snail Adhesive) to the outside panels, front and back, and the spine.
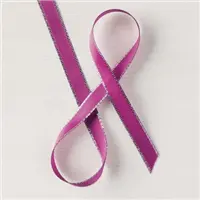
Wrap with Berry Burst 3/8″ Metallic-Edge Ribbon and secure with a bow.

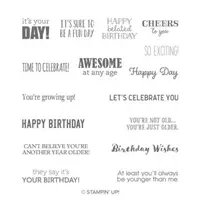
Use the Stamparatus to stamp the “Happy Day” sentiment from Itty Bitty Birthdays in Berry Burst Ink onto Whisper White card stock. Crop with the Big Shot, Magnetic Platform and smallest narrow die from Rectangle Stitched Framelits Dies. Snip off the left side with Paper Snips. Add Mini Stampin’ Dimensionals, tuck under ribbon knot and adhere.
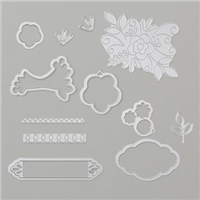
 Use the Big Shot, Magnetic Platform and Needlepoint Elements Framelits Dies to crop the flowers from the Needlepoint Nook Designer Series Paper. TIP: Place dies on the Designer Series Paper where you can get a fairly solid image of the needlepoint yarn texture. Adhere both flowers as shown with Mini Stampin’ Dimensionals.
For a touch of bling, add Rhinestone Basic Jewels to the flower centers.
Thank you for stopping by today. I hope you’ll hop along to the next stop on the blog hop, Jennifer Spiller at Westside Paper Creations. There’s lots of inspiration to be found in this group – and you don’t want to miss it.
Thank you for hopping along with us. If you get stuck during the Blog Hop, please use this line-up as a guide:
- Brian King at Stamp with Brian
- Lynn Kolcun at Avery’s Owlery
- Nina King at InkPaperSequins
- Julie DiMatteo at The Paper Pixie
- Sue Jackson at Just Peachy Stamping
- Candy Ford at Stamp Candy
- Jackie Beers at Blue Line Stamping
- Mary Fish at Stampin’ Pretty
- Jennifer Spiller at Westside Paper Creations
- Deb Cozzone at Grand Central Stamping
- Robbye Hamilton at Miss Hammie’s Crafts
- Robin Myren at Songbird Designs by Robin
- Katie Ferguson at Cottage Paper
- Shawn de Oliveira at Shawn Stamps







Mary, this is adorable! Thank you for hopping with us today!
Thanks, Candy. You’re too sweet for words!
So. Dang. Cute!
I. Love. Your. Comment.
I love everything about this project. who doesnt love chocolate wrapped in a pretty package. the needlepoint flowers are adorable.
Thanks so much, Lynn. A treat holder gives those little nuggets such a polished look!
Mary, this is as sweet as can be! I love all the little details.
Thanks, Robin. I LOVE how the silver on the ribbon mirrors the silver nuggets!
All the dimension, especially from the candy nuggets, is awesome. Your bow is perfect! I’m envious!
Every bow needs a little futzing but get easier with time. Thanks, Sue.
Omg , what BEAUITFUL-projects,
MsMary I love love your box , ,it’s so BEAUITFUL, I’m going to case it ok ?Tfs hugs
Frenchie ♥️
Always an honor to have one of my projects CASE’d. Thanks, Frenchie!
Well, I love any project that involves chocolate, but I especially love the cuteness of the wrapping of the nuggets. You always add that special little touch to dress everything up! Thanks for the inspiration!
Oh for the love of chocolate . . . along with paper, stamps and ink!
I would love to receive this. It is so beautifully done.
Thanks, Robbye. It was a delight to make and there are so many possibilities. I made a different one for tomorrow’s video.
How perfect is this?! I love everything about it and am so glad I was in your craft room when you designed it. I love that this rectangle works so perfectly with the nuggets – any larger would have completely covered the candy, so this size is perfect. I love the little flowers you used as accents. It’s as if they were made just for this project. Thanks so much for hopping with us today, Mary! It’s an honor to include you in our hop. ♥
Thanks, BK. It was lovely to hop along with all the talent of the InKing Royalty team. I got the added benefit of having your here while we debated on the best stitched rectangle size as well as work out the “engineering” for two nuggets!
What a sweet (literally) package, Mary. So adorable and I love the idea of using the stitched rectangle around the nuggets. So clever and adds that little something something. Have a great day!
Thanks, Hilda. Perfect gift to leave on someone’s desk or elsewhere for a little surprise!
Oh my goodness – I love everything about this project! And what an amazing find with the rectangle die fitting around the nuggets! LOVE! Thank you for hopping with us this month, Mary!
I loved that little “nugget” of discovery with the stitched rectangle. The next size up works, too. Covers more of the nugget and a wee bit wide but another option!
This is such a super sweet package, Mary!!
Thanks for stopping by, Michelle, and sharing your kindness!
This little project turned out BEYOND ADORABLE!!!!!
Using the Rectangle Stitched Dies was BRILLIANT my friend.
I think my favorite part (next to the yummy Berry Burst Ribbon) is the fun way you packaged up the nuggets. OH SO CUTE Mary.
Thanks, Kadie. It was fun figuring out the engineering with you!
Oh my gosh!! This is SO CUTE! I love it! I can’t wait to make it?. Thanks for the tip about using the Stitched Rectangle die for the nugget wrapper!?
I think my favorite, favorite moment in making this was that the stitched rectangle was a fabulous fit, Elisha.
This is such a super little treat holder. And chocolate is perfect for any occasions! I will be casing this one. Thank you!
“tis an honor to have you CASE, Jackie!