
Who doesn’t love FREE products and today’s masculine card incorporates both the Trusty Tools Designer Series Paper and the Heartfelt Hellos stamp set, both FREE when you place a qualifying order during the Stampin’ Up! Sale-A-Bration promotion. Sale-A-Bration ends Feb. 29!

EARN FREE GIFTS DURING SALE-A-BRATION!
Earn FREE Stampin’ Up! products when you spend $60 or $120 (your total before shipping and tax) during Sale-A-Bration 2025 (now – Feb. 28). Spend more, get more! Learn more about this annual promotion by visiting my Sale-a-Bration page!


WHAT I LOVE! Isn’t the Trusty Tools Designer Series Paper (DSP) perfect for a masculine card for dad or Father’s Day? This card was created for my husband Scott’s birthday last week. Colors in the Trusty Tools DSP collection include Basic Black, Copper Clay, Crushed Curry, Gray Granite, Lost Lagoon and Poppy Parade. The variety of patterns are certainly unisex and easily mixed and matched. I used FOUR patterns including the envelope flap on this ONE project. Fun!
my simple card tutorial
CUT YOUR CARD STOCK – DIMENSIONS:
- Basic White Thick Card Stock:
- Card Base – 4 1/4 x 11, scored at 5 1/2
- Basic Black Card Stock:
- Layer – 4 x 5 1/4
- Basic White Card Stock:
- Sentiment Die-Cut – 2 1/2 x 1 (before die-cutting)
- Trusty Tools Designer Series Paper:
- Strip Layers – 1 x 5 (5/8 showing of nuts and bolts), 1 x 5 ( 1/2 showing of distressed Gray Granite), 2 1/2 x 5 (Poppy Parade and Gray Granite)

PROJECT TUTORIAL:
Begin by burnishing the fold of the Basic White Thick card base with a Bone Folder.
Adhere the Designer Series Paper, starting with the nuts and bolts piece on the left, to the Basic Black Layer with Multipurpose Liquid Glue as shown.
Wrap with black Baker’s Twine Essentials, securing with a bow as shown.
Adhere to the card base with Stampin’ Dimensionals.

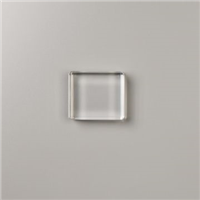
Use a Clear Block G to stamp the sentiment (Heartfelt Hellos Stamp Set) in Tuxedo Black Memento Ink onto the Basic White piece.
Crop with a Stampin’ Cut & Emboss Machine (Standard or Mini) and the coordinating Something Fancy die.
Adhere the sentiment to the card as shown with Stampin’ Dimensionals.
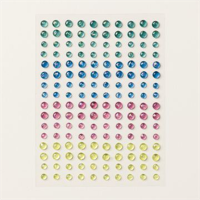
POP OF PERSONALITY! Embellish with 2 large and 1 small Classic Matte Dots as shown.
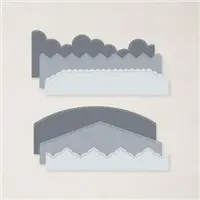
PERFECT POLISH! Adhere the 5 3/4 x 2 1/4 Designer Series Paper (DSP) to the Basic White Medium envelope flap with Multipurpose Liquid Glue. IMPORTANT: Add glue to the flap, not the DSP. Center, line up, and tape to secure (Post-It Tape)the Basic Borders edge die. Zip through a Stampin’ Cut & Emboss Machine (Standard).
stampin’ up! product spotlight!


MY FAVORITE THINGS! Items used on this card are part of My Favorite Things from Stampin’ Up! You can see all of My Favorite Things here.

STAMP-n-STORAGE MAGNET PADS & STORAGE POCKETS. My dies stay securely in place on 6 x 7 Magnet Pads and are slipped into a coordinating 6 x 7 Storage Pocket.
how i organize my stamping studio
Catch my entire Stampin’ Pretty blog series showcasing how I organize craft supplies in my studio – including my favorite Stamp-n-Storage products! Binge the whole series, or pick out a post below and learn how to make your craft space better than ever!

promos, specials, & important updates
don’t forget your tulip rewards!

MY CUSTOMER EXCLUSIVE! Tulip Loyalty Rewards are my way of personally saying thank you to my frequent online shoppers. Earn a tulip for every $50 increment you spend on Stampin’ Up! products (purchased through me). Redeem tulips for a free stamp set (5 tulips) or bundle (10 tulips)!








Cute Father’s Day card, Mary! I’m casing you for my granddaughter’s card for her daddy. Thanks for sharing!
Perfection! Love this paper and what you’ve done with it. ♥