
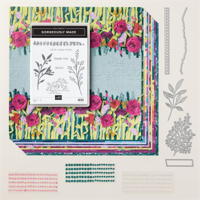
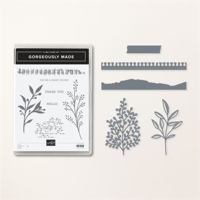
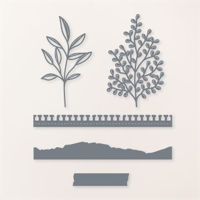
The simplest details combined can evolve into a beautiful thank you card. The frills (spiral notebook edging) and fronds for this card were created with the Gorgeously Made Dies. Eclectic but still clean!
WHAT I LOVE! What a yummy color combination! All three were part of the Stampin’ Up! Color Refresh and welcome additions to the line-up. Learn more about the Color Refresh here.

The clever combination of Fresh Freesia, Berry Burst, and Pretty Peacock was shared on my Tuesday post along with other color combos here.

my simple card tutorial
CUT YOUR CARD STOCK – DIMENSIONS:
- Basic White Thick Card Stock:
- Card Base – 4 1/4 x 11, Scored at 5 1/2
- Basic White Card Stock:
- Sentiment Layer – 3 3/4 x 5
- Embossed Layer – 3 3/4 x 4
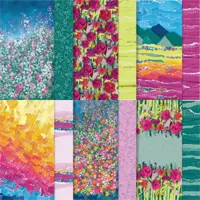
- Masterfully Made Designer Series Paper:
- Spiral Notebook Edge Die-cut – 3 3/4 x 1 (before die-cutting)
- Fronds Die-cuts – 4 x 3 (Qty 2) (before die-cutting)
- Strip – 3 3/4 x 3/4
- Envelope Flap – 5 3/4 x 2 1/4

PROJECT TUTORIAL:
Begin by burnishing the fold of the Basic White Thick card base with a Bone Folder.
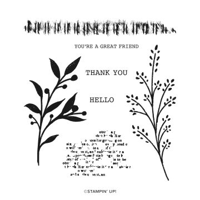
Use a Clear Block G to stamp the sentiment in Berry Burst Classic Ink onto the bottom-right of the larger Basic White layer.
Adhere the to the card base with Stampin’ Dimensionals.
Zip the Basic White layer through a Stampin’ Cut & Emboss Machine (Standard) tucked inside the Timeworn Type 3D Embossing Folder.
Use a Stampin’ Cut & Emboss Machine (Standard)and the Gorgeously Made dies to crop the two fronds and the spiral notebook edge from the Masterfully Made Designer Series Paper.
Adhere the spiral notebook die-cut to the back side of the embossed Basic White layer with Multipurpose Liquid Glue.

Adhere to the card as shown with Stampin’ Dimensionals.
Adhere the Designer Series Paper strip to the card with Multipurpose Liquid Glue.
Adhere the two fronds as shown with Mini Glue Dots.
Tie a bow of white Baker’s Twine Essentials and adhere with a Mini Glue Dot.
POP OF PERSONALITY! Embellish with Pretty Peacock Adhesive-Backed Sequins Trio.
PERFECT POLISH! Use Multipurpose Liquid Glue to adhere the Designer Series Paper to the outside flap of a Basic White Medium Envelope. You can see my video demonstration with tips on adding designer paper to an envelope flap here.
stampin’ up! product spotlight!


oh, so pretty card idea!


OH, SO PRETTY! The card above also uses the same color combination, the Masterfully Made Designer Series Paper and the Timeworn Type 3D Embossing Folder! You can see the original blog post, with tips, tricks and project tutorial here.
promos, specials, & important updates


don’t forget your tulip rewards!

MY CUSTOMER EXCLUSIVE! Tulip Loyalty Rewards are my way of personally saying thank you to my frequent online shoppers. Earn a tulip for every $50 increment you spend on Stampin’ Up! products (purchased through me). Redeem tulips for a free stamp set (5 tulips) or bundle (10 tulips)!


Well that is the perfect sketch for all occasions! I will, indeed use it over and over. Thanks for sharing!
Absolutely gorgeous! I love the color combination and beautiful simplicity of this card.