
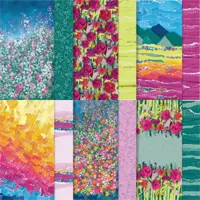
The Stampin’ Up! Masterfully Made Designer Series Paper (now 15% off) comes to life when cropped with the small (layered pattern) and large coordinating dies from the Nested Essentials Dies.
WHAT I LOVE ! Kiss. Kiss. The chic combination of Berry Burst and Pretty Peacock (both returning Stampin’ Up! Colors – learn more here) has become a “go to” for me!

NEED SKETCH INSPIRATION? The layout of today’s thank you card was inspired by the newest addition to my Stampin’ Pretty Sketchbook, Sketch #68, which I shared on Tuesday!

Enjoy FREE sketch ideas with coordinating project tutorials in my Stampin’ Pretty Sketchbook here.
my simple card tutorial
CUT YOUR CARD STOCK – DIMENSIONS:
- Pretty Peacock Card Stock:
- Card Base – 5 1/2 x 8 1/2, scored at 4 1/4
- Embossed Layer – 5 x 3 1/4
- Berry Burst Card Stock
- Layer – 4 3/4 x 3 5/8
- Basic White Card Stock:
- Layer – 5 1/4 x 4
- Paper Piecing Layer – 5 1/2 x 4 1/4
- Sentiment Die-Cut – 2 1/4 x 3/4 (before die-cutting)
- Masterfully Made Designer Series Paper:
- Die-Cuts – 4 x 2 each die-cut (before die-cutting)

PROJECT TUTORIAL:
Begin by burnishing the fold of the Pretty Peacock card base with a Bone Folder.
Adhere the Berry Burst and Basic White layers together as shown with Multipurpose Liquid Glue and to the card with Stampin’ Dimensionals.
Zip the Pretty Peacock layer through a Stampin’ Cut & Emboss Machine (Standard) tucked inside the Timeworn Type 3D Embossing Folder.
Adhere as shown with Multipurpose Liquid Glue.
Use a Stampin’ Cut & Emboss Machine (Standard) and the smallest Nested Essentials label die to crop the 7 pieces of Masterfully Made Designer Series Paper (4 Pretty Peacock, 2 Fresh Freesia, 1 Berry Burst).
Use a Paper Trimmer or Paper Snips to cut two Pretty Peacock and one Berry Burst die-cut in half.

Adhere all die-cuts with Multipurpose Liquid Glue to the Basic White layer as shown.
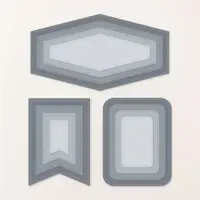
Crop the paper-pieced layer with a Stampin’ Cut & Emboss Machine (Standard) and two largest Nested Essentials dies (smaller die nested inside the larger die.
Adhere the “frame” die-cut to the card with Multipurpose Liquid Glue and the center to the card with Stampin’ Dimensionals.
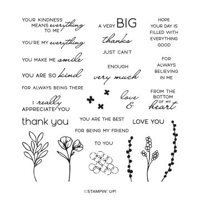
Use a Clear Block C to stamp the sentiment (Timeless Arrangements Bundle) in Berry Burst Classic Ink onto the Basic White layer.
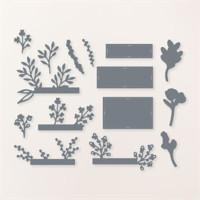
Crop with a Stampin’ Cut & Emboss Machine (Standard or Mini) and the smallest Timeless Arrangements label die.

Tie a bow of white Baker’s Twine Essentials and adhere to the back of the label die with a Mini Glue Dot.
Adhere to the card with Stampin’ Dimensionals.
POP OF PERSONALITY! Embellish with three white Adhesive-Backed Sequins Trio.
stampin’ up! product spotlight!


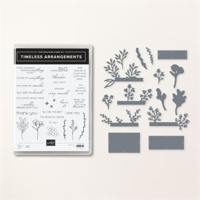
MY FAVORITE THINGS! The Timeless Arrangements Bundle and Nested Essentials Dies are part of My Favorite Things from the Stampin’ Up! 2023-2024 Annual Catalog! You can see all of My Favorite Things here.
oh, so pretty card idea!


OH, SO PRETTY! The card above uses Designer Series Paper paper piecing! You can see the original blog post, with tips, tricks and project tutorial here.
promos, specials, & important updates
don’t forget your tulip rewards!

MY CUSTOMER EXCLUSIVE! Tulip Loyalty Rewards are my way of personally saying thank you to my frequent online shoppers. Earn a tulip for every $50 increment you spend on Stampin’ Up! products (purchased through me). Redeem tulips for a free stamp set (5 tulips) or bundle (10 tulips)!
my project supply list – click products to shop online!
Sale: $10.62
Price: $12.50








Great textures, layers and colours! Thanks Mary!
Very pretty card, Mary. The colors are beautiful! Enjoy your day!