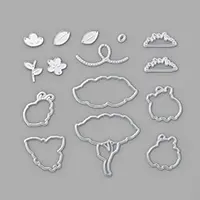
 MEANT TO BE! What do you think of these adorable little love bugs? The Ladybugs Dies, used to quickly crop the stamped ladybug images, are part of the Stampin’ Up! Coordination Product limited release and available for purchase NOW! You can read all about the Coordination Product Limited Release on my blog page here.


EARN FREE PRODUCT DURING SALE-A-BRATION! Shop now and earn gifts for every $50 or $100 (total before shipping and tax) you spend. PLUS, earn the Little Ladybug stamp set FREE with a qualifying order of $300 or more (total before shipping and tax). It’s the ONLY way you can get the stamp set. You can see more in-depth detail regarding the Stampin’ Up! Sale-A-Bration Promotion here.
 STAMPIN’ PRETTY STEP-BY-STEP TUTORIAL:
Begin with a 4 1/4 x 5 1/2 card base of Whisper White Thick card stock.
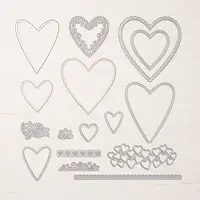
Use a die-cutting and embossing machine to crop the Stitched Be Mine scalloped heart from the center of a 3 3/4 x 5 1/4 piece of Whisper White card stock.
Crop the heart a 2nd time from a piece of Real Red card stock.
Slide into the negative space of the Whisper White piece and adhere to the backside with Stampin’ Dimensionals.

Use the scalloped edge die (Stitched Be Mine Dies) to crop two 5 1/4 x 1 pieces of Real Red cardstock.
Adhere to the sides of the Whisper White card stock with Multipurpose Liquid Glue.
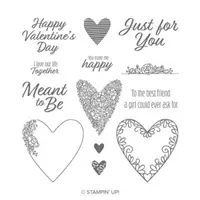
Use a Stamparatus to stamp the sentiment (Meant to Be) in Tuxedo Black Memento Ink in the center of the card base, approximately 2 5/8″ up from the bottom.
Adhere the stitched heart/whisper white piece to the card base with Stampin’ Dimensionals.
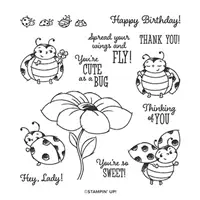
 Use the Stamparatus to stamp the two ladybugs (Little Ladybugs) in Tuxedo Black Memento Ink onto a piece of Whisper White thick cardstock.
Crop with the coordinating dies (Ladybugs).
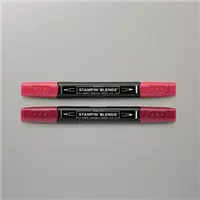
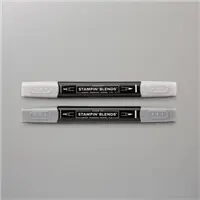
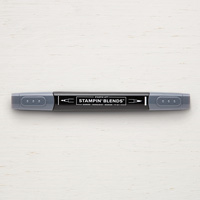
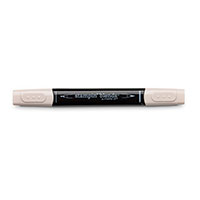
Color with the following Stampin’ Blends: Light & Dark Cherry Cobbler, Light & Dark Smoky Slate, Dark Basic Black, Ivory.
Adhere to the card as shown with Stampin’ Dimensionals.
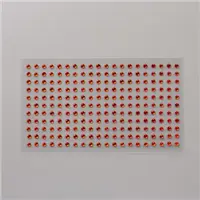
POP OF PERSONALITY! Add Red Rhinestones as shown.
OH, SO PRETTY! Did you see my card creations using the other Product Coordination Release products? Click on the links below to see the original blog post, as well as a product list and step-by-step tutorials.
Under My Umbrella & Pleased as Punch Designer Series Paper
Time to Sale-a-Brate: Small Bloom Punch & Pleased as Punch DSP
Positive Thoughts & Nature’s Thoughts Dies
Special Day Dies for a Special Someone
Making a CASE: Sending Flowers Dies
Happy Birthday to You & Birthday Dies
 Learn how you can get the best deal of all on Stampin’ Up! products here.

FEBRUARY Host Code! SAVE IT! Don’t forget to add my February Host Code (N2QE3NCX) to all orders placed through me between $50 and $149 to qualify for my Tulip Rewards program. Orders $150 and up (total before shipping and tax) automatically qualify and should not include the code. Get the scoop on Tulip Rewards and how you can earn a $50 shopping spree when you shop with me.
I love hearing from you! Please leave me your questions or comments about the project for today.

If you enjoyed this post, please be sure to . . .
- Receive a FREE PDF tutorial when you subscribe to my daily blog updates here.
- Click for my Monthly Host Code and how you can earn up to a $50 shopping spree with my Tulip Rewards Loyalty Program.
- Check out the clearance rack and save up to 70%.
- Save 10% on coordinating product bundles!
- The $99 Starter Kit is the best deal of ALL! Discounts & benefits here.
- Visit my gallery for 1000+ paper crafting ideas.
- View my FREE PDF Project Tutorials.
- Follow me on Pinterest.
- Subscribe to my YouTube paper crafting video tutorials.


My project supply list. Click products to shop on-line!









So cute MARY, as is always so!
Oh MsMary,such sweet little bugs ,I love there expressions ♥️♥️And the heart, love it ♥️♥️♥️♥️♥️♥️
Hugs Frenchie
What a cute card, Mary! It really brings a smile to my heart!
This card is adorable. Love the ladybug set.
Adorable card! Which stamp set did you use for the “Meant to be” sentiment?
So sorry about that! I have added it to the supply list. It is called “Meant to Be” 🙂
Thanks!
I love these little bugs and how you’ve perfectly fit them inside this heart! Such an adorable project!