
Today’s card was created using products from the Stampin’ Up! Magnolia Lane Suite on page 37 of the 2019-2020 Stampin’ Up! Annual Catalog.
Select pieces of the Magnolia Lane Designer Series Paper are now available to purchase in a bulk pack for your paper crafting needs!
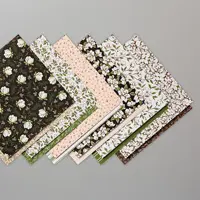
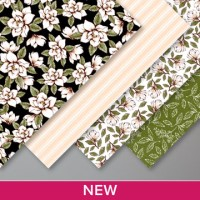
Magnolia Lane Bulk Designer Series Paper: combines magnolia flowers and soft stripes for a light, organic feel. The bulk package includes two of the double-sided designs from the Magnolia Lane Designer Series Paper.
20 sheets of 12″ x 12″ patterned paper: 10 each of 2 double-sided designs. Acid & Lignin Free.
Coordinating colors: Basic Black, Early Espresso, Mossy Meadow, Petal Pink, So Saffron, Whisper White

STAMPIN’ PRETTY STEP-BY-STEP TUTORIAL:
Begin with a 4 1/4 x 5 1/2 card base of Early Espresso card stock.
Zip a 4 x 5 1/4 of Sahara Sand card stock through a die-cutting and embossing machine inside the Stampin’ Up! Subtle 3D Embossing Folder. You can watch my video on creating the linen look with the Subtle Embossing Folder here.
Adhere to the card base with Stampin’ Dimensionals.
 Adhere a 2 x 4 1/2 piece of Magnolia Lane Designer Series Paper to a 2 x 3 piece of Early Espresso card stock together with Stampin’ Dimensionals and to the card with Snail Adhesive.
Use a die-cutting and embossing machine to crop a piece of Whisper White card stock with the 3″ Stitched Shapes circle die.
Adhere with Stampin’ Dimensionals.
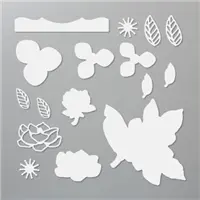
Use a die-cutting and embossing machine and the coordinating die (Magnolia Memory Dies) to crop the two flowers from the Magnolia Lane Designer Series Paper (not part of the bulk pack).
Adhere as shown with Stampin’ Dimensionals.
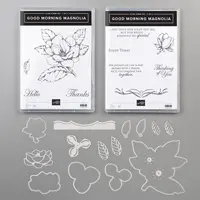
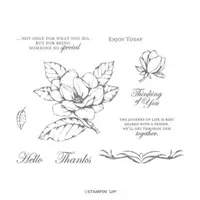
 Use the Stamparatus to stamp the sentiment (Good Morning Magnolia) in Early Espresso Ink onto a piece of Sahara Sand card stock.
Crop with the Classic Label Punch.
Tie a bow of Mossy Meadow Linen Thread (Magnolia Lane Ribbon Combo Pack).
Adhere both to a 2 1/2 x 1/2 piece of Early Espresso card stock with Stampin’ Dimensionals. Use Paper Snips to crop the end to match the shape of the sentiment.
POP OF PERSONALITY: Add three Gold Metallic Pearls as shown.
FOR THE PERFECT POLISH: Use an envelope liner die (Beautiful Layers Dies) and the striped Magnolia Lane Designer Series Paper to create an envelope liner. Adhere to the inside of a Stampin’ Up! Whisper White Medium Envelope with Multipurpose Liquid Glue.
TIP: To avoid embossing and plate marks, I dedicate a relatively clean bottom cutting plate for envelope liners. Flip the pattern over and cut on the opposite side. You can use a bone folder to help any soften lines.

I love hearing from you! Please leave me your questions or comments about the project for today.

If you enjoyed this post, please be sure to . . .
- Receive a FREE PDF tutorial when you subscribe to my daily blog updates here.
- Click for my Monthly Host Code and how you can earn up to a $50 shopping spree with my Tulip Rewards Loyalty Program.
- Check out the clearance rack and save up to 70%.
- Save 10% on coordinating product bundles!
- The $99 Starter Kit is the best deal of ALL! Discounts & benefits here.
- Visit my gallery for 1000+ paper crafting ideas.
- View my FREE PDF Project Tutorials.
- Follow me on Pinterest.
- Subscribe to my YouTube paper crafting video tutorials.


My project supply list. Click products to shop on-line!









beautiful card! I don’t have the Magnolia paper (yet), but like the EE around the edge of the die cut! Thanks for the free pdf!
I’m seriously in love with the “Good Morning Magnolia” stamp set, I will order it soon because Santa told me I’ve been a very good girl. ?
Your card is gorgeous Mary, the layers enhance the beauty of the DSP and this lovely Magnolia blossom.
Thank you for sharing and the inspiration.
XO
Love the clean, modern lines of this card! It’s gorgeous!
Another great way to use this beautiful paper! Lovely card, Mary. Have a wonderful day!
GORGEOUS looking card Mary.