
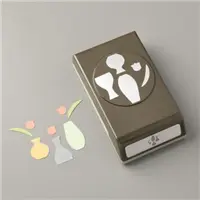
I learned this fabulous trick to create a flower with the Vase Builder Punch from Charlet Mallett of the Stampin’ Up! Artisan Design Team. Here’s her fabulous card sample and my inspiration for today’s card below. More details for Charlet’s card on her blog here.

MY STAMPIN’ PRETTY STEP-BY-STEP TUTORIAL:
Create a 4 1/4 x 5 1/2 card base with Early Espresso card stock and a Stampin’ Trimmer. Adhere a 4 x 5 1/4 piece of Calypso Coral card stock with Snail Adhesive .

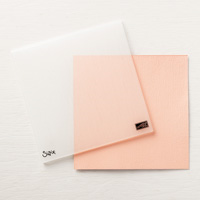
Emboss a 3 3/4 x 5 piece of Whisper White card stock with the Subtle Dynamic Textured Impressions Embossing Folder and the Big Shot Die Cutting Machine. TIP #1: To increase definition, use a Stampin’ Up! Spritzer to lightly mist card stock with water before running it through the Big Shot with any dynamic embossing folder.
TIP #2: Here’s my WOW! video demonstration with tips on how to run the Subtle Dynamic Textured Impressions Embossing Folder in landscape and portrait directions to create a rich, “linen” look. Adhere “linen” layer to card base with Snail Adhesive.
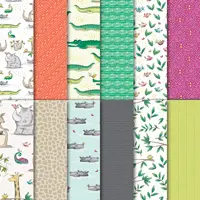
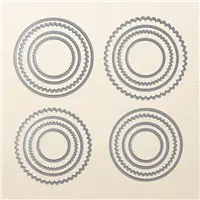
Crop a 2 7/16 circle of the animal print (Animal Expedition Designer Series Paper) and adhere to a 2 1/2 Early Espresso scalloped circle. Both circles were created with the Big Shot Die-Cutting Machine and the Layering Circles Framelits Dies. Adhere circles to card base with Snail Adhesive.

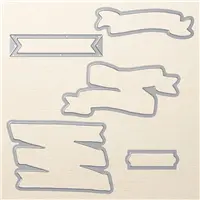
Using the Stamparatus, stamp “birthday wishes” sentiment on Whisper White card stock. Crop with the flagged ends die from Bunch of Banners Framelits Dies. Adhere over animal print circle with Mini Stampin’ Dimensionals.
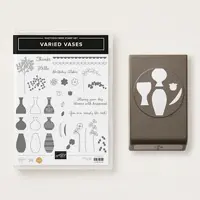
Use the shortest vase of the Vases Builder punch to create 10 “petals” in Calypso Coral card stock. TIP #3: I used a Bone Folder to add a bit of curl to the petals. Adhere six petals with Glue Dots to a circle created with the 3/4 Circle Punch. Adhere four petals with Glue Dots to a circle created with the 3/4 Circle Punch. Adhere the four petal and six petal layers together using a Stampin’ Dimensional.

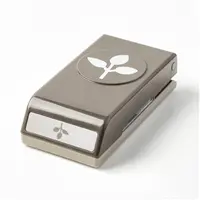
To the bottom of the flower, adhere a leaf stem created with the Stampin’ Up! Leaf Punch and Crumb Cake card stock. Also adhere a few loops of Linen Thread. Adhere flower to card using Stampin’ Dimensionals.

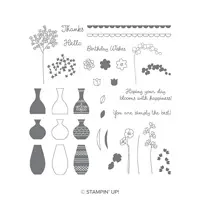
Stamp sentiment in Early Espresso ink on a 4 x 5 1/4 piece of Whisper White card stock. I used the Stamparatus stamp positioning tool (more details here) for precise placement. Adhere using Snail Adhesive to the interior of the card.

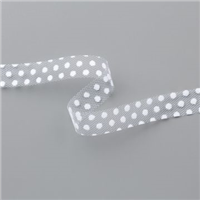
Cards with a a lot of 3-D like this flower are often best delivered in person (vs. a trip in the mail). I like putting them in a Stampin’ Up! Clear Envelope. It makes a pretty presentation when wrapped with Whisper White Polka Dot Tulle Ribbon.
Enjoy my FREE PDF Step-By-Step Tutorial (and supply list) for the Vase Builder Punch Flower Maker Card here.
promos, specials, & important updates
don’t forget your tulip rewards!

MY CUSTOMER EXCLUSIVE! Tulip Loyalty Rewards are my way of personally saying thank you to my frequent online shoppers. Earn a tulip for every $50 increment you spend on Stampin’ Up! products (purchased through me). Redeem tulips for a free stamp set (5 tulips) or bundle (10 tulips)!










LOVE It! Your card is fantastic. Thanks for linking back to me and for designing such a create set and punch!
My pleasure. Thank you for the inspiration, Charlet!
What a great post not only beautiful cards, but a great tip as well. Your million dollar punch is so versatile. Great project and I’m definitely CASE’ing those flowers.
Thanks, Robbye. I appreciate your kind feedback!
What a clever idea! This is such a creative way to use a punch. It looks as if you could use all 3 vase styles to make different flowers too.
Oh WOW!! Mary, this is amazing!!! I love it when there are other ways to use our tools, these cards, created with the fabulous Varied Vases punch are nothing short than BRILLIANT!!!!!
Love them, thank you for sharing.
How fabulous that you are having so much fun on this Alaskan trip, that dessert buffet sounds tempting, hope you took advantage of it.
Sending love and hugs.
A brilliant idea, and SO Pretty! 🙂
I hope you are having a GREAT time in Alaska! I am sure you are! What a great idea! I love when products can be used for other things, so creative and pretty too!
Such a versatile set…and no wonder. Congrats on creating a really fun, easy, and amazing stamp set & coordinating punch, Mary. Love it!
And thanks for the link to show the additional texture possible by simply running the Subtle Dynamic Textured Impressions embossing folder through in both landscape and portrait. Would never have thought of that.
Have a great day!
Linda
Beautiful card, Mary. I love the idea of getting extra mileage from your great stamp set. I’ll be saving it to CASE. Enjoy the dessert buffet. They are amazing! I hope you get to visit the beautiful gardens in Victoria tomorrow.
What a great idea, Charlotte, and what a wonderful adaptation, Mary! Thanks for the inspiration.
What a great idea. Love your cards
GREAT tips my friend on getting double duty out of your amazing Varied Vases Punch. The color combination is FABULOUS. Thanks for sharing!
Oooh ….. my I love love it x3 …. going to case it , Today ?
Hope your have a great time MsMary ♥️
Hugs Frenchie
Have fun on your trip. Love the flower and will definitely try that out!
Oh. My. Gosh! Awesome use of your vase punch! Adorable!
LOVE that flower!! I also am in love with that embossing folder! Hope your having a blast!