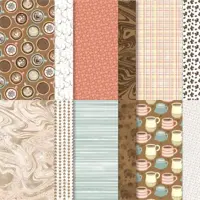
I couldn’t resist that yummy plaid from the new A Little Latte Designer Series Paper for the happy birthday card and envelope flap. It’s part of the A Latte Love Suite and one of My Favorite Things from the latest on-line exclusives product release.
wow video: magic of the Mini MISTI
The Mini MISTI (Most Incredible Stamp Tool Invented) lives up to its name with its user-friendly design. Its simple hinge system ensures consistent results, whether you’re a beginner or a seasoned cardmaker, making stamping easier than ever. Like the original MISTI, the Mini MISTI works with both clear and red rubber cling stamps. Plus, it includes a foam pad to elevate your paper, perfect for clear stamp use. – The reason I reference it as the magic of the Mini MISTI!
my simple card tutorial: happy birthday card
CUT YOUR CARD STOCK – DIMENSIONS:
- Basic White Thick Card Stock:
- Card Base – 4 1/4 x 11, scored at 5 1/2 (top)
- Vellum Basics 12 x 12 Specialty Designer Series Paper:
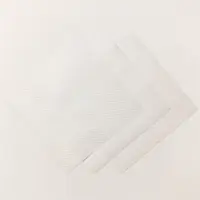
- Striped Layer – 3 3/4 x 5
- Calypso Coral Card Stock:
- Layer – 3 1/4 x 3 1/4
- A Little Latte Designer Series Paper:
- Plaid Layer – 3 x 3
- Envelope Flap – 5 3/4 x 2 1/4 (before die-cutting)
- Basic White Card Stock:
- Sentiment Layer – 3 1/4 x 1 1/8
 Mini MISTI” class=”wp-image-127602″/>
PROJECT TUTORIAL:
Begin by burnishing the fold of the Basic White Thick card base with a Bone Folder.
Layer and adhere the Designer Series Paper to the Calypso Coral layer together with Multipurpose Liquid Glue.
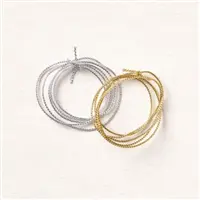
Loop silver Simply Elegant Trim twice on each side, then adhere as shown with one or two Mini Glue Dots.
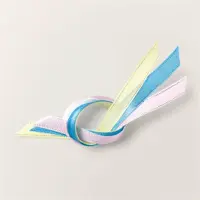
Wrap the layer with Lemon Lolly 3/8″ Sheer Ribbon, securing with a bow.
Adhere to the Vellum layer as shown with Stampin’ Dimensionals.

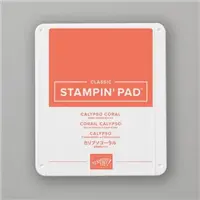
Stamp the sentiment (Phrases for All Stamp Set) in Calypso Coral Ink onto the Basic White layer. TIP: I used theMini MISTI for clean and crisp ink coverage. Watch my latest 1 Minute to WOW! Video: The Magic of the Mini MISTI
Adhere to the Vellum as shown with Stampin’ Dimensionals.
Adhere the Vellum layer to the card base with Stampin’ Dimensionals. TIP: Adhere the sentiment and square with dimensionals to the vellum first. Then, you’ll know where to place (and hide) dimensionals below the vellum.

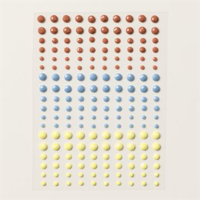
POP OF PERSONALITY! Embellish with three Lemon Lolly Adhesive-Backed Solid Gems as shown.
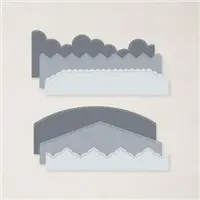
PERFECT POLISH! Adhere the 5 3/4 x 2 1/4 A Little Latte Designer Series Paper to the Basic White Medium envelope flap with Multipurpose Liquid Glue. IMPORTANT: Add glue to the flap first, not the Designer Series Paper. Center and line up the Basic Borders curved edge die, tape to secure (Post-It Tape) and crop with a Stampin’ Cut & Emboss Machine (Standard). Watch my Stampin’ Pretty WOW Video here.
stampin’ up! product spotlight!


promos, specials, & important updates
don’t forget your tulip rewards!

MY CUSTOMER EXCLUSIVE! Tulip Loyalty Rewards are my way of personally saying thank you to my frequent online shoppers. Earn a tulip for every $50 increment you spend on Stampin’ Up! products (purchased through me). Redeem tulips for a free stamp set (5 tulips) or bundle (10 tulips)!
my project supply list – click products to shop online!
Price: $10.00


