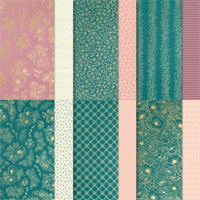
This sweet floral pattern from the Stampin’ Up! Forever Love Designer Series Paper (DSP) collection gets chic “styling” from the shutter card technique. The best news of all is that it’s simple to recreate using 1/4” strips of gold foil. It gives the illusion of DSP pieces but the strips are actually layered on top of a 3 3/4 x 5 piece of Forever Love DSP. Watch my 1 Minute to WOW! Video for a quick demonstration on the Shutter Card Technique.
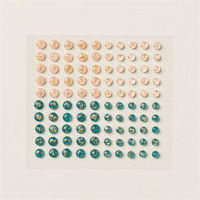
WHAT I LOVE! Both the Forever Love DSP (back in stock) and Charming Sentiments bundle (sentiment) are on the list of My Favorite Things. Both offer versatility and sophistication. Don’t miss the trio of Pretty Peacock Foiled Gems that add pizzazz and coordinate perfectly!
wow! video: shutter card technique
card tutorial: shutter card technique
CUT YOUR CARD STOCK – DIMENSIONS:
- Basic White Thick Card Stock:
- Card Base – 4 1/4 x 11, scored at 5 1/2 (top)
- Gold Foil:
- Layer – 4 x 5 1/4
- Strips (qty 3)- 1/4 x 4 3/4 (before snipping)
- Forever Love Specialty Designer Series Paper:
- Layer – 3 3/4 x 5
- Envelope Flap – 5 3/4 x 2 1/4 (before die-cutting)
- Basic White Card Stock:
- Die-Cut Stitched Square – 2 1/4 x 2 1/4 (before die-cutting)
- Die-Cut Sentiment – 2 x 2 (before die-cutting)

PROJECT TUTORIAL:
Begin by burnishing the fold of the Basic White Thick card base with a Bone Folder.
Use a Stampin’ Cut & Emboss Machine (Standard or Mini) to crop the Basic White stock using the Stylish Shapes 1 7/8 stitched square die.
Adhere to the Designer Series Paper layer with Multipurpose Liquid Glue.
TIP: I used my Victor Easy Read Ruler to measure 1/2″ from the top and two sides for perfect placement! View all things that I keep ON MY DESK!

Use Paper Snips to snip one of the Gold Foil strips in half.
Adhere all Gold Foil strips around the stitched square die-cut as shown with Multipurpose Liquid Glue. Watch my 1 Minute to WOW! Video: Shutter Card Technique
Use Paper Snips to snip the edges of the strips flush with the edges of the Designer Series Paper.
Adhere the Designer Series Paper layer to the Gold Foil layer with Multipurpose Liquid Glue.
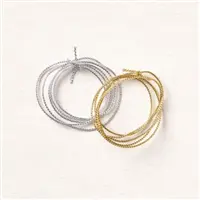
Double wrap with gold Simply Elegant Trim, securing with a bow as shown.
Adhere to the card base with Stampin’ Dimensionals.

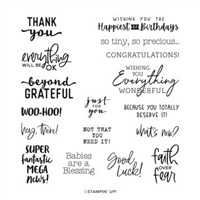
Use a Clear Block C or Mini MISTI to stamp the sentiment (Charming Sentiments) in Pretty Peacock Classic Ink onto the Basic White layer.
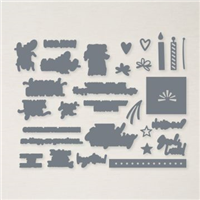
Crop with a Stampin’ Cut & Emboss Machine (Standard or Mini)and the coordinating Sentiment Silhouettes die.
Adhere as shown with Mini Stampin’ Dimensionals.
POP OF PERSONALITY! Embellish with three small Petal Pink & Pretty Peacock Foiled Gems.
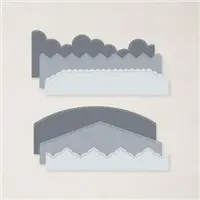
PERFECT POLISH! Adhere the 5 3/4 x 2 1/4 A Little Latte Designer Series Paper to the Basic White Medium envelope flap with Multipurpose Liquid Glue. IMPORTANT: Add glue to the flap first, not the Designer Series Paper. Center and line up the Basic Borders curved edge die, tape to secure (Post-It Tape) and crop with a Stampin’ Cut & Emboss Machine (Standard). Watch my Stampin’ Pretty WOW Video here.
stampin’ up! product spotlight!


oh, so pretty card idea!


OH, SO PRETTY! The card above also uses the Charming Sentiments Stamp Set and coordinating Sentiment Silhouettes Dies, as well as other retiring products. You can see the original blog post, tutorial and product list here.
promos, specials, & important updates
don’t forget your tulip rewards!

MY CUSTOMER EXCLUSIVE! Tulip Loyalty Rewards are my way of personally saying thank you to my frequent online shoppers. Earn a tulip for every $50 increment you spend on Stampin’ Up! products (purchased through me). Redeem tulips for a free stamp set (5 tulips) or bundle (10 tulips)!
my project supply list – click products to shop online!
Price: $16.50


