
Today’s good luck card offers a SNEAK PEEK at the Stampin’ Up! Perennial Lavender Designer Series Paper. The colors in the collection of lavender floral patterns include Shaded Spruce, Lost Lagoon, Highland Heather, Gorgeous Grape, Berry Burst, Fresh Freesia. The designer series paper and Purple Fine Shimmer Gem (also a sneak peek) will be available for purchase Jan. 4 when the Spring Mini Catalog begins. The layout is a second version of Tuesday’s sketch. New products and colors (Highland Heather & Gorgeous Grape) produce a whole new vibe for the sketch!
WHAT I LOVE! I’m confident the Stampin’ Up! Perennial Lavender Suite is going to steal your creative heart. There are TWO beautiful bundles (stamp sets and dies) in the suite to coordinate with this pretty spring paper. The Purple Fine Shimmer Gems are adhesive backed and pair beautifully with paper, too.
my simple card tutorial
CUT YOUR CARD STOCK – DIMENSIONS:
- Highland Heather Card Stock:
- Card Base – 4 1/4 x 11, scored at 5 1/2
- Die-Cut – 2 x 1 3/4(before die-cutting)
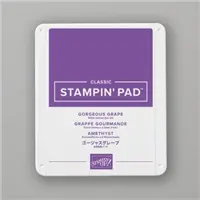
- Gorgeous Grape Card Stock:
- Layers – 2 1/2 x 5 1/2, 4 x 3 3/4
- Die-cut – 2 3/4 x 2 (before die-cutting)
- Basic White Card Stock:
- Die-cut Sentiment- 2 3/4 x 2 (before die-cutting)
- Perennial Lavender Designer Series Paper:
- Layers – 2 1/4 x 5 1/4 (sprigs), 3 3/4 x 3 1/2 (flowers)

PROJECT TUTORIAL:
Begin by burnishing the fold of the Highland Heather card base with a Bone Folder.
Layer and adhere the sprig Designer Series Paper to the coordinating Gorgeous Grape layer together and to the card base with Multipurpose Liquid Glue.
Layer and adhere the floral Designer Series Paper to the coordinating Gorgeous Grape layer together with Multipurpose Liquid Glue and to the card with Stampin’ Dimensionals.
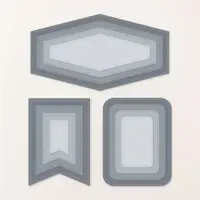
Use a Stampin’ Cut & Emboss Machine (Standard or Mini) to crop the the Gorgeous Grape layer with the 2nd largest flagged banner Nested Essentials dies and the Highland Heather layer with the 2nd smallest flagged banner Nested Essentials dies
Adhere together with Stampin’ Dimensionals and to the card as shown with Multipurpose Liquid Glue.

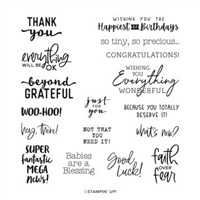
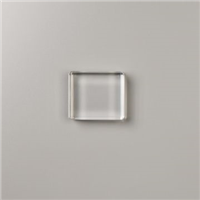
Use a Clear Block C to stamp the sentiment (Charming Sentiments Stamp Set) in Gorgeous Grap Classic Ink onto the Basic White piece.
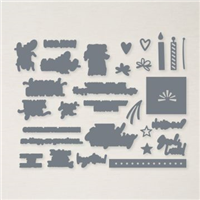
Crop with Stampin’ Cut & Emboss Machine (Standard or Mini) and the coordinating Sentiments Silhouettes die.
Adhere to the card with Stampin’ Dimensionals.
Tie a bow of Linen Thread and adhere it tucked behind the sentiment with Mini Glue Dots.
POP OF PERSONALITY! Embellish with a Purple Fine Shimmer Gem.
stampin’ up! product spotlight!


oh, so pretty card idea!


OH, SO PRETTY! The card above showcases the same sketch (Sketch #78) with different Designer Series Paper. You can see the original blog post, with tips, tricks and a project tutorial here.
promos, specials, & important updates
don’t forget your tulip rewards!

MY CUSTOMER EXCLUSIVE! Tulip Loyalty Rewards are my way of personally saying thank you to my frequent online shoppers. Earn a tulip for every $50 increment you spend on Stampin’ Up! products (purchased through me). Redeem tulips for a free stamp set (5 tulips) or bundle (10 tulips)!






Those papers are gorgeous. Awesome job as always Mary.
This is the one Suite in the Mini that caught my eyes!
The second suite is Notes of Nature Bundle!
Come on Dec 5th!
OoooH , MsMary your cards are so beautiful, love everything about them , BEAUTIFUL,thank
You for sharing ,
Hugs Frenchie ♥️♥️♥️♥️♥️