Sympathy and encouragement cards are often needed at the spur of the moment. I used the oh, so, versatile Stampin’ Up! Joy of Christmas Designer Series Paper for the gingham and leaf patterns. Quick, easy and more than just a Christmas collection!
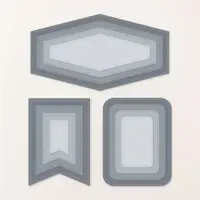
WHAT I LOVE! The Stampin’ Up! Nested Essentials Dies are a paper crafters “must-have!” I love how there are three key shapes and multiples sizes for each. The two “flagged” pieces come to life when layered. Be sure to “zoom in” to see the double “stitched” border!

NEED SKETCH INSPIRATION? The layout of today’s encouragement card was inspired by the newest addition to my Stampin’ Pretty Sketchbook, Sketch #78 which I shared Tuesday!
my simple card tutorial
CUT YOUR CARD STOCK – DIMENSIONS:
- Basic White Thick Card Stock:
- Card Base – 4 1/4 x 11, scored at 5 1/2
- Shaded Spruce Card Stock:
- Layers – 2 1/2 x 5 1/2, 4 x 3 3/4
- Die-cut – 2 3/4 x 2 (before die-cutting)
- Basic White Card Stock:
- Die-cut Sentiment- 2 3/4 x 2 (before die-cutting)
- Old Olive Card Stock:
- Die-Cut – 2 x 1 3/4(before die-cutting)
- Joy of Christmas Designer Series Paper:
- Layers – 2 1/4 x 5 1/4 (gingham), 3 3/4 x 3 1/2 (leaf)

PROJECT TUTORIAL:
Begin by burnishing the fold of the Basic White Thick card base with a Bone Folder.
Layer and adhere the gingham Designer Series Paper to the coordinating Shaded Spruce layer together and to the card base with Multipurpose Liquid Glue.
Layer and adhere the leaf Designer Series Paper to the coordinating Shaded Spruce layer together with Multipurpose Liquid Glue and to the card with Stampin’ Dimensionals.

Use a Stampin’ Cut & Emboss Machine (Standard or Mini) to crop the the Shaded Spruce layer with the 2nd largest flagged banner Nested Essentials dies and the Old Olive layer with the 2nd smallest flagged banner Nested Essentials dies
Adhere together with Stampin’ Dimensionals and to the card as shown with Multipurpose Liquid Glue.
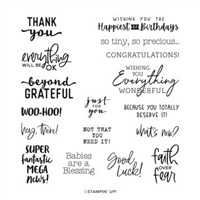
Use a Clear Block C to stamp the sentiment (Charming Sentiments Stamp Set) in Shaded Spruce Classic Ink onto the Basic White piece.
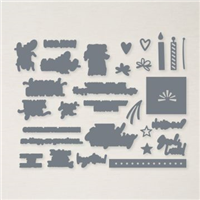
Allow the ink to dry completely, then crop with Stampin’ Cut & Emboss Machine (Standard or Mini) and the coordinating Sentiments Silhouettes die.
Adhere to the card with Stampin’ Dimensionals.

Tie a bow of Linen Thread and adhere it tucked behind the sentiment with Mini Glue Dots.
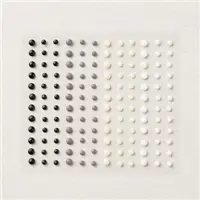
POP OF PERSONALITY! Embellish with white Classic Matte Dot.
stampin’ up! product spotlight!


oh, so pretty card idea!


OH, SO PRETTY! The card above showcases the other shapes that are available within the Nested Essentials Die Set by Stampin’ Up! You can see the original blog post, with tips, tricks and project tutorial here.
promos, specials, & important updates
don’t forget your tulip rewards!

MY CUSTOMER EXCLUSIVE! Tulip Loyalty Rewards are my way of personally saying thank you to my frequent online shoppers. Earn a tulip for every $50 increment you spend on Stampin’ Up! products (purchased through me). Redeem tulips for a free stamp set (5 tulips) or bundle (10 tulips)!


Mary, I agree that encouragement cards are needed on the spur of the moment and this pretty card fills that void in my stash. The color combination is perfect for anyone, which is very nice. Great take on your fresh sketch. Enjoy your day!