
Today I’ll share step by step how to make this fabulous and frilly fun fold birthday card. Three colorful and coordinating patterns of Stampin’ Up! Bright & Beautiful Designer Series Paper are the foundation of the card and envelope.
WHAT I LOVE! No doubt, the star of the show is the frilly fringe that kicks up its heels and says it’s party time! It’s created in a snap using the “fringe” die from the Bright & Beautiful Dies collection.


free designer series paper color resources
WHAT COLOR IS THAT? I offer FREE designer series paper coordinating color charts that make the art of choosing colors, coordination and creating simple cards even easier.
my simple card tutorial
CUT YOUR CARD STOCK – DIMENSIONS:
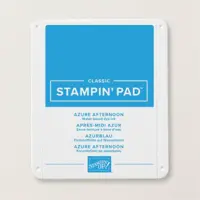
- Azure Afternoon Card Stock:
- Card Base – 4 1/4 x 9, scored at 5 1/2
- Die-Cut Star- 1 1/4 x 1 1/4 (before die-cutting)
- Lemon Lime Twist Card Stock:
- Layers- 3 1/4 x 4 (qty 2), 1 3/4 x 4
- Die-Cut Star- 1 1/4 x 1 1/4 (before die-cutting)
- Basic White Card Stock:
- Inside Sentiment Layer – 3 x 3 3/4
- Sentiment Die-Cut Tag – 3 1/2 x 2(before die-cutting)
- Berry Burst Card Stock:
- Die-Cut Star- 2 x 2 (before die-cutting)
- Die-Cut Fringe – 3 x 1 1/4 (before die-cutting)
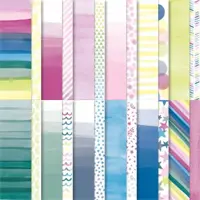
- Bright & Beautiful Designer Series Paper:
- Layers – 3 x 3 3/4, 1 1/2 x 3 3/4
- Envelope Flap – 5 3/4 x 2 1/4

PROJECT TUTORIAL:
Begin by burnishing the fold of the Azure Afternoon card base with a Bone Folder.
Layer and adhere the Basic White & Bright & Beautiful Designer Series Paper Layers to the Lemon-Lime Twist Layers together and to the card as shown with Multipurpose Liquid Glue.


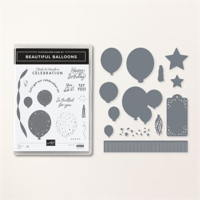
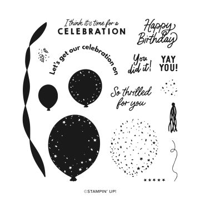
Use a Clear Block D to stamp the inside sentiment (Beautiful Balloons Stamp Set) in Azure Afternoon onto the center of the Basic White layer as shown.
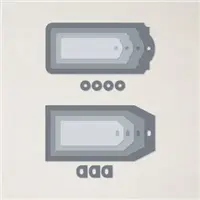
Use a Stampin’ Cut & Emboss Machine (Standard or Mini) to crop the Basic White card stock with the largest Tailor Made Tag die.
Use a Clear Block C to stamp the “Happy Birthday” sentiment (Beautiful Balloons Stamp Set) in Azure Afternoon onto the left side of the die-cut tag.
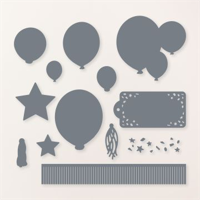
Use a Stampin’ Cut & Emboss Machine (Standard or Mini) to crop the Berry Burst card stock with the Beautiful Balloons fringe die.
Adhere the fringe to the back of the die-cut tag with Multipurpose Liquid Glue.
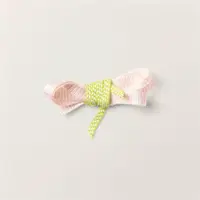
Wrap the card base with Lemon-Lime Twist Ribbon, threading it through the hole at the end of the tag.
Adhere the tag to the card with Stampin’ Dimensionals.
Secure the ribbon in place with a bow as shown.

Use a Stampin’ Cut & Emboss Machine (Standard or Mini) to crop the Berry Burst, Lemon Lime Twist, and Azure Afternoon card stock with the Beautiful Balloons star dies.
Adhere to the tag as shown with Stampin’ Dimensionals.
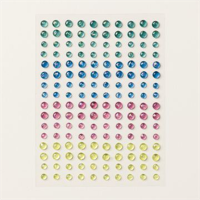
POP OF PERSONALITY! Embellish with Lemon-Lime Twist Tinsel Gems (Four-Pack).
PERFECT POLISH! Use Multipurpose Liquid Glue to adhere the Designer Series Paper to the outside flap of a Basic White Medium Envelope. You can see my video demonstration with tips on adding designer paper to an envelope flap here.
stampin’ up! product spotlight!


Mary


My project supply list. Click products to shop on-line!








I love this bright, fun-fold card, Mary. It will brighten anyone’s birthday. Enjoy your day!