
I shared the newest addition to my Stampin’ Pretty Sketchbook (Sketch #54) on Tuesday! Today’s matchbook style gift card holder uses the sketch and products from the NEW Fitting Florets Collection, available to customers on November 1, 2022! See all the details on here.

Enjoy more sketch ideas in my Stampin’ Pretty Sketchbook here.
Click here or the button below to print or save my complete sketchbook!

CUT YOUR CARD STOCK – DIMENSIONS:
- Basic White Thick Card Stock:
- Matchbook Base – 3 1/8 x 8 5/8, scored the short distance at 3 3/8″, 3 3/4″, and 7 3/4″.
- Basic White Card Stock:
- Celebrate Sentiment – 2 1/8 x 1/2
- Jolly Cropped Sentiment – 2 1/4 x 2 1/2 (before cropping)
- Fitting Florets Designer Series Paper:
- Small Squares – 1 x 1 (Qty 4)
- Gingham – 2 3/4 x 2 1/2

STEP-BY-STEP TUTORIAL – CELEBRATE:
Begin by burnishing the folds on the matchbook base with a Bone Folder.
Adhere the 1″ squares as shown with Stampin’ Dimensionals.
Use a Stamparatus to stamp the sentiments in Night of Navy Classic Ink onto the matchbook base and the sentiment strip as shown.
Adhere the sentiment strip with Stampin’ Seal.
Wrap the bottom with a piece of white Baker’s Twine Essentials, securing with a bow.
Use a mini stapler to staple the two sides and secure the baker’s twine to the bottom flap as shown.
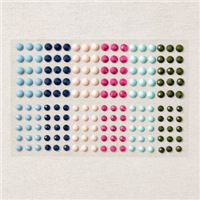
Embellish the sentiment with a Petal Pink Solid Faceted Gem.

STEP-BY-STEP TUTORIAL – JOLLY:
Begin by burnishing the folds on the matchbook base with a Bone Folder.
Adhere the gingham DSP as shown with Stampin’ Seal.
Use a Stamparatus to stamp the sentiments in Cherry Cobbler Classic Ink onto the matchbook base and the sentiment piece as shown.
Use Stampin’ Seal + to add a strip to the inside bottom of the front flap. Press to adhere.
Use a Stampin’ Cut & Emboss Machine (Standard or Mini) along with the smaller oval Framed Florets Dies to crop the “jolly” sentiment piece.
Use a Stampin’ Cut & Emboss Machine (Standard or Mini) along with the flagged Celebrations Tag Die to crop a piece of Cherry Cobbler card stock.
Adhere to the back of the sentiment piece with Mini Glue Dots and to the matchbook as shown with Stampin’ Dimensionals.
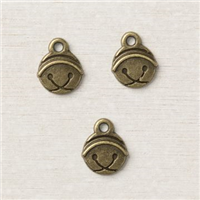
Thread a piece of Linen Thread through the hole of a Flat Jingle Bell Trinket, securing with a bow.
Adhere the Flat Jingle Bell Trinket to the matchbook with a Mini Glue Dot.

POP OF PERSONALITY! Embellish the sentiment with small Rustic Metallic Adhesive-Backed Dots.

Mary


My project supply list. Click products to shop on-line!


Love these cards, Mary, using your latest sketch. The DSP is so pretty! Enjoy your day!