
CASE: Copy And Share with Everyone! Today’s holiday card was inspired by the card below that I created previously with the Season of Whimsy stamp set (retired). You can view the original post here.

STAMPIN’ PRETTY STEP-BY-STEP TUTORIAL:
Create a 4 1/4 x 5 1/2 card base using Stampin’ Up! Thick Whisper White card stock and the Stampin’ Trimmer. It cuts and scores.
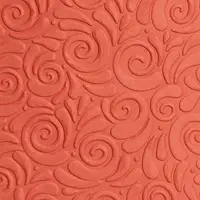
Run a 4 x 5 1/4 piece of Galvanized Metallic Paper through the Big Shot Die-Cutting Machine with the Swirls & Curls Textured Impressions Embossing Folder. Adhere to card base with Snail Adhesive.

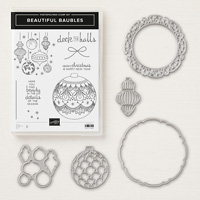
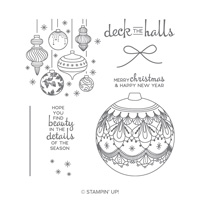
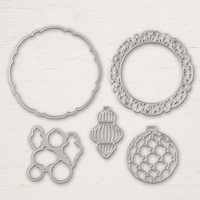
Using the Stamparatus, stamp the baubles in the upper right corner of a 3 3/4 x 5 piece of Whisper White card stock using Jet Black Stazon ink. Stamp a 2nd time on a piece of scrap Whisper White. Zip through the Big Shot using the coordinating die from the Detailed Baubles Thinlits Dies & the Magnetic Platform to hold securely in place. Adhere over the top of the exact image with Stampin’ Dimensionals.

Bundle and Save!: Purchase the Beautiful Baubles Photopolymer stamp set and Detailed Baubles Thinlits Dies together as a bundle and save 10%!
With an Aqua Painter, brush small amounts of Champagne Mist Shimmer Paint onto the various areas of the baubles. Shimmer paint adds a nice touch to any card and is available in 4 colors: Bright Copper, Champagne Mist (shown), Frost White & Vegas Gold.


Stamp the “deck the halls” sentiment Jet Black Stazon Ink onto a 3/4 x 3 flagged banner. Add a Silver Metallic Pearl. Adhere with Stampin’ Dimensionals.
Cut a piece of Frosted Floral Specialty Designer Series Paper to 2 1/4 x 5 3/4. Adhere to a White Medium Envelope flap with Snail Adhesive. Snip to size with a Paper Snips.
ONLY AVAILABLE NOV. 1 – 30 OR WHILE SUPPLIES LAST! These limited release Snowflake Showcase products are selling like crazy. They will be exclusively available Nov. 1 – 30. See the Snowflake Showcase products, samples and learn more here.
I love hearing from you! Please leave me your questions or comments about the project for today.

If you enjoyed this post, please be sure to . . .
- Receive a FREE PDF tutorial when you subscribe to my daily blog updates here.
- Click for my Monthly Host Code and how you can earn up to a $50 shopping spree with my Tulip Rewards Loyalty Program.
- Check out the clearance rack and save up to 70%.
- Save 10% on coordinating product bundles!
- The $99 Starter Kit is the best deal of ALL! Discounts & benefits here.
- Visit my gallery for 1000+ paper crafting ideas.
- View my FREE PDF Project Tutorials.
- Follow me on Pinterest.
- Subscribe to my YouTube paper crafting video tutorials.


My project supply list. Click products to shop on-line!








So Very Lovely! Thank you!
Though I have already selected my products for my Christmas Card this year, THESE cards have convinced me I MUST have this Bundle!
So glad this inspired you, Sandra!
Oh MsMary, Love Love it , so lovely in black and white, my fave colors ♥️Vary classy
Tfs hugs Frenchie
You always share such lovely comments, Frenchie!
Love the simplicity and elegance of this beautiful card, Mary. Using the shimmer paint is a great idea without coloring to make these ornaments really pop! Enjoy your day!
The shimmer paint is like adding magic, Hilda.
Simply stated my friend…….STUNNING.
I love your comments, Kadie. Thanks!
Simply gorgeous! I love when you CASE your own projects – you’ve really brought this set alive for me. Love it!
So crisp in black and white, right?
LOOK at those FONTS!!! Mary, you really made this pop! I didn’t see that set as a “stamp and go” set and I wasn’t going to color them. Because of that I’d missed the fact that the stamp images ALL stamped and die-cut at once. SMH. Adding this to my list. A winner of a card!
Many possibilities with those little ornaments, Celia!