
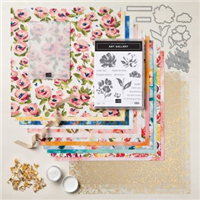
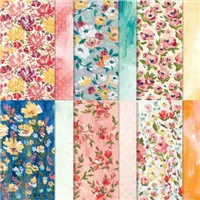
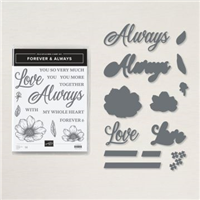
Last Thursday, I shared Sketch #21, the most recent addition to my Stampin’ Pretty Sketchbook. I promised to share a creation today using the sketch and reached for the Stampin’ Up! Fine Art Floral Suite (one of My Favorite Things) and paired it up with the Forever & Always Bundle! The Gilded Leafing Embellishment…ooh, la, la!

MY FAVORITE THINGS! Want to see the rest of My Favorite Things from the 2021 Mini & Sale-a-Bration Catalogs? Take a look by clicking here.

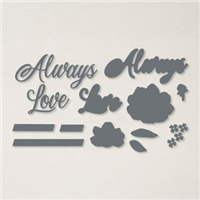
BUNDLE & SAVE 10%! Purchase the Forever & Always Photopolymer Stamp Set and the coordinating Always Dies together as a bundle and SAVE 10%! See all the current Stampin’ Up! 10% off bundles in my online store here.

LOVE SKETCHES? Check out my Stampin’ Pretty Sketchbook here or download my FREE PDF of all sketches here.
STAMPIN’ PRETTY STEP-BY-STEP TUTORIAL:
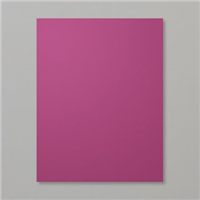
Begin with a 5 1/2 x 4 1/4 card base of Rich Razzleberry card stock.
Use a Paper Trimmer to cut a piece of Fine Art Floral Designer Series Paper to 5 x 3.
Cut another piece of Fine Art Floral Designer Series Paper to 4 x 3 1/2. Cut the left and right panels to 1 1/4. The remaining panel will be 1 1/2.
Adhere the three panels as shown with Stampin’ Seal, starting with the center panel.

Cut a piece of Basic White card stock to 4 1/8 x 2. Crop both ends with the Delightful Tag Topper Punch!
LOVE THIS! The Delightful Tag Topper Punch even adds the ribbon hole for you!
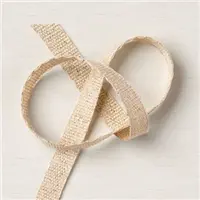
Thread the Fine Art Floral Ribbon through the tag holes and around the Designer Series Paper securing with a bow as shown.
Adhere to the card base with Stampin’ Dimensionals.
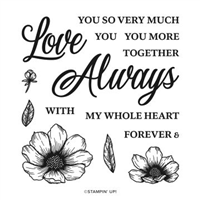
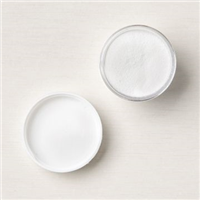
Use the Stamparatus to stamp the sentiment (Forever & Always) in Versamark Ink onto a piece of Basic White card stock. Cover with Heat & Stick Powder and melt with a Heat Tool, REPEAT. (I found two coats of Heat & Stick Powder was more effective).
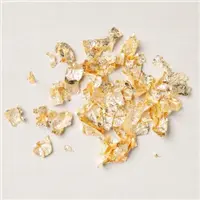
Lightly press the Gilded Leafing Embellishment over the Heat & Stick Powder, until covered completely. Use a brush to remove the excess leafing.

Use the Stamparatus to stamp the “you more” sentiment in Versamark Ink onto a piece of Rich Razzleberry card stock. Cover with White Stampin’ Emboss Powder and set with a Heat Tool.
Use a Mini Stampin’ Cut & Emboss Machine to crop both sentiments with the coordinating Always dies.
Adhere with Stampin’ Dimensionals.
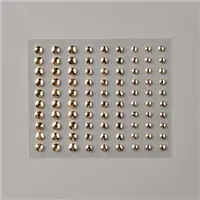
POP OF PERSONALITY! Embellish with Gilded Gems.
PERFECT POLISH! Use Multipurpose Liquid Glue to adhere a 2 1/4 x 5 3/4 piece of coordinating Designer Series Paper to the outside flap of a Basic White Medium Envelope. Trim to size with Paper Snips. You can see my video demonstration with tips on adding designer paper to an envelope flap here.
 OH, SO PRETTY! The card below was also created using products from the Fine Art Floral Suite Collection!

FREE DSP COORDINATION CHART! My FREE Stampin’ Up! Designer Series Paper Coordinating Color Chart has been updated with the NEW 2021 January – June Mini and 2021 Sale-a-Bration Catalogs! You can download it here.

Sale-A-Bration $99 Starter Kit Promotion & Designer Series Paper Bonus. Kick off the Spring Mini catalog with the BEST SAVINGS of all! Get $125 in your choice of products for $99 and the kit ships FREE. BONUS DESIGNER SERIES PAPER INCLUDED IN THE KIT FREE! Be first to enjoy 200 sheets of 6 x 6 designer series paper (above) featuring new designs from the unreleased 2021-2022 Annual Catalog!
Order the $99 starter kit with Sale-A-Bration bonus and join Stampin’ Up! through me here.


SALE-A-BRATION! Don’t miss our biggest promotion of the year! Earn FREE products for every $50 you spend (total before shipping and tax). You can see all the Sale-a-Bration freebies on my blog page here.

NEW FEBRUARY HOST REWARDS CODE! SAVE THIS CODE TO EARN TULIP REWARDS!
What are Tulip Rewards? Tulip Rewards are my way of personally saying thank you to my frequent shoppers. You earn a tulip for every $50 increment you spend on Stampin’ Up! products through me and can redeem for up to a $50 shopping spree when you reach 10 tulips. I cover shipping, handling, and tax on your spree, too!
You can see all the details on my EXCLUSIVE Tulip Rewards Program here.











WOW my friend. Sketch #21 was SO WORTH THE WAIT.
This card is BEAUTIFUL.