Hello, welcome to the Stampin’ Pretty Pals’ Blog Hop! This month our Design Team created projects where “It’s the Sentiment that Counts.” We hope you enjoy it and will be inspired by them! Don’t forget to leave comments! We love hearing from you. At the end of my post, you will find the full line-up to help you “hop” along from Pal to Pal.

STAMPIN’ PRETTY STEP-BY-STEP TUTORIAL:
Start with a 4 1/4 x 11 card base of Shaded Spruce card stock that is scored/folded at 3 1/2 and 9.
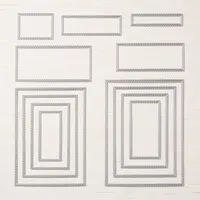
Use the Stampin’ Cut & Emboss Machine to crop the following die-cuts of Whisper White card stock:
- 3 3/8 x 4 3/4 Stitched Rectangle Die
- 2 5/8 Square Stitched Shapes Die
Use the Paper Trimmer to cut the following pieces of card stock/designer series paper:
- Cherry Cobbler – 2 7/8 Square
- Shaded Spruce – 3 1/8 Square
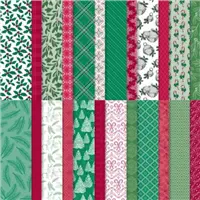
- ‘Tis the Season 6×6 Designer Series Paper – 3 1/4 x 4 and 1 3/4 x 4
Adhere the designer series paper to the outside flaps with Stampin’ Seal.
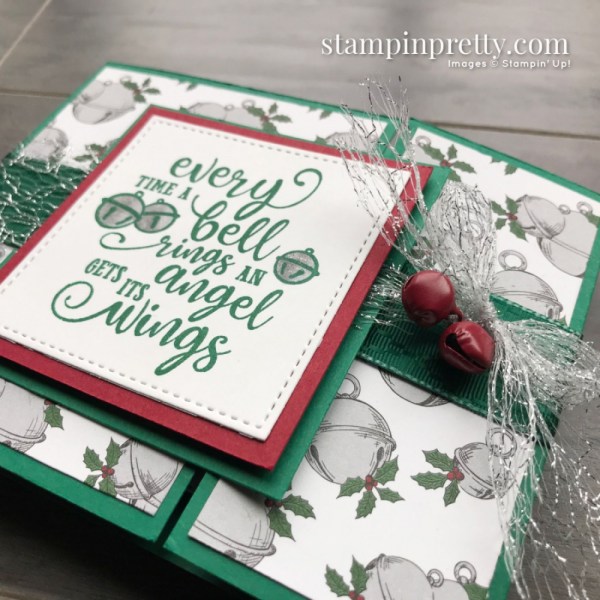
Adhere 1/2 of the Shaded Spruce Square to the designer series paper on the left-hand side with Stampin’ Seal.
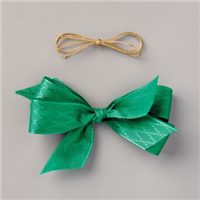
Cut a 14″ piece of Shaded Spruce 1″ Argyle Satin Ribbon. Use Stampin’ Seal+ to adhere one end to the top of the Shaded Spruce square, wrap around the entire card, then adhere to the inside of the card as shown.
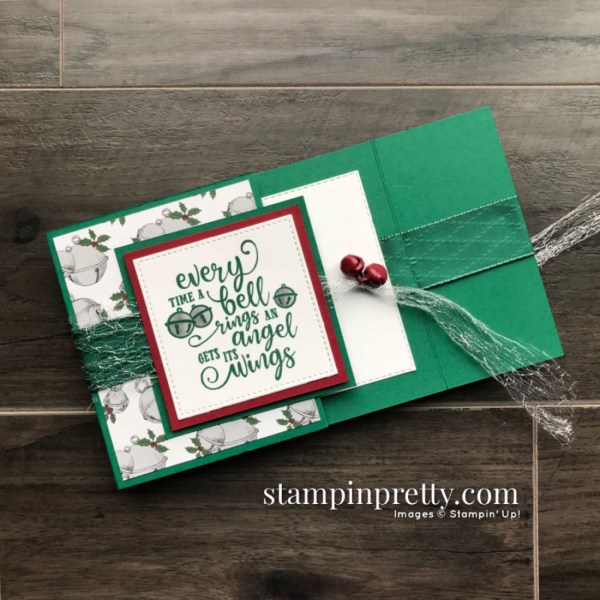
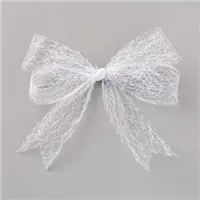
Wrap the entire card with an 18″ piece of 1-1/2″ Metallic Mesh Ribbon.
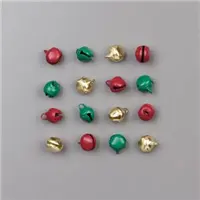
Thread two Cherry Cobbler Jingle Bells onto the ribbon and secure in place with a knot. LOVE THIS! The Jingle Bells ring when you open the card. Perfect for this sentiment!
Adhere the large Whisper White stitched rectangle die to the inside of the card as shown with Stampin’ Seal.
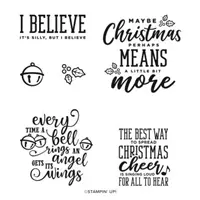
Use the Stamparatus to position and stamp the sentiment in Shaded Spruce Classic Ink onto the Whisper White Stitched Square die-cut.
Adhere to the Cherry Cobbler square with Stampin’ Seal.
Adhere to the Shaded Spruce square with Stampin’ Dimensionals.
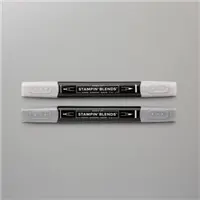
Color the bells with Smoky Slate Stampin’ Blends.
POP OF PERSONALITY! Brush on the Clear Wink of Stella to make the bells shimmer.
More inspiration awaits! Use the Blog Hop Line-up below to visit the rest of this month’s Design Team. My fellow Pals are excited to show you what they’ve created!
Mark your calendars for our next blog hop on October 14th when our theme is “Tag, You’re It!” Participants will showcase tags or 3D items that will be great for gifts for any occasion. Don’t miss the fun! Until then, please stay safe and have fun in your craft room.
September Pals Blog Hop Line-Up:
- Mary Fish at Stampin’ Pretty
- Tricia Chuba at ButterDish Designs
- Jeanie Stark at Just Stampin’
- Melissa Seplowitz at The Stamping Ninja
- Jen Roque at Stamp Camp with Jen
- Rae Harper Burnet at Wild West Paper Arts
- Jackie Beers at Blue Line Stamping
- Karen Hallam at Karen’s Stamping Habit
- Deb Walker at Deb Stamps Life
- Michelle Gleeson at StampinMojo
- Peggy Noe at Pretty Paper Cards
- Sue Jackson at Just Peachy Stamping
- Mary Hanson at Up North Stampin’
- Debbie Mageed at Secrets to Stamping
- Leah O’Brien at Honey Bee Stamping & More!
- Dacia Smith at My Creative Days
- Su Mohr at Aromas And Art
- Diana Carr at The Secret Life of Paper
- Stesha Bloodhart at Stampin’ Hoot!
- Christine Eck at Dances With Hooves Paper Design
- Beth McCullough at Stamping Mom
- Wendy Klein at Doggone Delightful Stampin’
- Ann Murray at Murray Stamps INK
- Pamela Sadler at Stampin’ Pink Rose
- Lisa Ann Bernard at Queen B Creations
- Lynn Kolcun at Avery’s Owlery
promos, specials, & important updates
don’t forget your tulip rewards!

MY CUSTOMER EXCLUSIVE! Tulip Loyalty Rewards are my way of personally saying thank you to my frequent online shoppers. Earn a tulip for every $50 increment you spend on Stampin’ Up! products (purchased through me). Redeem tulips for a free stamp set (5 tulips) or bundle (10 tulips)!
my project supply list – click products to shop online!









Love this card BUT how do you mail it with those bells on it?
ADD A LITTLE MAILING PROTECTION! Zip a 4 1/4 x 5 1/2 piece of card stock through a Stampin’ Cut & Emboss Machine tucked inside the Tin Tile 3D Embossing Folder. Place inside the envelope, layered over the card to help protect the embellishments.
USE A NON-MACHINABLE BUTTERFLY STAMP! The postage on this Butterfly Stamp covers both the 1-ounce First-Class Mail letter postage (the equivalent of a standard Forever Stamp) AND the non-machinable surcharge. Your handcrafted card (and all it’s pretty layers and embellishments) is hand-canceled rather than going through a machine.
So beautiful Mary and a perfect presentation for the greeting.
Mary, this is my favorite movie of all time. We watch it every year, therefore it was one of the first sets I bought from the Holiday catty. The card is perfection. Love the two layers of ribbon. Oh so yummy!
Beautiful holiday card, Mary! And love the fun fold style! Thanks for being part of the hop this month!
Such a nice card. I love that it “jingles” when you open it.
What a festive card Mary, great job! I love the ribbon tie closure and the bells. Great addition. Thanks for the hop.
Oh , WOW all vary beautiful cards , great job ladies ♥️♥️♥️ All 27 of them ♥️♥️♥️♥️
Hugs Frenchie ♥️
Love how you used the ribbon, Mary!
This is beautiful, Mary!
Thank you for hosting the hop – I had a lot of fun creating something to play along with you all this month!
Blessings,
Very pretty card Mary! You definitely showcased that sentiment very well. I love how the DSP matches perfectly.
Love those bells! I would love to receive this Christmas card. Thanks for sharing!
I love this card! Such a great combination of products from so many different suites and occasions. So festive!
I love the bell paper with the sentiment and the bells embellishments. So pretty. Enjoy your day!
The ribbon looks like angel wings. The bells and ribbon are perfect with the sentiment.
I love this fold! The elements are all wonderful and the fold is the finishing touch.