
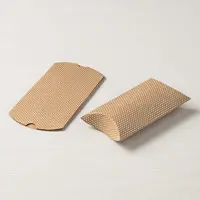
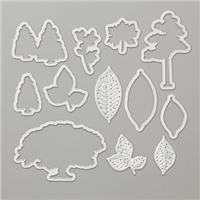
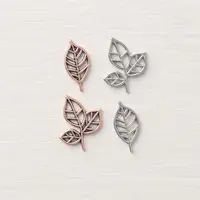
The leaves from the Stampin’ Up! Nature’s Roots Framelits Dies are at the heart of this mini vignette tucked inside a Kraft Pillow Box. Think of all the scenes you could create with alternate dies and punches. My project was inspired by a “dream catcher” version I saw on the Alaska trip. Wouldn’t these be pretty as part of an autumn table setting?

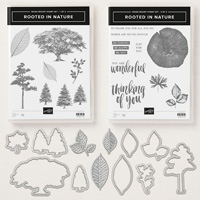
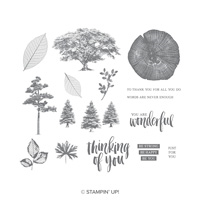
SAVE 10%. Purchase the Rooted in Nature Stamp Set and Nature’s Roots Framelits Dies as a coordinating product bundle and save 10%. Watch a Stampin’ Up! video here for more product tips and ideas!
MY STAMPIN’ PRETTY STEP-BY-STEP TUTORIAL:
Carefully detach the side “seam” of the pillow box (love the polka dots) so that you can open it up and cut the oval. Watch my WOW! video here for a detailed demonstration.
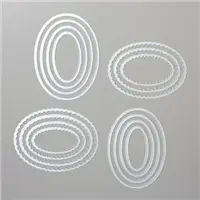
Crop the center of one side of the pillow box using the second largest oval die from Layering Ovals Framelits Dies, the Big Shot Die-Cutting Machine and Magnetic Platform (to help keep the die in place). TIP: I cropped the oval from the inside (kraft) of the pillow box vs. the outer (polka dot) side to avoid any embossed edges of the die showing up on the outside.

Using the Big Shot, crop an Early Espresso oval with the largest oval die and a vellum oval with the third largest oval die. Adhere the vellum oval to to the Early Espresso oval using glue dots in an area that the glue dots will be covered by the leaves.
Emboss and crop the leaves using the Nature’s Roots Framelits Dies in Bermuda Bay and Coastal Cabana card stock. Layer over the vellum oval using Stampin’ Dimensionals and Mini Stampin’ Dimensionals.

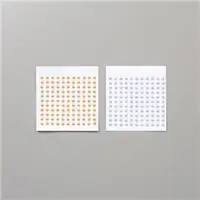
Using a Glue Dot, tuck the silver metal stem from Leaves Trinkets below the small leaf and add two silver Metallic Pearls (self-adhesive) as shown.
Adhere the Early Espresso oval using Stampin’ Dimensionals to the inside of the pillow box. Use Tear & Tape adhesive to re-adhere pillow box seam and to close ends of the pillow box.
Using the Stamparatus (learn about the Stamparatus here), stamp the “wonderful” sentiment from Rooted in Nature in Early Espresso ink on Whisper White card stock. Trim to a 2 1/2 x 1 1/4 tag.

Add a small hole to the top left corner of the tag. I used a retired 1/16 Handheld Circle Punch but the Stampin’ Up! 1/8 Handheld Circle Punch (not retired) will work just as well. TIP: Adhere the tag to the pillow box with one Stampin’ Dimensional to keep it in place. Wrap the box twice with Linen Thread and tie in a bow using the hole created on the tag.
Enjoy my FREE PDF Step-By-Step Tutorial (and supply list) for the Pillow Box Vignette here.

3 AUGUST PROMOTIONS YOU DON’T WANT TO MISS:
My Exclusive Host Code Offer for August – the Metallic Pearls used on today’s project!
Bonus Days. Earn in August Redeem in September!
Color Your Season Limited-Time Bundle
I love hearing from you! Please leave me your questions or comments about the project for today.

If you enjoyed this post, please be sure to . . .
- Receive a FREE PDF tutorial when you subscribe to my daily blog updates here.
- Click for my Monthly Host Code and how you can earn up to a $50 shopping spree with my Tulip Rewards Loyalty Program.
- Check out the clearance rack and save up to 70%.
- Save 10% on coordinating product bundles!
- The $99 Starter Kit is the best deal of ALL! Discounts & benefits here.
- Visit my gallery for 1000+ paper crafting ideas.
- View my FREE PDF Project Tutorials.
- Follow me on Pinterest.
- Subscribe to my YouTube paper crafting video tutorials.


My project supply list. Click products to shop on-line!






Oh Mary that is beautiful! Love the colors you used too.
Thanks, Beth. I like the way the two blues look against espresso!
Sorry – I was referring to the Color Your Season set.
Mary, this is stunning! …and this would be beautiful as part of an Autumn table setting.
Exactly my thoughts, Debbie! Thanks for visiting!
This is really lovely.
Thanks so much, Robbye. I appreciate your visits to my blog and kind comments!
Yippee! I’ll be back tomorrow Ü
Mary I love your pillow box and I’m putting in a plug for a video tutorial on it Ü. As always, I’m so grateful for what you share with us!
You win! I’m working on a video right now. Should be ready for tomorrow’s post.
This is gorgeous, Mary! What a wonderful gift! <3
I appreciate your kindness, BK. It was a delight to make!
Mary, this decorative pillow box is just beautiful!! I love the non-traditional color of the leaves. Your touch is golden!
Thanks, Tracy. I thought it was sweet, fun and offers oodles of possibilities.
I simply ADORE this pillow box gift. What a extra special gift this would make on the pillow of a house-guest. LOVE IT!
Thanks, Kadie. I started out doing bats with the new bat punch and realized I hadn’t received the coordinating stamp set yet. Decided to wait but love the leaves.
Love this beautiful scene in the pillow box. So pretty, Mary. Have a fantastic day!
You have a lovely day, too, HJ. Thanks for your thoughts!