
On Tuesday I shared “Take 5 Stampin’ Pretty Color Combinations” with you and, as promised, I am sharing a creation using one of the 5 color combinations. Today’s For You, From Me Valentine card uses Granny Apple Green, Lovely Lipstick, and Mossy Meadow. Missed it? You can see the remaining color combinations on my blog post here.

This Valentine’s card showcases the following products:
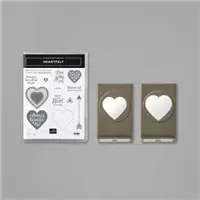
- Heartfelt Bundle | 153775
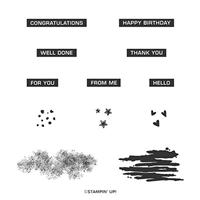
- Label Me Bold Stamp Set | 151631
- Stitched Be Mine Dies | 148527
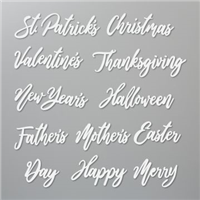
- Word Wishes Dies | 149629
The Heartfelt Bundle is part of 
BUNDLE & SAVE 10%! Purchase the Heartfelt Stamp Set and the coordinating Heart Punch Pack together as a bundle and save 10%! See all the current Stampin’ Up! 10% off bundles in my online store here.
STAMPIN’ PRETTY STEP-BY-STEP TUTORIAL:
Begin with a 4 1/4 x 5 1/2 card base of Whisper White card stock.
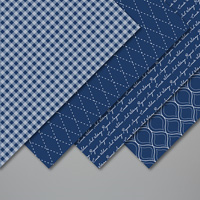
Adhere a 4 x 5 1/4 piece of Mossy Meadow Neutral 6×6 Designer Series Paper to the card base with Snail Adhesive.

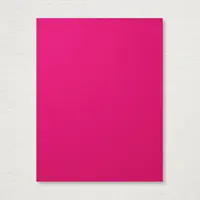
Use a Stampin’ Up! Paper Trimmer to cut a piece of Granny Apple Green 3 1/2 x 4 3/4. Adhere as shown with Stampin’ Dimensionals.
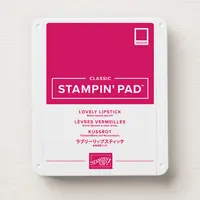
Use a Clear Block A to stamp the small hearts (Label Me Bold) as shown in Lovely Lipstick Ink onto a 3 1/2 x 4 3/4 piece of Whisper White card stock.
Adhere as shown with Snail Adhesive.
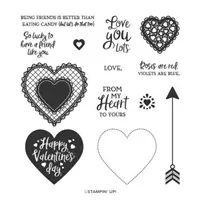
Use a Stamparatus to stamp the heart (Heartfelt) in Lovely Lipstick Classic Ink onto a piece of Whisper White card stock.
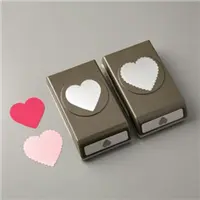
Crop with the coordinating scalloped Heart Punch.
Adhere with Stampin’ Dimensionals.

Use the Stamparatus to stamp the “For You” in Mossy Meadow Classic Ink onto Whisper White card stock.
Snip with Paper Snips.
Adhere with a Mini Stampin’ Dimensional.
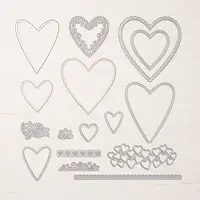
Use a die-cutting and embossing machine to crop a piece of Granny Apple Green card stock with the smallest scalloped heart die (Stitched Be Mine Dies).
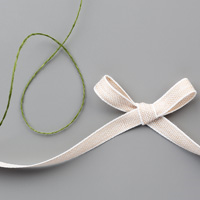
Wrap with Mossy Meadow Magnolia Lane Linen Thread, securing with a bow.
Adhere to the card with a Stampin’ Dimensional.
 Crop a piece of Lovely Lipstick card stock using a die-cutting and embossing machine and the “Valentines” die (Word Wishes Die).
Remove the “s” with Paper Snips.
Adhere with snipped-to-size Stampin’ Dimensionals.
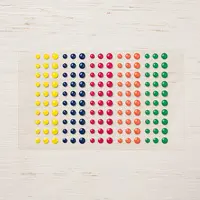
Add a Lovely Lipstick Happiness Blooms Enamel Dot as the “i” for a little pop of personality.
Use Multipurpose Liquid Glue to adhere a 2 1/4 x 5 3/4 piece of Lovely Lipstick 6×6 Designer Series Paper to the outside flap of a Medium Whisper White Envelope. Trim to size with Paper Snips. You can see my video demonstration with tips on adding designer paper to an envelope flap here.
OH, SO PRETTY! Today’s card was inspired by a valentine’s card I shared back in January of 2018! You can see all the details on my blog post here.

Learn how you can get the best deal of all on new products here.

JANUARY Host Code! SAVE IT!
Don’t forget to add my January Host Code (EWG7QZA4) to all orders placed through me between $50 and $149 to qualify for my Tulip Rewards program. Orders $150 and up (total before shipping and tax) automatically qualify and should not include the code. Get the scoop on Tulip Rewards and how you can earn a $50 shopping spree when you shop with me.
 Click to download the January – June 2020 Catalog PDF
Click to download the 2020 Sale-A-Bration Promotion PDF
DETAILS! You can view in-depth details on the new catalogs via my blog post here.
Get a copy of the 2020 Mini Catalog & 2020 Sale-A-Bration Promotion Catalog! If you plan to shop through me, you can request a copy of the catalogs for FREE by visiting my catalog request page here.
I love hearing from you! Please leave me your questions or comments about the project for today.

If you enjoyed this post, please be sure to . . .
- Receive a FREE PDF tutorial when you subscribe to my daily blog updates here.
- Click for my Monthly Host Code and how you can earn up to a $50 shopping spree with my Tulip Rewards Loyalty Program.
- Check out the clearance rack and save up to 70%.
- Save 10% on coordinating product bundles!
- The $99 Starter Kit is the best deal of ALL! Discounts & benefits here.
- Visit my gallery for 1000+ paper crafting ideas.
- View my FREE PDF Project Tutorials.
- Follow me on Pinterest.
- Subscribe to my YouTube paper crafting video tutorials.


My project supply list. Click products to shop on-line!











I actually CASED the second card and gave it to my granddaughter for Valentine’s Day. It was a fun card to make. Thanks for sharing.
I LOVE that you’ve pulled in greens. They are perfect with this pink!
Love both cards today, Mary. It’s a great idea to get inspiration from an earlier one. Have a lovely day!
Just beautiful! Love the incorporation of that gorgeous green. So creative! Thanks for sharing Mary.
WOW!! Mary, I never would have thought to combine shades of green with pink on a Valentine’s Day card but you just completely changed my mind, this card is as beautiful as it is unique, love it.
Thank you so much for sharing.
XO