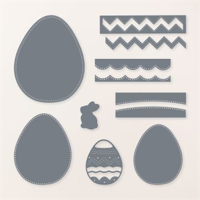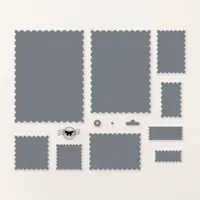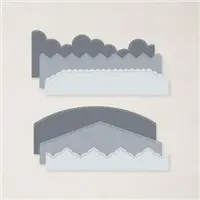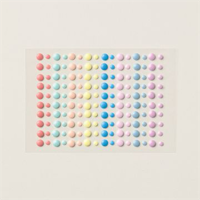
CARD #2! Today I have THREE Easter cards for you created with the Stampin’ Up! Excellent Eggs dies. Once I started playing with the dies, I simply couldn’t stop! I even made two 1 Minute to WOW! Videos for a quick peek at the possibilities.

WHAT I LOVE! Card #2 plays up the scallop, zig zag and curved dies. Watch my WOW! video below for simple tips on how to cut the designs to fit the egg perfectly!
wow tutorial: excellent egg decorations
CARD 2: Happy Egg Decorations
my simple card tutorial: eggs easter card
CUT YOUR CARD STOCK – DIMENSIONS:
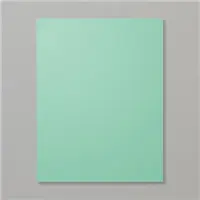
- Coastal Cabana Card Stock:
- Card Base – 5 1/2 x 8 1/2, scored at 4 1/4 (top)
- Scalloped Die-Cuts – 4 x 3 (qty 2) (before die-cutting)
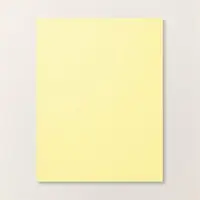
- Lemon Lolly Card Stock:
- Layer – 5 1/4 x 4
- Zig-Zag Die-Cut – 4 x 1 (before die-cutting)
- Basic White Card Stock:
- Layer – 5 x 3 3/4
- Early Espresso Card Stock:
- Die-Cut Egg – 4 x 3 1/4(before die-cutting)
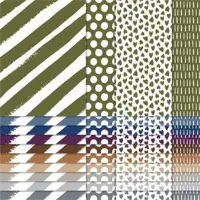
- Early Espresso Neutrals 6 x 6 Designer Series Paper
- Die-Cut Curve – 4 x 2
- Envelope Flap – 5 3/4 x 2 1/4

PROJECT TUTORIAL:
Begin by burnishing the fold of the Coastal Cabana card base with a Bone Folder.
Layer and adhere the Basic White and Lemon Lolly layers together and to the card base with Multipurpose Liquid Glue.
Use a Stampin’ Cut & Emboss Machine (Standard) to crop the following with the Excellent Eggs Dies:
- Coastal Cabana – scalloped edge die – qty 2 (top and bottom)
- Lemon Lolly – zig-zag die
- Designer Series Paper – curved die
- Early Espresso – largest egg die (your base)
Crop the Coastal Cabana, Lemon Lolly and Designer Series Paper die-cuts with a Stampin’ Cut & Emboss Machine (Standard) and the Excellent Eggs largest egg die so that the edges of the die-cuts match the edges of the Early Espresso die-cut egg. TIP: Watch my Stampin’ Pretty 1 Minute to WOW Video here.
Adhere the cropped pieces onto the Early Espresso die-cut egg with Multipurpose Liquid Glue as shown.

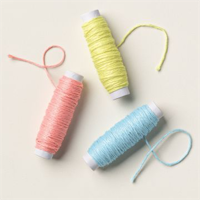
Wrap the egg with Lemon Lolly Baker’s Twine Three Color Pack, securing with a bow.
Adhere to the card with Stampin’ Dimensionals.
Use a Clear Block C to stamp the sentiment (Biggest Wish Stamp Set) in Early Espresso Classic Ink onto the Basic White piece.
Crop with a Stampin’ Cut & Emboss Machine (Standard or Mini) and the 1 7/8 x 1 Perennial Postage die.
Adhere to the egg as shown with Stampin’ Dimensionals.
POP OF PERSONALITY! Embellish the egg with the Lemon Lolly Rainbow Adhesive-Backed Dots as shown. (small dots on top, medium and large dots on bottom)
PERFECT POLISH! Adhere the 5 3/4 x 2 1/4 Designer Series Paper (DSP) to the Basic White Medium envelope flap with Multipurpose Liquid Glue. IMPORTANT: Add glue to the flap first, not the DSP. Center and line up the Basic Borders curved edge die, tape to secure (Post-It Tape) and crop with a Stampin’ Cut & Emboss Machine (Standard).
promos, specials, & important updates
don’t forget your tulip rewards!

MY CUSTOMER EXCLUSIVE! Tulip Loyalty Rewards are my way of personally saying thank you to my frequent online shoppers. Earn a tulip for every $50 increment you spend on Stampin’ Up! products (purchased through me). Redeem tulips for a free stamp set (5 tulips) or bundle (10 tulips)!


