
Today I’m sharing a fun fold that gets it’s magic from one of the “belles of the ball” for the Stampin’ Up! Spring Mini – Nature’s Sweetness Specialty Designer Series Paper.
WHAT I LOVE! What makes the Nature’s Sweetness Specialty Designer Series Paper so special? It’s the lush, shiny gold botanical images and script (yes, real words and real botanical names). Tie that together (literally) with the gold ribbon, gold embossing (sentiment), gold foil and a gold pearl (Blooming Pearls) and you have a card that goes straight to WOW!

WISH LIST! Start your wish list now and be ready to order these products starting January 4 when the new Stampin’ Up! spring mini catalog begins.

don’t forget a thing with online wish lists!
Start your wish list now and never forget a thing when you go to place your next order. It’s easy to do!
my simple card tutorial
CUT YOUR CARD STOCK – DIMENSIONS:
- Basic White Thick Card Stock:
- Card Base –4 1/4 x 11, scored at 5 1/2, then cut at 3 1/2 (removing 2″)
- Gold Foil:
- Layers – 3 1/4 x 4 and 1 3/4 x 4
- Die-cut Rectangle – 2 x 3 (before die-cutting)
- Basic White Card Stock:
- Die-cut Flag – 1 1/2 x 2 (before die-cutting)
- Die-Cut Rectangle -1 3/4 x 2 1/2 (before die-cutting)
- Nature’s Sweetness Specialty Designer Series Paper:
- Layers – 3 x 3 3/4 and 1 1/2 x 3 3/4

PROJECT TUTORIAL:
Begin by burnishing the fold of the Basic White Thick card base with a Bone Folder.
Use a Paper Trimmer to cut at 3 1/2 (removing 2″) from top of the card base.
Layer and adhere the Designer Series Paper layer to the coordinating Gold Foil layers together and to the card as shown with Multipurpose Liquid Glue.
Wrap the card with Gold Trim (Gold & Silver Trim Combo), securing with a bow on the right side.
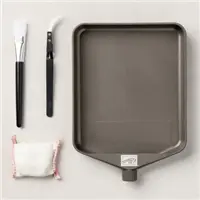
Rub the larger Basic White layer with an Embossing Buddy (Embossing Additions Tool Kit).
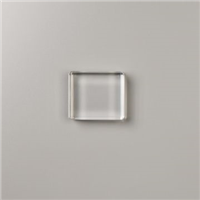
Use Clear Blocks C to stamp the sentiment(Layering Leaves Stamp Set) in Versamark Ink onto the Basic White layer.
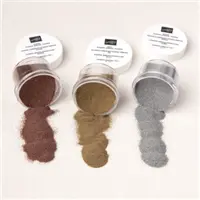
Cover with gold Metallics Embossing Powder. Tap to remove the excess and set with a Heat Tool.
EMBOSSING TIPS! To see my 8 Steps for Impeccable Heat Embossing click here.

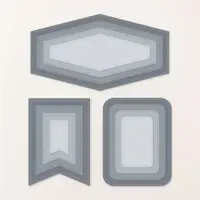
Use a Stampin’ Cut & Emboss Machine (Standard or Mini) to crop the following Nested Essentials Dies:
- Sentiment – 1 1/2 x 2 1/8 rounded rectangle
- Gold Foil – 1 7/8 x 2 5/8 rounded rectangle
- Basic White – 1 1/8 tall flagged banner

GET 100+ CARD SKETCH IDEAS FREE! Subscribe to my email updates & instantly receive a FREE digital gift of 100+ Card Sketch Ideas that you can save or print! Subscribers also receive my daily card ideas and tutorials, special offers, new product releases and exclusive “subscriber-only” resources.
Adhere all three together as shown with Stampin’ Dimensionals.
Adhere only the left half to the left side of the card base as shown with Stampin’ Dimensionals.
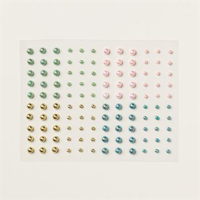
POP OF PERSONALITY! Embellish with a gold Blooming Pearl. Simple and classic!
stampin’ up! product spotlight!


SNEAK PEEK! The Nature’s Sweetness Specialty Designer Series Paper is from the NEW Stampin’ Up! 2024 Spring Mini Catalog that begins on January 4, 2024!
promos, specials, & important updates
don’t forget your tulip rewards!

MY CUSTOMER EXCLUSIVE! Tulip Loyalty Rewards are my way of personally saying thank you to my frequent online shoppers. Earn a tulip for every $50 increment you spend on Stampin’ Up! products (purchased through me). Redeem tulips for a free stamp set (5 tulips) or bundle (10 tulips)!










Mary your cards are always stunning. This is no exception.