
LOVE SKETCHES? Tuesday, I shared the newest addition to my Stampin’ Pretty Sketchbook, Sketch #49! Today’s card uses a few products from Lights Aglow Suite in the Stampin’ Up! 2022 Holiday Mini Catalog!

Enjoy more sketch ideas in my Stampin’ Pretty Sketchbook here.
Click here or the button below to print or save my complete sketchbook!


 MY FAVORITE THINGS! This card uses products from the Lights Aglow Suite Collection, including the Festive Pearls that bring a Pop of Personality. Both items are part of My Favorite Things from the Holiday Mini Catalog. You can see all of My Favorite Things here.

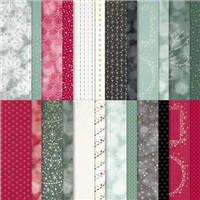
WHAT COLOR IS THAT? Find the answers with my FREE Designer Series Papers Color Charts by clicking the button below.

 STAMPIN’ PRETTY STEP-BY-STEP TUTORIAL:
Begin with a 5 1/2 x 4 1/4 piece of Basic White Thick card stock.
Adhere a 5 x 3 3/4 piece of Lights Aglow Specialty Designer Series Paper to the card base with Stampin’ Seal.
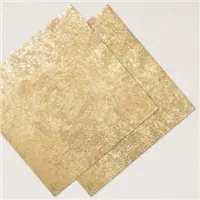
Layer and adhere a 4 x 2 3/4 piece of Lights Aglow Specialty Designer Series Paper to a 4 1/2 x 3 1/4 piece of Distressed Gold Specialty Paper together with Stampin’ Seal.
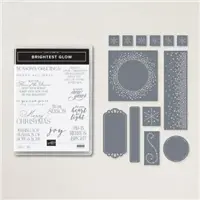
 Use a Stamparatus to position and stamp the sentiment (Brightest Glow) in Versamark Ink onto a piece of Basic White card stock.
Cover with Gold Metallics Embossing Powder. Set with a Heat Tool.
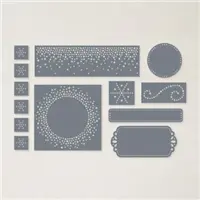
Crop with a Stampin’ Cut & Emboss Machine (Standard or Mini) and the coordinating Labels Aglow Dies.
Thread and wrap the sentiment around the layer, securing with a bow of gold Simply Elegant Trim as shown.
Adhere with Stampin’ Dimensionals.

POP OF PERSONALITY! Embellish with gold Festive Pearls.
PERFECT POLISH! Use Multipurpose Liquid Glue to adhere a 2 1/4 x 5 3/4 piece of Lights Aglow Specialty Designer Series Paper to the outside flap of a Basic White Medium Envelope. Trim to size with Paper Snips. You can see my video demonstration with tips on adding designer paper to an envelope flap here.

Mary


My project supply list. Click products to shop on-line!


Price: $15.00


Very pretty card, Mary. Enjoy your day!