
SALE-A-BRATION ENDS MONDAY, FEBRUARY 28, 2022! Today’s card is showcasing the Simply Marbleous 6×6 Designer Series Paper that can be earned for FREE through Monday, February 28, 2022 with a qualifying $50 purchase (before shipping & tax). You can see all the items that can be earned for FREE during the Sale-a-Bration Promotion here.

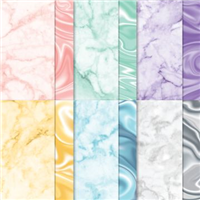
SIMPLY MARBLEOUS! ONLY 5 DAYS LEFT TO EARN IT FREE! The pack includes soft, pastel, realistic marble imagery, with one side revealing a more realistic marble and the other side a more artistic marble.The Simply Marbleous Designer Series Paper is only available for a limited time and is FREE when you spend $50 (before shipping & tax).

STAMPIN’ PRETTY STEP-BY-STEP TUTORIAL:
Begin with a 4 1/4 x 5 1/2 card base of Basic White Thick card stock.
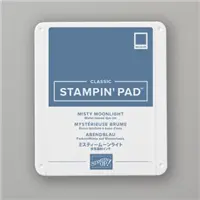
Layer and adhere a 3 1/2 x 4 1/4 piece of Basic White card stock to a 3 3/4 x 4 1/2 piece of Misty Moonlight card stock with Stampin’ Seal.
Adhere to the card with Stampin’ Dimensionals.

Crop the following with a Stampin’ Cut & Emboss Machine.
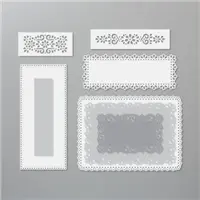
- 1 x 4 stitched rectangle (Ornate Layers Dies) x 3: Simply Marbleous Designer Series Paper
- Largest circle die (Layering Circles Dies): Basic White card stock
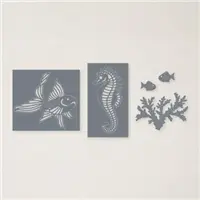
- Goldfish (Sea Life Dies): Simply Marbleous Designer Series Paper (use Paper Snips to remove the die-cut image at the uncut points)
- Sentiment Die-cut (Messages Die): Basic White card stock
Adhere the three die-cut panels to the card with Stampin’ Dimensionals.
Layer and adhere the die-cut goldfish to the large die-cut circle with Mini Stampin’ Dimensionals.
Adhere to the card with Stampin’ Dimensionals.

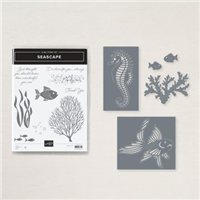
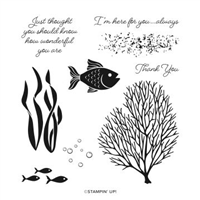
Use a Stamparatus to position and stamp the sentiment (Seascape Stamp Set) in Misty Moonlight Classic Ink onto the die-cut piece of Basic White card stock.
Adhere to the card with Stampin’ Dimensionals.
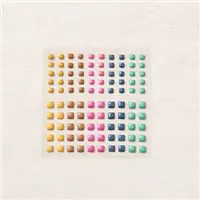
POP OF PERSONALITY! Add three coordinating Misty Moonlight 2020-2022 In Color Square Gems to the card as shown.
PERFECT POLISH! Use Multipurpose Liquid Glue to adhere a 2 1/4 x 5 3/4 piece of Simply Marbleous Designer Series Paper to the outside flap of a Basic White Medium Envelope. You can see my video demonstration with tips on adding designer paper to an envelope flap here.
OH, SO PRETTY! The card below also uses the Simply Marbleous Designer Series Paper, along with the Calming Camellia Stamp Set from the Sale-a-Bration Promotion.

promos, specials, & important updates
don’t forget your tulip rewards!

MY CUSTOMER EXCLUSIVE! Tulip Loyalty Rewards are my way of personally saying thank you to my frequent online shoppers. Earn a tulip for every $50 increment you spend on Stampin’ Up! products (purchased through me). Redeem tulips for a free stamp set (5 tulips) or bundle (10 tulips)!









Oooh! This goldfish is perfect with this paper. I love the layout of your gorgeous card!
What a GREAT layout my friend. TFS!