
Today’s square card duo showcases the layout of the Stampin’ Pretty Sketchbook #10 (below) that I shared on Monday! You can see my current collection of sketches on my sketchbook page here.

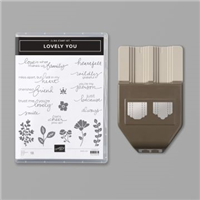
The card duo also features the Lovely You Bundle from the 2020-2021 Annual Catalog! This bundle is extremely popular and is on LOW INVENTORY! If you want it, please get it now or you may have to wait for it to be back in stock!

The Lovely You Bundle is part of MY FAVORITE THINGS from the 2020-2021 Annual Catalog! You can see all of My Favorite Things here.
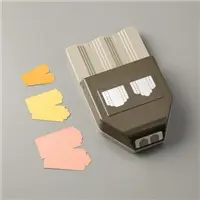
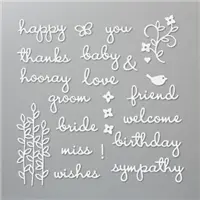
BUNDLE & SAVE 10%! Purchase the Lovely You Cling Stamp Set and the coordinating Lovely Labels Pick a Punch together as a bundle and SAVE 10%! See all the current Stampin’ Up! 10% off bundles in my online store here.

STAMPIN’ PRETTY STEP-BY-STEP TUTORIAL:
Begin with a 4×4 square card base of Whisper White Thick card stock.
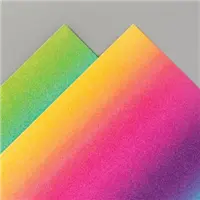
Use a Stampin’ Up! Paper Trimmer to cut a piece of Rainbow Glimmer Paper to 3 3/4 x 3 3/4.
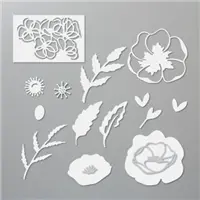
Zip a 2 x 3 3/4 piece of Whisper White card stock through a die-cutting machine with the floral die from the Poppy Moments Dies.
Adhere to the card as shown with Stampin’ Dimensionals.

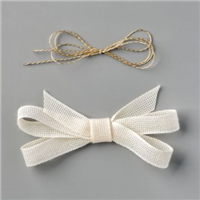
Wrap with Whisper White 1/4″ Crinkled Seam Binding Ribbon, securing with a bow on the left-hand side.
Adhere to the card base with Stampin’ Dimensionals.
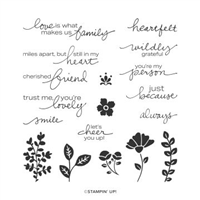
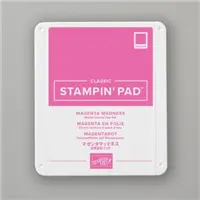
Use a Stamparatus to position and stamp the sentiment (Lovely You) in Magenta Madness Classic Ink onto a 3/4 x 2 piece of Whisper White card stock that has been cropped with the Lovely Labels Pick a Punch.
Adhere to the card as shown with Stampin’ Dimensionals.
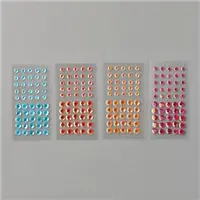
POP OF PERSONALITY! Adhere three Artistry Blooms Sequins to the card as shown.

STAMPIN’ PRETTY STEP-BY-STEP TUTORIAL:
Begin with a 3 x 3 square card base of Whisper White Thick card stock.
Use a Stampin’ Up! Paper Trimmer to cut a piece of Rainbow Glimmer Paper to 2 3/4 x 2 3/4.
Zip a 1 3/4 x 2 3/4 piece of Whisper White card stock through a die-cutting machine with the floral die from the Well Written Dies.
Wrap with Gold 1/16″ Trim (Forever Greenery Trim Combo Pack), securing with a bow on the left-hand side.
Adhere to a 2 5/8 x 2 5/8 square of Whisper White card stock and to the card with Stampin’ Dimensionals.

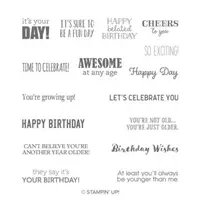
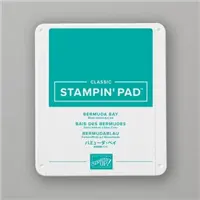
Use a Stamparatus to position and stamp the sentiment (Itty Bitty Birthdays) in Bermuda Bay Classic Ink onto a 1/2 x 1 1/2 piece of Whisper White card stock.
Adhere to the card with Stampin’ Dimensionals.
POP OF PERSONALITY! Adhere three Artistry Blooms Sequins to the card as shown.
HAVE A BIG WISH LIST? DON’T MISS THE STAMPIN’ REWARDS PRODUCT BONUS! June 3 – 30, 2020!
Place an order of $250 or more and earn a $25 PRODUCT BONUS! Learn all about the Stampin’ Up! Stampin’ Rewards program here.

GET A FREE BUNDLE! From June 3 – 30, 2020, you can add bundle to the $99 Starter Kit for FREE! You can see all the details on the Pick a FREE Bundle Promotion on my blog page here.

SAVE IT! JUNE HOST CODE! EARN TULIP REWARDS & FREE PRODUCTS WHEN YOU SHOP WITH ME!
- EARN A $50 SHOPPING SPREE ON ME! Tulip Rewards are my way of personally saying thank you to my frequent shoppers. You earn a tulip for every $50 increment you spend on Stampin’ Up! products. 10 TULIPS = A $50 SHOPPING SPREE!
- Find out how my Tulip Rewards Frequent Shopper program works here.
NEED A COPY OF THE CATALOG? Click here for details on how you can get one!
I love hearing from you! Please leave me your questions or comments about the project for today.

If you enjoyed this post, please be sure to . . .
- Receive a FREE PDF tutorial when you subscribe to my daily blog updates here.
- Click for my Monthly Host Code and how you can earn up to a $50 shopping spree with my Tulip Rewards Loyalty Program.
- Check out the clearance rack and save up to 70%.
- Save 10% on coordinating product bundles!
- The $99 Starter Kit is the best deal of ALL! Discounts & benefits here.
- Visit my gallery for 1000+ paper crafting ideas.
- View my FREE PDF Project Tutorials.
- Follow me on Pinterest.
- Subscribe to my YouTube paper crafting video tutorials.


My project supply list. Click products to shop on-line!







Mary I have saved this tutorial so I can make some of these cards–they are quite stunning and will make a nice card giftpack for friends and family. I plan to make envelopes as well and want to ask your advice on the weight of paper I should use? My printer paper is not sufficient I feel.
Beautiful card Mary, love the use of the rainbow glimmer paper, such a lovely sparkle x
Love this layout and your showcase of this colorful glimmer paper. What fun! ♥
I am SERIOUSLY in love with what you created Mary. TFS!!!
Oh my gosh, Mary!! the glimmer paper is just divine, love how the sparkle peeks through the die cuts, looking so very beautiful on both cards.
I think my comments are finally sticking, my youngest daughter came to give my computer a good cleaning, now the trick is to keep up with it.
Anyway, love your sketches, thank you for sharing.
XO
I love the Rainbow Glimmer Paper used on these pretty cards. It adds a pop of color without overpowering the diecuts. So pretty! Enjoy your day!