
When Making a CASE, all it takes is a glimpse back through my gallery to be inspired! I was intrigued by this layout of a Valentine’s card that I created and shared back in September of 2018! You can see details of the original card on my post here.

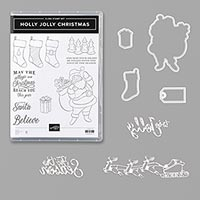
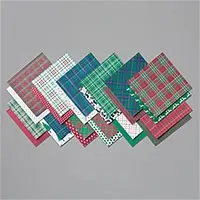
In my CASE, I used the same layout and dimensions as my previous card, I just swapped them out with Christmas colors that coordinated with the Wrapped in Plaid 6 x 6 Specialty Designer Series Paper. I also thought swapping out the hearts for Christmas stockings was a good excuse to use the Holly Jolly Christmas Bundle!

BUNDLE & SAVE 10%! Purchase the Holly Jolly Christmas Cling Stamp Set and the coordinating Jolly Season Dies together as a bundle and SAVE 10%! See all the current Stampin’ Up! 10% off bundles in my online store here.

The Wrapped in Plaid 6×6 Specialty Designer Series Paper is part of My Favorite Things from the 2019 Holiday Catalog! You can see all My Favorite Things on my blog page here.
STAMPIN’ PRETTY STEP-BY-STEP TUTORIAL:
Create a 4 1/4 x 5 1/2 card base with the Paper Trimmer and Stampin’ Up! Thick Whisper White card stock.
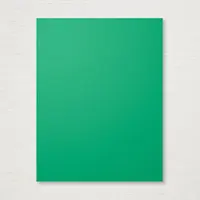
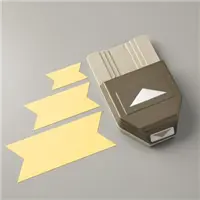
Create three flagged elements. 1 7/8″ wide x 5 1/4 (Call Me Clover card stock), 1 1/2 x 4 1/2 (Cherry Cobbler card stock), 1 x 4 7/8 (Gold Foil Sheets). Crop the flagged end for each using the Stampin’ Up! Banner Triple Punch. Layer and adhere to card base with Snail Adhesive as shown.

Using the Stamparatus positioning tool (learn why you need one here), stamp the “Believe” sentiment (Holly Jolly Christmas stamp set) in Tuxedo Black Memento Ink onto a 3 3/4 x 3 1/2 piece of Thick Very Vanilla card stock.
Using the Stamparatus, stamp the three stockings (Holly Jolly Christmas stamp set) in Tuxedo Black Memento Ink on Whisper White Thick card stock. Crop with the coordinating stocking die from Jolly Seasons Dies and a die-cutting and embossing machine.
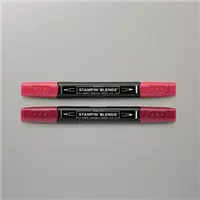
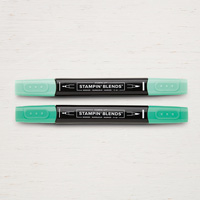
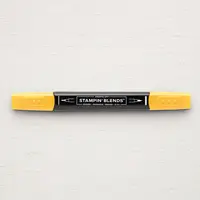
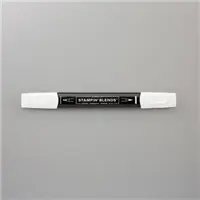
Color the stockings with the following Stampin’ Blends: Light & Dark Cherry Cobbler, Light & Dark Call Me Clover, Light & Dark Basic Black, Light Smoky Slate, Dark Mango Melody, and a Color Lifter.
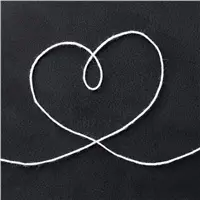
Adhere a piece of Whisper White Solid Baker’s Twine as shown to the 3 3/4 x 3 1/2 piece and anchor with Glue Dots. Adhere stockings as shown with Stampin’ Dimensionals. Tie two bows with Whisper White Solid Baker’s Twine and adhere on ends with Glue Dots.

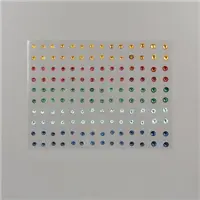
Add a touch of bling with a Cherry Cobbler Holiday Rhinestone Basic Jewel before the sentiment. Adhere the 3 3/4 x 3 1/2 piece with Stampin’ Dimensionals to card base.
Use Multipurpose Liquid Glue to adhere a 2 1/4 x 5 3/4 piece of Wrapped in Plaid 6×6 Specialty Designer Series Paper to the outside flap of a Medium Whisper White Envelope. Trim to size with Paper Snips. You can see my video demonstration with tips on adding designer paper to an envelope flap here.

I love hearing from you! Please leave me your questions or comments about the project for today.

If you enjoyed this post, please be sure to . . .
- Receive a FREE PDF tutorial when you subscribe to my daily blog updates here.
- Click for my Monthly Host Code and how you can earn up to a $50 shopping spree with my Tulip Rewards Loyalty Program.
- Check out the clearance rack and save up to 70%.
- Save 10% on coordinating product bundles!
- The $99 Starter Kit is the best deal of ALL! Discounts & benefits here.
- Visit my gallery for 1000+ paper crafting ideas.
- View my FREE PDF Project Tutorials.
- Follow me on Pinterest.
- Subscribe to my YouTube paper crafting video tutorials.


My project supply list. Click products to shop on-line!












LOVE all the elements of this CASE. And I particularly LOVE how you stacked the banner flags…..BRILLIANT!!!
Cute, cute, cute, Mary. Love the stockings and banners. They make a fun card with the plaid on the envelope to finish it. Enjoy your day!