
The Christmastime is Here Suite is a fabulous collection of Christmas themed products that coordinate for quick and easy crafting. The rose on today’s card was simply cropped from the Christmastime is Here Designer Series Paper using the coordinating Roses Die. I love that!
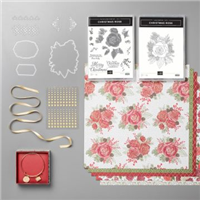
Get one of everything from the Christmastime Is Here Suite in this convenient bundle—with 10% off the stamps & dies. Let the suite inspire Christmas card ideas and DIY Christmas gifts to wish loved ones, “Merry Christmas.”
The Christmastime Is Here Suite Bundle includes
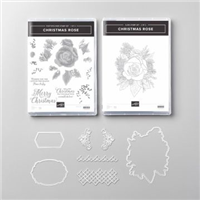
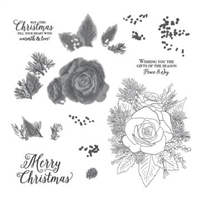
* Christmas Rose Stamp Set
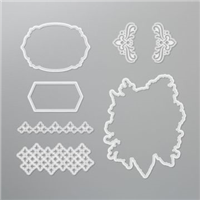
* Roses Dies
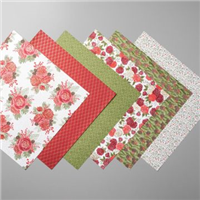
* Christmastime Is Here Specialty Designer Series Paper
* Gold 1/4″ (6.4 mm) Shimmer Ribbon
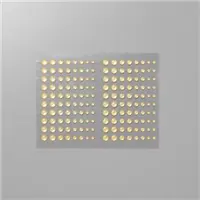
* Gold Glitter Enamel Dots
* Charming Rose Bracelet
You can download the Christmastime is Here Suite Flyer with more details and information here.

STAMPIN’ PRETTY STEP-BY-STEP TUTORIAL:
Begin with a 4 1/4 x 5 1/2 card base of Whisper White card stock.
Layer and adhere a 4 1/4 x 2 3/8 piece of Christmastime is Here Designer Series Paper to a 4 1/4 x 2 5/8 piece of Gold Foil and adhere to the card with Snail Adhesive.

Use the coordinating Roses Die, along with a die-cutting and embossing machine to crop the rose from the Christmastime Is Here Designer Series Paper. Adhere to the card with Stampin’ Dimensionals.
Use a Stamparatus to stamp the sentiment in Versamark Ink. TIP: I masked the “peace & joy” part of the sentiment with washi tape prior to inking it. I then removed the washi tape and stamped onto a piece of Whisper White card stock that has been rubbed with an Embossing Buddy.
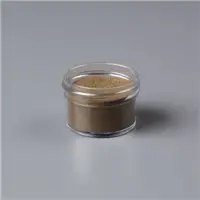
Cover with Gold Stampin’ Emboss Powder, flick to remove the excess and set with a Heat Tool.
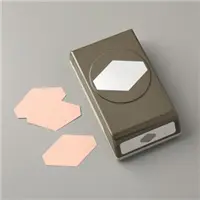
Trim to 1/2 x 2 1/4. Flag the end with the Tailored Tag Punch. Adhere with a Mini Glue Dot.

Tie a bow of Gold 1/4″ Shimmer Ribbon. Adhere with a Mini Glue Dot.
POP OF PERSONALITY: Add three Gold Glitter Enamel Dots as shown.
Use Multipurpose Liquid Glue to adhere a 2 1/4 x 5 3/4 piece of Christmastime is Here Designer Series Paper to the outside flap of a Medium Whisper White Envelope. Trim to size with Paper Snips. You can see my video demonstration with tips on adding designer paper to an envelope flap here.

NEW PAPER TRIMMER! The newly designed Paper Trimmer is lightweight, portable, and perfect for making stable and straight cuts! It is available to customers TODAY!
Paper Trimmer Item: 152392 | $25.00 USD
- 15-3/8 x 8 x 1/2” (39 x 20.3 x 1.3 cm)
- Includes 1 cutting blade and 1 scoring blade.
- Includes imperial and metric measurements.
- Ruler and grid protected by a durable plastic cover.
- A point on the cutting handle for precise measuring.
- Right-side grid for cutting thin strips.
- Refill blades will be available January 2020.

I love hearing from you! Please leave me your questions or comments about the project for today.

If you enjoyed this post, please be sure to . . .
- Receive a FREE PDF tutorial when you subscribe to my daily blog updates here.
- Click for my Monthly Host Code and how you can earn up to a $50 shopping spree with my Tulip Rewards Loyalty Program.
- Check out the clearance rack and save up to 70%.
- Save 10% on coordinating product bundles!
- The $99 Starter Kit is the best deal of ALL! Discounts & benefits here.
- Visit my gallery for 1000+ paper crafting ideas.
- View my FREE PDF Project Tutorials.
- Follow me on Pinterest.
- Subscribe to my YouTube paper crafting video tutorials.


My project supply list. Click products to shop on-line!









Absolutely BEAUTIFUL! TFS.
I agree with other posters that gorgeous is the first word I thought of when I saw your card. That DSP really makes a beautiful, easy card. Enjoy your day!
So many gorgeous touches of gold, Mary! That band across the middle is everything on this card! Love it!
Gorgeous looking card Mary.
Such a beautiful card for being quick. I love seeing your work every day!