
Today’s cute gift card holder design was CASE’d (and slightly modified) from fellow Stampin’ Up! demonstrator, Glenda Caulkins. You can view Glenda’s video with step-by-step instructions here. Kadie Labadie, my friend and fellow demonstrator, gets credit for the use of the cute cupcake. You can view Kadie’s blog here.

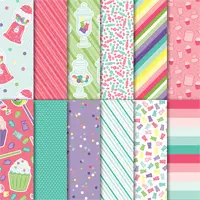
The Designer Series Paper used on this gift card is part of the How Sweet It Is Suite from the 2019 Occasions Catalog. You can view all items that are part of this suite here.
 STAMPIN’ PRETTY STEP-BY-STEP TUTORIAL:
Start with a 4 1/4 x 9 1/8 base of Gorgeous Grape card stock.
Score at the following intervals: 1 1/4, 4, 5 1/4, 6 1/2.
Adhere 4 x 2 1/4 and 4 x 1 pieces of How Sweet It Is Designer Series Paper as shown.

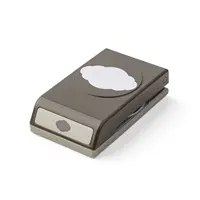
Fold at the 5 1/4 score line and punch the opening using the Pretty Label Punch. See photo where #1 is marked – Thanks, Kadie Labadie, for this excellent visual.
Use snips to create 5/8″ slits on both sides of the punch opening. See photo where the #2 is marked on each side of the punch opening.
Add Tear & Tape Adhesive to the edge of each side between the 4 and 6 1/2 score lines. (see photo where #3 is marked). Remove adhesive backing and close up the center.

Adhere two 4 x 2 1/4 pieces of Melon Mambo card stock to the inside as shown with Snail Adhesive.
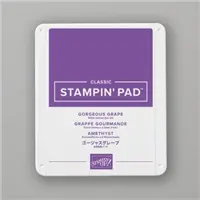
Use the Stamparatus to stamp the sentiment from the Piece of Cake Stamp Set in Gorgeous Grape Ink onto Highland Heather card stock. Crop with the coordinating Cake Builder Punch. Adhere with Stampin’ Dimensionals.
Create a 6 1/4 x 1 1/4 belly band of Gorgeous Grape card stock. Adhere a 6 1/4 x 1 piece of How Sweet It Is Designer Series Paper with Snail Adhesive. Wrap around the outside of the closed gift card holder and adhere/anchor below the area where the cupcake will be.
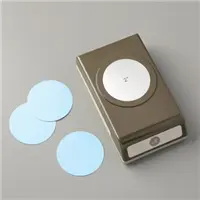
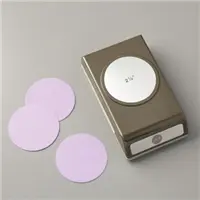
 Layer and adhere a punched 2″ Melon Mambo Circle to a punched 2 1/4″ Gorgeous Grape Circle.
Use snips to crop a cupcake from the How Sweet It Is Designer Series Paper. Adhere to the punched circles and to the belly band with Stampin’ Dimensionals.
Tie a piece of Whisper White Solid Baker’s Twine into a bow and adhere with a Mini Glue Dot.
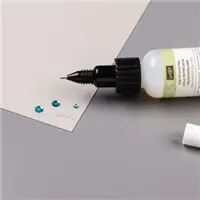
TIP: Use the Fine Tip Glue Pen to add a tiny drop of shine and texture to the cupcake sprinkles. Do this last and allow to dry.
I love hearing from you! Please leave me your questions or comments about the project for today.

If you enjoyed this post, please be sure to . . .
- Receive a FREE PDF tutorial when you subscribe to my daily blog updates here.
- Click for my Monthly Host Code and how you can earn up to a $50 shopping spree with my Tulip Rewards Loyalty Program.
- Check out the clearance rack and save up to 70%.
- Save 10% on coordinating product bundles!
- The $99 Starter Kit is the best deal of ALL! Discounts & benefits here.
- Visit my gallery for 1000+ paper crafting ideas.
- View my FREE PDF Project Tutorials.
- Follow me on Pinterest.
- Subscribe to my YouTube paper crafting video tutorials.


My project supply list. Click products to shop on-line!


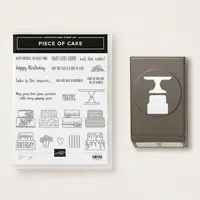
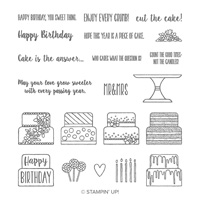
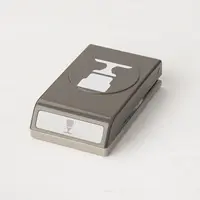








How cute is that!? Such a fun project and a sweet design.
I give a lot of gift cards. This is such a cute way to make them special!
Thanks Mary for sharing Kadie’s Cupcake Gift Card Holder. I loved a lot of things she has posted over time. I will now follow her blog
Kadie so incredibly talented and has shown me the way to 3-D projects many times!
So adorable Mary! I’m so fading this! LOL Thanks!
Casing not fading! Oh auto correct!
You can “fade” or CASE, Barb 🙂
Oh BEAUITFUL, MsMary your getting fancy,love it ♥️♥️
Tfs ♥️
Kadie is a wonderful teacher. Thanks, Frenchie.
I love making gift card holders for friends and family, you are right Mary, it’s better than just handing the card inside an envelope.
What I do sometimes is to create a little envelope inside a card and insert the gift card there.
But these envelopes are fabulous and adorable, just like Kadie’s, what a sweet (no pun intended) way to give a gift.
Beautifully done, thank you and Kadie for sharing.?
Always a pleasure, Maria!
Such a fabulous gift card, Kadie! I always adore your beautiful creations!
She’s a wonderful teacher and is coming to my home today with another 3-D project!
Loved Kadie’s Cupcake Gift Card Holder! What a great idea. Gift cards have seemed impersonal to me but I just got over that because now I can put a personal spin on it. Thanks so much for sharing! ❤️
A dressed up gift card is better than just an Amazon gift card & envie, no? Thanks for your comment, Deanna! I like “real” gifts, too. but gift cards are here to stay.
Thanks Mary for inviting me over to share with you how to make this gift card holder…….And for sharing it with your blog followers. It is always a THRILL and HONOR when I see something of mine on your blog. (Know I hit the big time when that happens)
Look forward to seeing you on Sunday.
I love our “girl” paper crafting time.
Thanks, Debbie. Kadie was here showing me exactly how to construct this. Agreed – a cupcake die would have been the icing on the cake.
OH! How I love a great gift card holder and this one is fantastic! (Sure wish there was a framelit for the cupcake but it’s not difficult to snip.) The idea of glue on the sprinkles is brilliant and I could also use the glitter enamel dots or sequins. Thank you, Kadie and Mary!