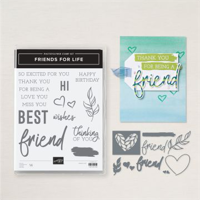
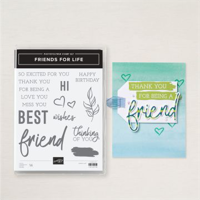
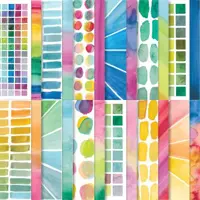
Let the Stampin’ Up! Full of Life Designer Series Paper do the work for you on this simple sunburst card. The colors in the sunburst pattern are Pumpkin Pie, Crushed Curry, Granny Apple Green, Shaded Spruce, Blueberry Bushel, Berry Burst. However, many more Stampin’ Up! colors will work due to the range in shading. The Full of Life Designer Series Paper and the Friends for Life Bundle (save 10% on the stamp & die bundle) are part of the coordinated Full of Life product suite and one of My Favorite Things from the 2024-2025 Annual Catalog.


WHAT I LOVE! This bold and colorful sunburst pattern is repeated on the envelope flap for a coordinated “pairing.” A single 6 x 6 piece was large enough for both the card and envelope flap.
my simple card tutorial
CUT YOUR CARD STOCK – DIMENSIONS:
- Basic White Thick Card Stock:
- Card Base – 4 1/4 x 11, scored at 5 1/2 (top)
- Basic Black Card Stock:
- Layer – 4 x 5 1/4
- Strip – 3 1/4 x 1 1/8
- Die-Cut “friend” drop shadow – 3 3/4 x 2 1/2 (before die-cutting)
- Full of Life Designer Series Paper:
- Layer – 3 3/4 x 5
- Envelope Flap – 5 3/4 x 2 1/2 (left over from layer above)
- Basic White Card Stock:
- Die-Cut “friend” – 3 3/4 x 2 1/2 (before die-cutting)

PROJECT TUTORIAL:
Burnish the fold of the Basic White Thick card base with a Bone Folder.
Layer and adhere the Designer Series Paper and Basic Black layers together with Multipurpose Liquid Glue and to the card with Stampin’ Dimensionals.
Adhere the black strip to the card with Stampin’ Dimensionals.
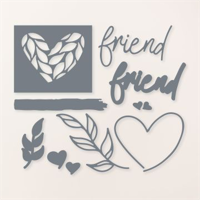
Use a Stampin’ Cut & Emboss Machine (Standard or Mini) to crop the Basic Black layer with the Friends for Life “friend” drop shadow die. Repeat with the Basic White layer and Friends for Life “friend” die.

Adhere together as shown with Multipurpose Liquid Glue and to the card with snipped-to-size Stampin’ Dimensionals.
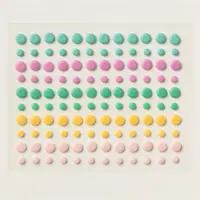
POP OF PERSONALITY! Embellish (including the dot of the “i”) with 2024 – 2026 Peach Pie Resin Dots.
PERFECT POLISH! Adhere the 5 3/4 x 2 1/2 Designer Series Paper to the Basic White Medium envelope flap with Multipurpose Liquid Glue. Add glue to the flap first, not the Designer Series Paper.
stampin’ up! product spotlight!


my stampin’ pretty free card making resources
FREE RESOURCES! I offer oodles of FREE resources and so much more! Explore ALL of my free resources here.
promos, specials, & important updates
don’t forget your tulip rewards!

MY CUSTOMER EXCLUSIVE! Tulip Loyalty Rewards are my way of personally saying thank you to my frequent online shoppers. Earn a tulip for every $50 increment you spend on Stampin’ Up! products (purchased through me). Redeem tulips for a free stamp set (5 tulips) or bundle (10 tulips)!






Love, love, love! Such a great card with such a great pack of papers.
I’m loving this bright DSP. Your colorful card will bring a smile to the recipient for sure. Thanks, as always, for your tutorial. Enjoy your day!