
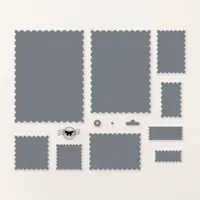
The Stampin’ Up! Perennial Postage Dies on today’s “sending sunshine” card have been a top seller since they were released in early January. The 12 dies in the Perennial Postage collection offer crisp ways to cut rectangles and squares with a distinctive “postage stamp” edge. The Perennial Lavender Suite Collection and dies are on the list of My Favorite Things!

BUNDLE IT! Purchase the Perennial Postage Dies and coordinating Perennial Postage stamp set (retiring) and SAVE 10%.
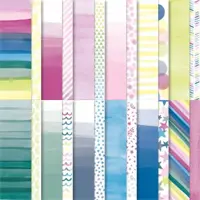
WHAT I LOVE! Send a bold, positive message with this sentiment from the Good Feelings stamp set. The WOW! factor “heats up” when the sentiment is heat embossed (white) on this pattern from Bright & Beautiful Designer Series Paper. Want to get the better results when you heat emboss? Check out My 8 Tips for Impeccable Embossing.
my simple card tutorial
CUT YOUR CARD STOCK – DIMENSIONS:
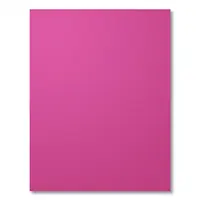
- Berry Burst Card Stock:
- Card Base – 4 1/4 x 11, scored at 5 1/2 (top)
- Layer – 3 3/4 x 5
- Basic White Card Stock:
- Layer – 3 1/2 x 4 3/4
- Bright & Beautiful Designer Series Paper:
- Layer – 4 x 5 1/2
- Stamped & Die-cut Layer – 3 3/4 x 5 (before die-cutting)
- Envelope Flap – 5 3/4 x 2 1/4

PROJECT TUTORIAL:
Begin by burnishing the fold of the Berry Burst card base with a Bone Folder.
Adhere the 4 x 5 1/4 Designer Series Paper to the card base with Multipurpose Liquid Glue.
Layer and adhere the 3 1/2 x 4 3/4 Basic White card stock to the 3 3/4 x 5 Berry Burst card stock together with Multipurpose Liquid Glue.
Wrap both layers with white Baker’s Twine Essentials, securing with a bow on the left.
Adhere to the card with Stampin’ Dimensionals.

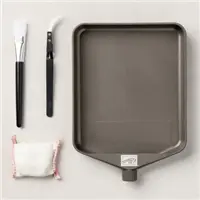
Rub the 3 3/4 x 5 piece of Designer Series Paper with an Embossing Buddy (Embossing Additions Tool Kit).
Use a Clear Block E to stamp the sentiment (Good Feelings Stamp Set) in Versamark Ink on the center of the prepped Designer Series Paper. Cover with white Basics Embossing Powder, tap to remove excess and set with a Heat Tool.
Use a Stampin’ Cut & Emboss Machine (Standard or Mini) to crop the with the largest Perennial Postage die.
Adhere to the card as shown with Stampin’ Dimensionals.

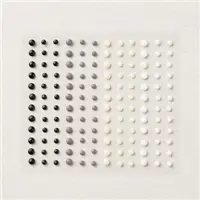
POP OF PERSONALITY! Embellish with white Classic Matte Dots.
PERFECT POLISH! Adhere the 5 3/4 x 2 1/4 Designer Series Paper (DSP) to the Basic White Medium envelope flap with Multipurpose Liquid Glue. TIP: Add glue to the flap first, not the DSP.
stampin’ up! product spotlight!


GET 100+ CARD SKETCH IDEAS FREE! Subscribe to my email updates & instantly receive a FREE digital gift of 100+ Card Sketch Ideas that you can save or print! Subscribers also receive my daily card ideas and tutorials, special offers, new product releases and exclusive “subscriber-only” resources.
promos, specials, & important updates
don’t forget your tulip rewards!

MY CUSTOMER EXCLUSIVE! Tulip Loyalty Rewards are my way of personally saying thank you to my frequent online shoppers. Earn a tulip for every $50 increment you spend on Stampin’ Up! products (purchased through me). Redeem tulips for a free stamp set (5 tulips) or bundle (10 tulips)!










Absolute perfection! I love everything about this card, Mary!
Mary, this card is so pretty and uplifting! The Berry Burst pops with sweet white embossed sentiment. I love all the layers. Enjoy your day!