
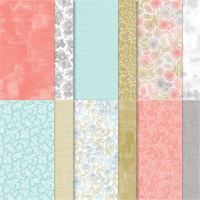
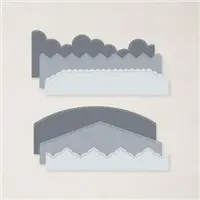
The Stampin’ Up! Patchwork Pieces “wave” die really dials up the WOW! factor in this pretty pairing of floral and linen patterns from Softly Stippled Designer Series Paper (DSP). Earn the Softly Stippled DSP FREE with a $50 product order (total before shipping and tax) during Sale-A-Bration. Ends Feb. 29.

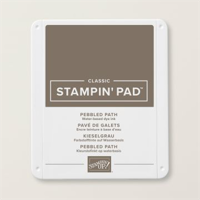
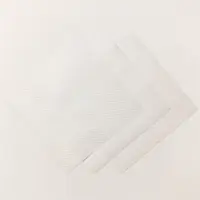
WHAT I LOVE! The Vellum Basics stripe pattern was the perfect soft touch for the Pebbled Path card base. There are three elegant patterns in the Vellum Basics collection and they come to life on medium to dark colors. They are equally lovely on lighter colors for a subtle patterned effect.

NEED SKETCH INSPIRATION? The layout of today’s thank you card was inspired by the newest addition to my Stampin’ Pretty Sketchbook, Sketch #83 which I shared Tuesday.
my simple card tutorial
CUT YOUR CARD STOCK – DIMENSIONS:
- Pebbled Path Card Stock:
- Card Base – 4 1/8 x 11, scored at 5 1/2 (on the side)
- Layer – 3 3/8 x 4 7/8
- Vellum Basics 12 x 12 Specialty Designer Series Paper:
- Layer – 3 7/8 x 5 1/8
- Basic White Card Stock:
- Punched Sentiment – 5 x 3 (before punching)
- Softly Stippled Designer Series Paper:
- Die-Cut Layers – 4 x 5 1/4 (one each of rose & linen patterns) (before die-cutting)


GET 100+ CARD SKETCH IDEAS FREE! Subscribe to my email updates & instantly receive a FREE digital gift of 100+ Card Sketch Ideas that you can save or print! Subscribers also receive my daily card ideas and tutorials, special offers, new product releases and exclusive “subscriber-only” resources.
PROJECT TUTORIAL:
Begin by burnishing the fold of the Pebbled Path card base with a Bone Folder.
Adhere the Vellum Basics Designer Series Paper to the card with Multipurpose Liquid Glue.
Adhere the Pebbled Path layer to the card with Stampin’ Dimensionals.
Use a Stampin’ Cut & Emboss Machine (Standard) to crop the two Designer Series Paper pieces with the Patchwork Pieces die.
Adhere the die-cuts, alternating patterns, to the Pebbled Path layer with Multipurpose Liquid Glue.

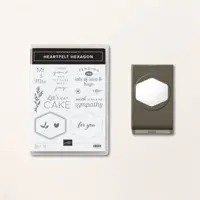
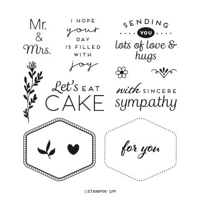
Use a Clear Block D to stamp the sentiment and dotted border (Heartfelt Hexagon Stamp Set) in Pebbled Path Classic Ink onto the right side of the Basic White piece. This puts the sentiment closer to the edge of the card stock so it’s an easy “reach” for the punch.
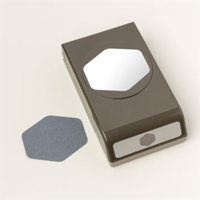
Crop with the coordinating Heartfelt Hexagon Punch.
Adhere to the card as shown with Stampin’ Dimensionals.
POP OF PERSONALITY! Embellish with three Pebbled Path 2023-2025 In Color Dots.

PERFECT POLISH! Adhere the 5 3/4 x 2 1/4 Designer Series Paper (DSP) to the Basic White Medium envelope flap with Multipurpose Liquid Glue. IMPORTANT: Add glue to the flap first, not the DSP. Center, line up, tape to secure (Post-It Tape) and crop with a Stampin’ Cut & Emboss Machine (Standard) and the Basic Borders curved edge die.
stampin’ up! product spotlight!


MY FAVORITE THINGS! All items used on this card are part of My Favorite Things from Stampin’ Up! You can see all of My Favorite Things here.
ESTIMATED RESTOCK DATE: The Heartfelt Hexagons Punch is currently on backorder and estimated to be back in stock the week of April 22, 2024!
oh, so pretty card idea!


OH, SO PRETTY! The card above also showcases the Patchwork Pieces Dies and Heartfelt Hexagons Bundle by Stampin’ Up! You can see the original blog post, with tips, tricks and project tutorial here.
promos, specials, & important updates
don’t forget your tulip rewards!

MY CUSTOMER EXCLUSIVE! Tulip Loyalty Rewards are my way of personally saying thank you to my frequent online shoppers. Earn a tulip for every $50 increment you spend on Stampin’ Up! products (purchased through me). Redeem tulips for a free stamp set (5 tulips) or bundle (10 tulips)!
my project supply list – click products to shop online!
Price: $10.00







Sweet elegance! I love these layers and the gorgeous mix of patterns!