Today’s Happy New Year card card depends on the classics of gold and black for celebrations. This card could just as easily be a birthday or congrats card with a quick change of sentiment. How many of you create New Year’s cards?
WHAT I LOVE! Zoom in to see the tiny die cut “stitching” created with the squares of the Stylish Shapes Square Die. I cropped the 2 7/8″ Square in Basic Black and then carefully lined up and cropped the interior with the 2 1/2” square to produce the frame. Even the Basic Black circle (2 1/4” circle die) shares a hint of coordinated stitching behind the sentiment. I love that.
my simple card tutorial
CUT YOUR CARD STOCK – DIMENSIONS:
- Basic White Thick Card Stock:
- Card Base – 5 1/2 x 8 1/2, scored at 4 1/4
- Basic Black Card Stock:
- Layers – 5 1/4 x 4
- Die-cuts (Stars, Square, Circle) – 5 x 3 3/4 (before die-cutting)
- Basic White Card Stock:
- Plaid Layer – 5 1/2 x 4 1/4 (trimmed to 5 x 3 3/4)
- Punched Sentiment- 3 x 2 (before punching)
- Gold Foil Sheet:
- Die-Cut Stars – 2 x 3 (before die-cutting)

PROJECT TUTORIAL:
Begin by burnishing the fold of the Basic White Thick card base with a Bone Folder.
Adhere the largest Basic Black card stock layer to the card base with Multipurpose Liquid Glue.
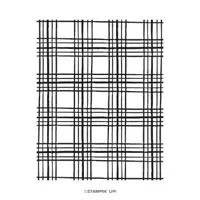
Use a Clear Block F to stamp the Sketched Plaid stamp in Tuxedo Black Memento Ink onto the 5 1/2 x 4 1/4 Basic White Layer.
Trim to 5 x 3 3/4 with a Paper Trimmer.
Adhere to the card with Multipurpose Liquid Glue.

Use a Clear Block C to stamp the sentiment (Throughout the Year Stamp Set) in Tuxedo Black Memento Ink onto the Basic White piece.
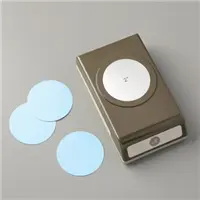
Crop with the 2″ Circle Punch.
Use a Stampin’ Cut & Emboss Machine (Standard or Mini)and the Stylish Shapes Dies to crop the Basic Black card stock with the 2 1/4 stitched circle die and create the frame by tucking the 2 1/2 stitched square inside the 2 7/8 stitched square.
Adhere the sentiment to the circle die-cut with Multipurpose Liquid Glue.
Adhere to the card with Stampin’ Dimensionals.
Adhere the frame to the card with Mini Stampin’ Dimensionals.
Use a Stampin’ Cut & Emboss Machine (Standard or Mini) and the Birthday Balloons dies to crop the Basic Black and Gold Foil stars.
Adhere the stars as shown with Multipurpose Liquid Glue and Stampin’ Dimensionals.

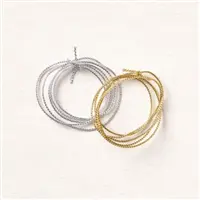
Tie a bow of gold Simply Elegant Trim and secure to the frame with a Mini Glue Dot.
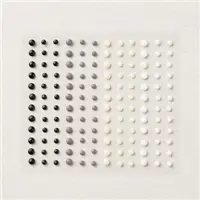
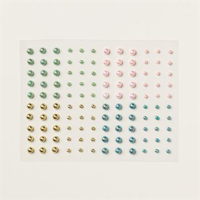
POP OF PERSONALITY! Embellish with black Classic Matte Dots and gold Blooming Pearls.
stampin’ up! product spotlight!


oh, so pretty card idea!


OH, SO PRETTY! The card above also showcases the Throughout the Year Stamp Set by Stampin’ Up! You can see the original blog post, with tips, tricks and project tutorial here.
promos, specials, & important updates
don’t forget your tulip rewards!

MY CUSTOMER EXCLUSIVE! Tulip Loyalty Rewards are my way of personally saying thank you to my frequent online shoppers. Earn a tulip for every $50 increment you spend on Stampin’ Up! products (purchased through me). Redeem tulips for a free stamp set (5 tulips) or bundle (10 tulips)!


