
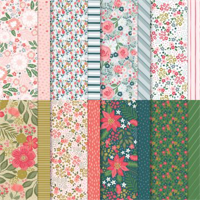
The foundation for style and color for today’s “thanks” card is a pattern from Stampin’ Up Garden Walk Designer Series Paper (retiring soon). This has been a “go to” paper for me since it’s fresh, modern and oh, so, chic! The colors in the collection are Poppy Parade, Calypso Coral, Wild Wheat, Mossy Meadow, Garden Green and Pretty Peacock.
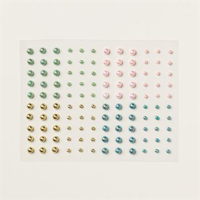
WHAT I LOVE! The Thick Basic White base of this card is scored on the left (not at the top) so that when you untie the bow of the Wild Wheat 3/8 Textured Ribbon, it opens like a book. And, don’t miss the five luscious Blooming Pearls that add subtle texture and color coordinated shine.

NEED COLOR INSPIRATION? The color combination for today’s card used one of the 5 Calypso Coral Color Combinations that I shared on Tuesday! You can see my Color Combination library here.
my simple card tutorial
CUT YOUR CARD STOCK – DIMENSIONS:
- Basic White Thick Card Stock:
- Card Base – 8 1/2 x 5 1/2, scored at 4 1/4 (card opens from the side, not the top).
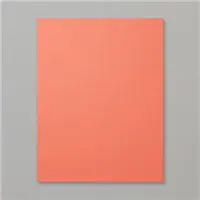
- Calypso Coral Card Stock:
- Die-cut Scalloped Layer – 4 1/4 x 5 1/2 (before die-cutting)
- Wild Wheat Card Stock:
- Layer – 3 1/2 x 4 3/4
- Basic White Card Stock:
- Die-Cut Sentiment- 2 1/2 x 1 1/2 (before punching)
- Garden Walk Designer Series Paper:
- Layer – 3 1/4 x 4 1/2

PROJECT TUTORIAL:
Begin by burnishing the fold of the Basic White Thick card base with a Bone Folder.
Use a Stampin’ Cut & Emboss Machine (Standard) to crop the the Calypso Coral Card Stock with the largest Scalloped Contours die.
Layer and adhere the Designer Series Paper and Wild Wheat layers together and to the scalloped die-cut layer with Multipurpose Liquid Glue.
Adhere to the card with Stampin’ Dimensionals.

Wrap the card with Wild Wheat 3/8″ Textured Ribbon, securing with a bow as shown.
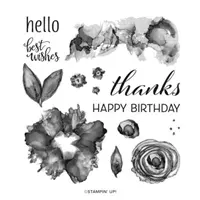
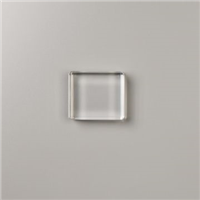
Use a Clear Block C to stamp the sentiment (Artistically Inked Stamp Set) in Mossy Meadow Classic Ink onto the Basic White piece.
Crop with a Stampin’ Cut & Emboss Machine (Standard or Mini) and the coordinating 2 1/8 x 1 1/4 Something Fancy Die.
Adhere to the card with Stampin’ Dimensionals.
POP OF PERSONALITY! Embellish with five Garden Green Blooming Pearls as shown.
PERFECT POLISH! Use Multipurpose Liquid Glue to adhere the Designer Series Paper to the outside flap of a Basic White Medium Envelope flap.
stampin’ up! product spotlight!


oh, so pretty card idea!


OH, SO PRETTY! The card above also showcases the Garden Walk Designer Series Paper (retiring), by Stampin’ Up! You can see the original blog post, with tips, tricks and project tutorial here.
promos, specials, & important updates
don’t forget your tulip rewards!

MY CUSTOMER EXCLUSIVE! Tulip Loyalty Rewards are my way of personally saying thank you to my frequent online shoppers. Earn a tulip for every $50 increment you spend on Stampin’ Up! products (purchased through me). Redeem tulips for a free stamp set (5 tulips) or bundle (10 tulips)!







The top card is gorgeous! What are the dimensions of the Wild Wheat layer? It nestles perfectly in the scalloped frame.
Thank you! And Merry Christmas!
Cathy
Hi Cathy, Sorry about inadvertently excluding those dimensions.
Wild Wheat Card Stock:
Layer – 3 1/2 x 4 3/4
I will get them added to the tutorial.
Thanks! Mary
Merry Christmas, Mary. Thank you for all you do for me when I have questions.
Thank you also for your weekly updates which helps with SU info.
I visit your blog everyday, just to keep up on ideas.
Ruby
You are so welcome, Ruby! Merry Christmas to you too! Mary