
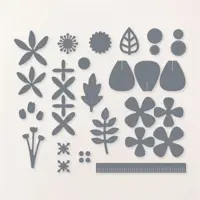
Just say WOW! to the floral possibilities offered by the Stampin’ Up! Paper Florist Dies. Style each bloom with your choice of color, charming die cut flowers, petals, leaves and more! It’s your own little flower factory!
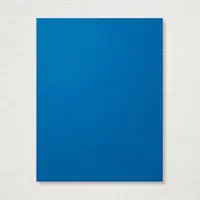
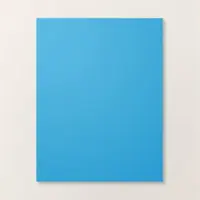
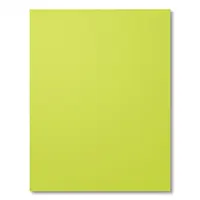
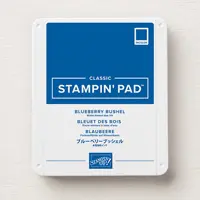
WHAT I LOVE! Bold, modern color palettes make my heart go pitter pat and that includes today’s chic combination of Blueberry Bushel, Azure Afternoon, Old Olive and Lemon Lime Twist. Blueberry Bushel (returning), Azure Afternoon (new) and Lemon Lime Twist (new) are part of the Stampin’ Up! Color Refresh. Learn more about the Color Refresh here.


free designer series paper color resources
WHAT COLOR IS THAT? I offer FREE designer series paper coordinating color charts that make the art of choosing colors, coordination and creating simple cards even easier.
my simple card tutorial
CUT YOUR CARD STOCK – DIMENSIONS:
- Basic White Thick Card Stock:
- Card Base – 5 1/2 x 8 1/2, Scored at 4 1/4
- Blueberry Bushel Card Stock:
- Die-Cut Flowers – 5 1/2 x 4 1/4 (before die-cutting)
- Azure Afternoon Card Stock:
- Die-Cut Flowers – 5 1/2 x 4 1/4 (before die-cutting)
- Strip (for card interior) – 5 1/2 x 1/4
- Old Olive Card Stock:
- Die-Cut Leaves and Flower Centers – 5 1/2 x 4 1/4 (before die-cutting)
- Lemon Lime Twist Card Stock:
- Die-Cut Leaves – 4 x 4 (before die-cutting)
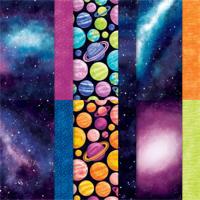
- Stargazing Designer Series Paper:
- Strip – 5 1/2 x 2
- Envelope Flap – 5 3/4 x 2 1/4

PROJECT TUTORIAL:
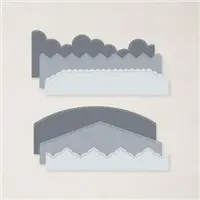
Crop 3/4 (center) to 1 1/2 (sides) off the bottom edge of the Basic White Thick Card Base with the curved Basic Borders dies and a Stampin’ Cut & Emboss Machine (Standard).
Burnish the fold of the Basic White Thick card base with a Bone Folder.
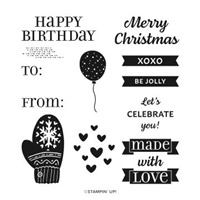
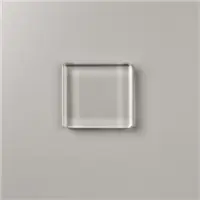
Use a Clear Block D to stamp the sentiment (Celebrate with Tags) in Blueberry Bushel Classic Ink onto the center of the Basic White Thick Card Base (about 3/4 from top) as shown.
Use a Stampin’ Cut & Emboss Machine (Standard or Mini)and the Paper Florist dies to crop the petals, flower centers and leaves according to the chart below.

Adhere the flowers, flower centers and leaves together and to the curved edge of the card base with Multipurpose Liquid Glue & Stampin’ Dimensionals.

Adhere the Designer Series Paper layer and the Azure Afternoon strip to the bottom of the card interior with Multipurpose Liquid Glue.

PERFECT POLISH! Use Multipurpose Liquid Glue to adhere the Designer Series Paper to the outside flap of a Basic White Medium Envelope. You can see my video demonstration with tips on adding designer paper to an envelope flap here.
stampin’ up! product spotlight!


oh, so pretty card idea!


OH, SO PRETTY! The card above also uses the Basic Borders Dies for a curved edge! You can see the original blog post, with tips, tricks and project tutorial here.
promos, specials, & important updates
don’t forget your tulip rewards!

MY CUSTOMER EXCLUSIVE! Tulip Loyalty Rewards are my way of personally saying thank you to my frequent online shoppers. Earn a tulip for every $50 increment you spend on Stampin’ Up! products (purchased through me). Redeem tulips for a free stamp set (5 tulips) or bundle (10 tulips)!









Hi Mary – You knocked this one out of the park!! Love the color combination and the Paper Florist dies are wonderful! I love your overall design that emphasizes the products used. Thank you for sharing your tutorial!
Carol
❤️
Gorgeous cards, Mary. Enjoy your day!