
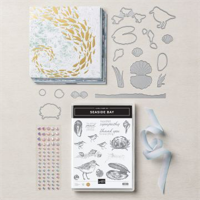
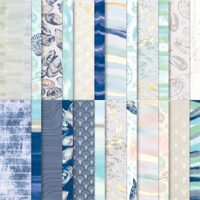
The beautiful shimmer of the gold and pearl foil on the Stampin’ Up! By the Bay Specialty Designer Series Paper (DSP) is such a statement maker! The look is clean, graphic and textural!
WHAT I LOVE! The coordinating Seaside Bay edge die adds even more wavy pattern to the sentiment!
my simple card tutorial
CUT YOUR CARD STOCK – DIMENSIONS:
- Basic White Thick Card Stock:
- Card Base –4 1/4 x 11, scored at 5 1/2
- Night of Navy Card Stock:
- Layer – 5 1/4 x 4
- Basic White Card Stock:
- Layer – 3 x 4
- Sentiment Die-cut Layer- 3 1/4 x 1 1/4 (before die-cutting)
- By the Bay Specialty Designer Series Paper:
- Layer – 3 3/4 x 5, 2 3/4 x 3 3/4
- Envelope Flap – 5 3/4 x 2 1/4

PROJECT TUTORIAL:
Begin by burnishing the fold of the card base with a Bone Folder.
Adhere the largest By the Bay DSP layer to the Night of Navy layer with Multipurpose Liquid Glue.
Adhere the smaller piece of By the Bay DSP to the Basic White layer with Multipurpose Liquid Glue.
Wrap all four layers with the Balmy Blue & White 1/2″ Variegated Ribbon, securing with a bow.

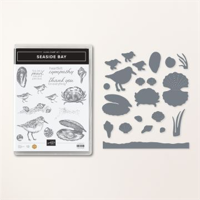
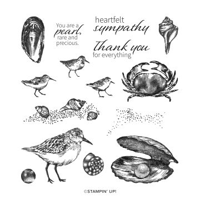
Use a Clear Block to stamp the sentiment (Seaside Bay Stamp Set) in Night of Navy Classic Ink onto the Basic White layer.
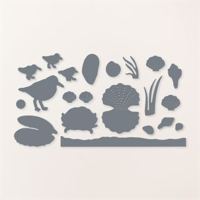
Crop both the top and bottom with a Stampin’ Cut & Emboss Machine (Standard or Mini) and the Seaside Bay edge die.
Adhere to the card as shown with Stampin’ Dimensionals.
POP OF PERSONALITY! Embellish the sentiment with a small Flat Adhesive-Backed Pearls.
PERFECT POLISH! Use Multipurpose Liquid Glue to adhere the Designer Series Paper to the outside flap of a Basic White Medium Envelope. You can see my video demonstration with tips on adding designer paper to an envelope flap here.
promos, specials, & important updates


don’t forget your tulip rewards!

MY CUSTOMER EXCLUSIVE! Tulip Loyalty Rewards are my way of personally saying thank you to my frequent online shoppers. Earn a tulip for every $50 increment you spend on Stampin’ Up! products (purchased through me). Redeem tulips for a free stamp set (5 tulips) or bundle (10 tulips)!
my project supply list – click products to shop online!

Sale: $12.00
Price: $15.00


Beautiful waves of blue. That bow is pure perfection!
Love this card, Mary, especially that pretty ribbon. Enjoy your day!