
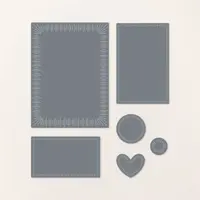
The Radiating Stitches Dies make my creative heart go pitter pat and are exclusively available on-line (not in a catalog) as part of the Stampin’ Up! On-Line exclusives. Today’s card really shows off their beautiful details and versatility! A definite “must-have” for my card making!
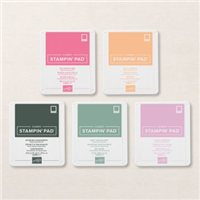
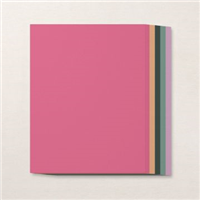
WHAT I LOVE! While the Radiating Stitches Dies are the star of the show, I’m highlighting oodles of retiring 2021-2023 In Colors (Evening Evergreen, Soft Succulent, Fresh Freesia, Polished Pink and Pale Papaya) products in this fun, geometric design. They have served me well but will be discontinued as of May 1 (and will likely sell out sooner). If you love these colors, please purchase them now!
my simple card tutorial
CUT YOUR CARD STOCK – DIMENSIONS:
- Evening Evergreen Card Stock:
- Card Base –4 1/8 x 11, scored at 5 1/2
- Die-cut Circle ~ scraps
- Soft Succulent Card Stock:
- Die-cut Layer – 4 1/4 x 5 1/2
- Die-cut Circle ~scraps
- Basic White Card Stock:
- Die-cut Layer ~2 1/4 x 3 3/4 – (before die-cutting)
- Sentiment – 2 1/2 x 3/4
- Fresh Freesia, Pale Papaya, and Polished Pink Card Stock:
- Die-cut Circles ~ scraps
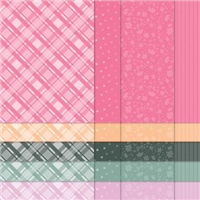
- Evening Evergreen 21-23 In Color Designer Series Paper:
- Envelope Flap – 5 3/4 x 2 3/4 (before die-cutting)

PROJECT TUTORIAL:
Begin by burnishing the fold of the card base with a Bone Folder.
Die-cut the following with a Stampin’ Cut & Emboss Machine (Standard) and the Radiating Stitched Dies:
- Soft Succulent – 2 5/8 x 4 Rectangle nestled inside 3 7/8 x 5 1/4 Rectangle, 1 1/2 Circle
- Basic White – 2 x 3 3/8 Rectangle
- Evening Evergreen – 1 1/2 Circle
- Polished Pink & Fresh Freesia – 7/8 Circle
- Pale Papaya – 7/8 Circle nestled inside 1 1/2 Circle
Adhere the large rectangle to the card base with Stampin’ Dimensionals.
Adhere all circle die-cuts to the Basic White layer with Stampin’ Dimensionals.
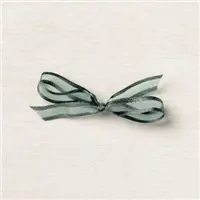
Wrap the Basic White layer and thread through the Pale Papaya die-cut with Evening Evergreen 3/8″ Open Weave Ribbon.
Secure with a bow as shown.

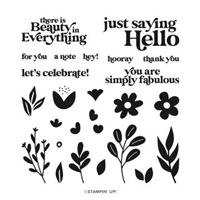
Use a Stamparatus to position and stamp the sentiment (Simply Fabulous Stamp Set) in Evening Evergreen Classic Ink onto the Basic White layer.
Adhere as shown with strategically placed Stampin’ Dimensionals.
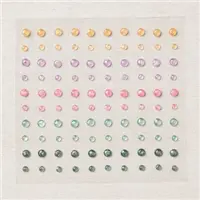
POP OF PERSONALITY! Embellish with 2021-2023 In Color Opal Rounds.
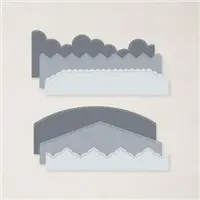
PERFECT POLISH! Crop the DSP with a Stampin’ Cut & Emboss Machine (Standard) and the Basic Borders stitched curved die. Use Multipurpose Liquid Glue to adhere the Designer Series Paper to the outside flap of a Basic White Medium Envelope. You can see my video demonstration with tips on adding designer paper to an envelope flap here.
OH, SO PRETTY!


OH, SO PRETTY! The card above showcases the fun simplicity of the Simply Fabulous Stamp Set, part of My Favorite Things. You can see the original blog post and project tutorial here.
stampin’ up! product spotlight!


RETIRING COLORS? The 2021-2023 In Color Collection WILL retire with the Annual Catalog on May 1, 2023! Stampin’ Up! has announced that a CORE COLOR REFRESH is coming with the NEW 2023-2024 Annual Catalog on May 2! STAY TUNED! Stampin’ Up! will release the list of retiring colors as well as returning and NEW colors on March 29!

free designer series paper color resources
WHAT COLOR IS THAT? I offer FREE designer series paper coordinating color charts that make the art of choosing colors, coordination and creating simple cards even easier.
promos, specials, & important updates
don’t forget your tulip rewards!

MY CUSTOMER EXCLUSIVE! Tulip Loyalty Rewards are my way of personally saying thank you to my frequent online shoppers. Earn a tulip for every $50 increment you spend on Stampin’ Up! products (purchased through me). Redeem tulips for a free stamp set (5 tulips) or bundle (10 tulips)!









I am still not totally sold on the radiant dies….not sure if I would use them enough….but I love love love your cards TFS
I agree! I LOVE what you’ve done with these incredible dies! Such a sweet card!