Today’s Christmas Card duo was constructed with products from the NEW Fitting Florets Collection, available to customers on November 1, 2022! See all the details on here. BEST BARGAIN! Add the Fitting Florets Collection to the $99 Deal today! You can grab the entire collection ($97.50) plus an additional $57.50 in product of YOUR CHOICE for only $99 + tax! This steal of a deal ENDS October 31!

CUT YOUR CARD STOCK – DIMENSIONS:
- Basic White Thick Card Stock:
- Card Base – 4 1/4 x 11, scored at 5 1/2
- Basic White Card Stock:
- Cropped Sentiment – 3 3/4 x 3 (before cropping)
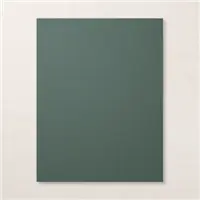
- Evening Evergreen Card Stock:
- Layer – 3 1/2 x 4 1/4
- Fitting Florets Designer Series Paper:
- Strips – 1 x 4 (Qty 3)

STEP-BY-STEP TUTORIAL – POP OF RED:
Begin by burnishing the folds on the card base with a Bone Folder.
Adhere the Evening Evergreen layer to the card base with Stampin’ Dimensionals.
Color the white berries with a Real Red Dark Stampin’ Blend.
Adhere the 1 x 4 strips to the layer with Multipurpose Liquid Glue.
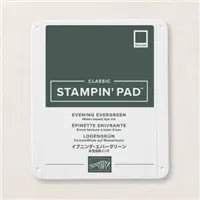
Use a Stamparatus to stamp the sentiment in Evening Evergreen Classic Ink onto the Basic White Layer.
Crop with a Stampin’ Cut & Emboss Machine (Standard or Mini) and the largest Framed Florets oval die. (Only the inside oval die-cut will be used on this project).
Adhere to the card with Stampin’ Dimensionals.
POP OF PERSONALITY! Tie a bow of Real Red 3/8″ Ribbon and adhere as shown with a Mini Glue Dot.
PERFECT POLISH! Use Multipurpose Liquid Glue to adhere the Fitting Florets Designer Series Paper to the outside flap of a Basic White Medium Envelope. You can see my video demonstration with tips on adding designer paper to an envelope flap here.

STEP-BY-STEP TUTORIAL – ALL EVENING:
Begin by burnishing the folds on the card base with a Bone Folder.
Adhere the Evening Evergreen layer to the card base with Stampin’ Dimensionals.
Adhere the 1 x 4 strips to the layer with Multipurpose Liquid Glue.
Use a Stamparatus to stamp the sentiment in Evening Evergreen Classic Ink onto the Basic White Layer.

Crop with a Stampin’ Cut & Emboss Machine (Standard or Mini) and the largest Framed Florets oval die. (Only the inside oval die-cut will be used on this project).
Adhere to the card with Stampin’ Dimensionals.
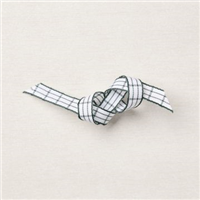
POP OF PERSONALITY! Tie a bow of Evening Evergreen 3/8″ Windowpane Check Ribbon and adhere as shown with a Mini Glue Dot.
PERFECT POLISH! Use Multipurpose Liquid Glue to adhere the Fitting Florets Designer Series Paper to the outside flap of a Basic White Medium Envelope. You can see my video demonstration with tips on adding designer paper to an envelope flap here.

Mary


My project supply list. Click products to shop on-line!


I’m completely in love with both of these cards! What a great showcase of this beautiful paper and bundle!