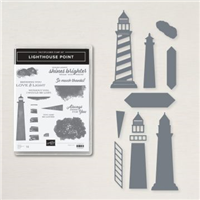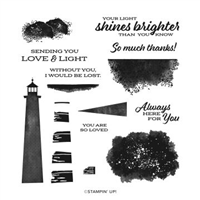
YOUR LIGHT SHINES! The Lighthouse Dies, part of the Lighthouse Point Bundle, make this simple card shine with detail. You can stamp and crop a lighthouse or crop and build a lighthouse, this bundle is abundant with options.
 BUNDLE & SAVE 10%! Purchase the Lighthouse Point Photopolymer Stamp Set and the coordinating Lighthouse Dies together as a bundle and SAVE 10%! See all the available Stampin’ Up! 10% off bundles in my online store here.

STAMPIN’ PRETTY STEP-BY-STEP TUTORIAL:
Begin with a 4 1/4 x 5 1/2 card base of Basic White Thick card stock.
Adhere a 4 x 5 1/4 piece of Balmy Blue card stock to the card base with Stampin’ Seal.

Use a Stampin’ Cut & Emboss Machine (Standard or Mini) to crop the following with the Lighthouse Dies.
- Basic White card stock – detailed lighthouse & sentiment die-cut
- Cherry Cobbler card stock – solid lighthouse die
- Daffodil Delight card stock – light beam die x 2
- Basic Black card stock – guard railing die
Use a Paper Trimmer to cut a 3/4 x 1/2 piece of Daffodil Delight card stock.
Adhere to the Cherry Cobbler solid lighthouse die-cut where the light should shine through.

Adhere the remaining lighthouse die-cuts together with Multipurpose Liquid Glue and to the card with Stampin’ Dimensionals.

Use a Stamparatus to position and stamp the sentiment Tuxedo Black Memento Ink onto the Basic White sentiment die-cut.
Adhere to the card with Stampin’ Dimensionals (left side) and Stampin’ Seal (right side).
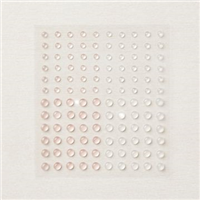
POP OF PERSONALITY! Embellish with Polished Dots (retiring).
Mary


My project supply list. Click products to shop on-line!


What’s the larger slanted ladder looking one for?
Hi Erica,
The only thing I can come up with is to accent a sentiment. That is how Stampin’ Up! uses it here.
Hope this helps! Mary
I love this card and its encouraging sentiment. Enjoy your day!
Simply LOVE what you created Mary.