
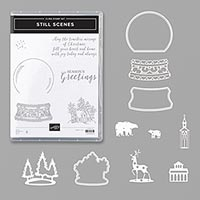
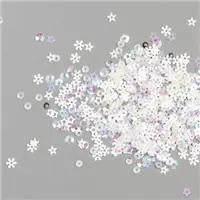
It’s “crystal clear” that the Still Scenes Bundle is gorgeous paired with the Snow Globe Shaker Domes and Snowflake Sequins. These products are showcased on page 43 of the Stampin’ Up! 2019 Holiday Catalog.
 BUNDLE & SAVE 10%! Purchase the Still Scenes Cling Stamp Set and the coordinating Snow Globe Scenes Dies together as a bundle and SAVE 10%! See all the current Stampin’ Up! 10% off bundles in my online store here.

STAMPIN’ PRETTY STEP-BY-STEP TUTORIAL:
Begin with a 4 1/4 x 5 1/2 piece of Whisper White Thick card stock.
Zip a 4 x 5 1/4 piece of Whisper White card stock through a die-cutting and embossing machine, cropping out the space for the Snow Globe Shaker Dome.
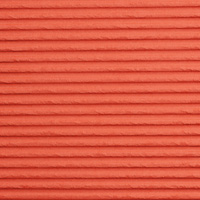
Spritz the Whisper White card stock with water from a Stampin’ Spritzer, then zip through a die-cutting and embossing machine, again, tucked inside the Corrugated 3D Embossing Folder. HOT TIP! See my recommendations on creating the proper embossing sandwich with the new 3D Embossing Folders here.

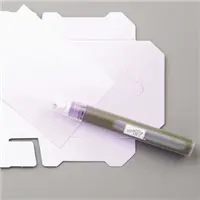
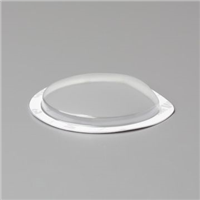
Remove the adhesive strip from the front side of the Snow Globe Shaker Dome and adhere it to the corrugated piece.
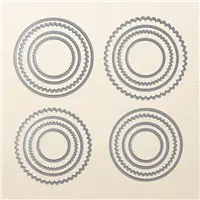
Crop a circle of Shimmery White card stock with the 3 1/16 Scalloped Layering Circle Die.
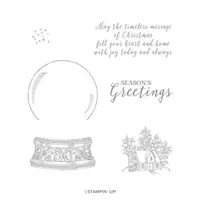
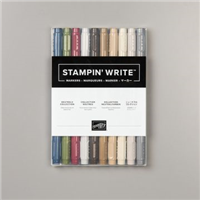
Use the Stamparatus to stamp the cottage scene in Tuxedo Black Memento Ink onto the scalloped circle. Color with Crumb Cake, Soft Suede, Daffodil Delight Stampin’ Write Markers.
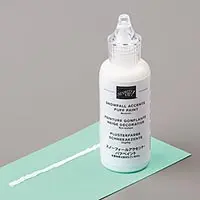
LET IT SNOW! Add Snowfall Accents Puff Paint to the scene and set using a Heat Tool.
Carefully add Snowflake Sequins to the scene.
Remove the adhesive strip from the backside of the Snow Globe Shaker Dome and adhere to the scalloped circle die-cut. Adhere the corrugated piece to the card base with Stampin’ Dimensionals.

Use the Stamparatus to stamp the snow globe base (Still Scenes) in Tuxedo Black Memento Ink. Crop with the coordinating die (Snow Globe Scenes Dies) and a die-cutting and embossing machine.
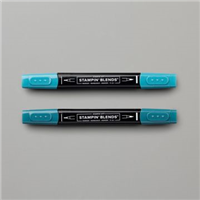
Color with Pretty Peacock Light & Dark Stampin Blends Markers. Use the Color Lifter to lighten between the shaded areas. Adhere as shown with Stampin’ Dimensionals.
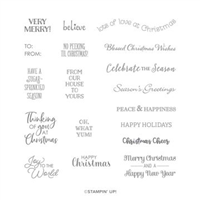
Use the Stamparatus to stamp the “Peace & Happiness” sentiment (Itty Bitty Christmas stamp set) in Pretty Peacock Classic Ink onto Whisper White card stock. Crop with the Classic Label Punch.
Tie a bow of Whisper White Solid Baker’s Twine. Adhere as shown with a Mini Glue Dot.
Adhere the sentiment as shown with Mini Stampin’ Dimensionals.
POP OF PERSONALITY! Color three Pearl Basic Jewels with the Pretty Peacock Dark Stampin’ Blend. Adhere as shown.
 Want to see the new catalog now? Click to view the new catalog on-line! Here’s a FREE Wish List to print and help you keep track of your favorites!
Get a copy of the 2019 Holiday Catalog! If you are not a current Stampin’ Pretty customer and you plan to shop through me, you can request a copy of the holiday catalog free by visiting my page here.

I love hearing from you! Please leave me your questions or comments about the project for today.

If you enjoyed this post, please be sure to . . .
- Receive a FREE PDF tutorial when you subscribe to my daily blog updates here.
- Click for my Monthly Host Code and how you can earn up to a $50 shopping spree with my Tulip Rewards Loyalty Program.
- Check out the clearance rack and save up to 70%.
- Save 10% on coordinating product bundles!
- The $99 Starter Kit is the best deal of ALL! Discounts & benefits here.
- Visit my gallery for 1000+ paper crafting ideas.
- View my FREE PDF Project Tutorials.
- Follow me on Pinterest.
- Subscribe to my YouTube paper crafting video tutorials.


My project supply list. Click products to shop on-line!











This is a beautiful card, I will be ordering this bundle next!
I ordered this globe and have a hard time getting the trees, house, deer all lined up in the globe and adding the snow and sequins I wish you had a video so I can see just how this goes together Thank You and I love the peacock color on this card 🙂
Here is what I did: I cropped a circle (or any shape) that is slightly larger than the Snow Globe Dome. I built my scene on the circle and also carefully added the Snowflake Sequins to the scene, not the dome. I then adhered the dome to the circle, which is so much easier to line up. Then you can adhere to the card base and line it up easily. Does this make sense?
I love your snow globe card, but how did you use the puff paint on the stamped images without the ink smearing?
Try setting the ink with a Heat Tool or put a slightly thicker layer of Puff Paint so the ink doesn’t show through.
Mary this is stunning! So much detail in that little globe. Beautiful job!
Love this beautiful shaker card, Mary. Great job! It is so pretty! Have a lovely day!
Mary, that is a beautiful card with a real WOW factor. I will have to purchase this bundle because I can already see my Christmas card for my grandchildren next year from this set. Thank you for this fabulous example.
I love snow globes and this one is adorable Mary.
This little house with a rooftop full of snow and the snowflakes around it looks amazing.
Thank you for sharing.
XO