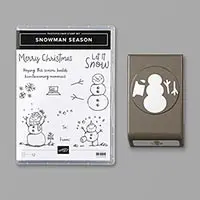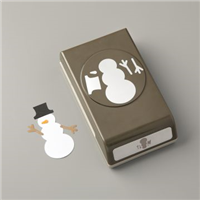
My snowman card for today was created using the Snowman Builder Punch, winner of my latest Stampin’ Pretty Poll. The poll is now closed. Over 1100 votes were cast and the Snowman Builder Punch snagged 325 of them, with Pine Tree close behind at 303!

STAMPIN’ PRETTY STEP-BY-STEP TUTORIAL:
Begin with a 4 1/4 x 5 1/2 piece of Whisper White Thick card stock as your card base.
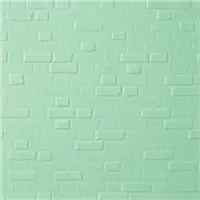
Zip a 4 x 5 1/4 piece of Whisper White Thick card stock that has been spritzed with water through a die-cutting and embossing machine, tucked inside the Brick & Mortar 3D Embossing Folder. Adhere to the card base with Stampin’ Dimensionals.

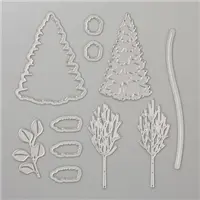
Use the “edge” die from the In the Woods Dies to create three different dimensions of snowbanks.
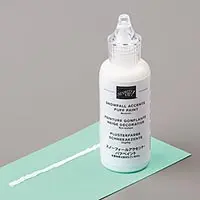
Adhere the front two together with Snail Adhesive and the remaining together and to the card with Stampin’ Dimensionals. Add thin lines of Snowfall Accent Puff Paint to the top of each snowbank and set (puff) with a Heat Tool.
TIP: Feel free to keep the snow edges clean if you prefer it without the Puff Paint. It looks nice both ways!
Use the Snowman Builder Punch to create a template on a 4 x 3 1/2 piece of card stock. Place in the corner of a Stamparatus.

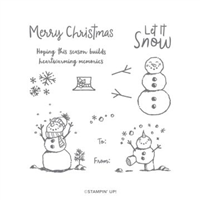
Line up the Snowman Season stamps within the punched image template. TIP: I find it easiest to check once from the bottom, at eye level, to make sure they are properly aligned in the center of the template. Use the hinged Stamparatus plate to “grab” the stamps.
Remove the template and replace with a 4 x 3 1/2 piece of Whisper White card stock. Stamp the images in Tuxedo Black Memento Ink.

Flip the punch upside down so you are viewing as shown below. Carefully line the images with the punch and crop.
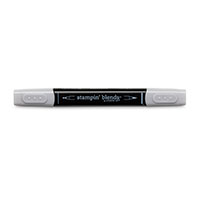
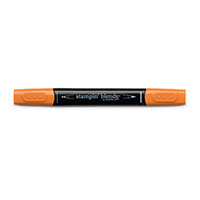
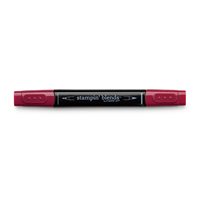
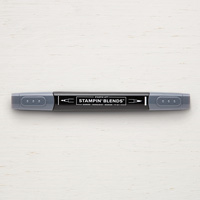
Color with the following Stampin’ Blends: Dark Cherry Cobbler (hat stripe/holly), Dark Old Olive (holly leaves), Dark Pumpkin Pie (carrot nose), Dark Basic Black (hat), and Smoky Slate (shadows on snowman).
Adhere arms to the back of the snowman and the hat to the front of the arm with Mini Glue Dots. Adhere to the card with Stampin’ Dimensionals.

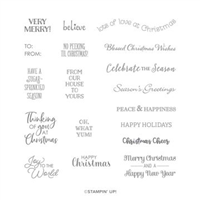
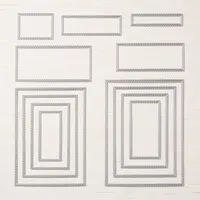
Use the Stamparatus to position and stamp the sentiments (Itty Bitty Christmas & Snowman Season) in Tuxedo Black Memento Ink onto Whisper White card stock. Crop with the 1 1/4 x 3 1/4 Stitched Rectangle Die.
Adhere as shown with Stampin’ Dimensionals.

POP OF PERSONALITY! Add two Red Rhinestone Jewels to the sentiment as shown.
promos, specials, & important updates
don’t forget your tulip rewards!

MY CUSTOMER EXCLUSIVE! Tulip Loyalty Rewards are my way of personally saying thank you to my frequent online shoppers. Earn a tulip for every $50 increment you spend on Stampin’ Up! products (purchased through me). Redeem tulips for a free stamp set (5 tulips) or bundle (10 tulips)!


