
Today’s hello card is simple yet stunning with a bold Mango Melody block of color at it’s core. The Butterfly Beauty Thinlits Dies allow you to easily create the intricate butterfly die cuts. What a WOW! factor!

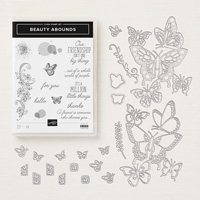
BUNDLE & SAVE 10%! Purchase the Beauty Abounds Cling Stamp Set and the Butterfly Beauty Thinlits Dies together as a bundle and save 10%! See all available Stampin’ Up! 10% off bundles in my online store here.
STAMPIN’ PRETTY STEP-BY-STEP TUTORIAL:
Begin with a 4 1/4 x 5 1/2 card base of Gray Granite card stock.
Layer and adhere a 2 1/2 x 3 3/4 piece of Mango Melody card stock to a 3 3/4 x 5 piece of Whisper White card stock with Snail Adhesive. Adhere to the card base.
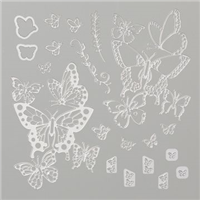
 Use the Big Shot, Precision Base Plate and layering butterfly dies (Butterfly Beauty Thinlits Dies) to crop a piece of Vellum card stock (lower) and Basic Black card stock (upper). Run the dies and card stock (or vellum) back and forth through the Big Shot several times to ensure a clean cut.
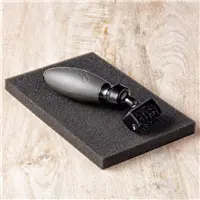
TIP: To make adhering to the vellum butterfly die cut easier, run the Basic Black card stock and butterfly die through the Big Shot with a Multipurpose Adhesive Sheet. Use the Big Shot Die Brush to easily remove the tiny bits of card stock from the die-cut butterflies.
Adhere to the card base with Mini Stampin’ Dimensionals placed inconspicuously below the sentiment and butterfly bodies.
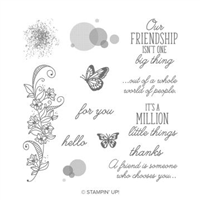
 Use the Stamparatus to stamp the sentiment in Versamark Ink onto Basic Black card stock. TIP: Remove lose bits of embossing powder with the sticky end of the Take Your Pick tool before heating. Here are my video tips for better heat embossing.
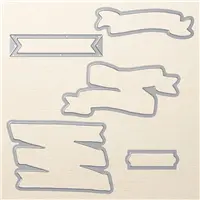
Crop “hello” with the Big Shot and the Bunch of Banners Die. Snip off the right flagged end. Adhere with two Stampin’ Dimensionals.
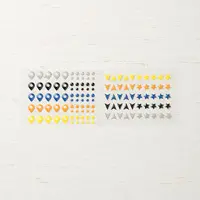
For the perfect touch, use the spatula end of the Take a Pick Tool to add the Mango Melody self-adhesive dots (Best Route Enamel Dots) to the butterflies and sentiment.

I love hearing from you! Please leave me your questions or comments about the project for today.

If you enjoyed this post, please be sure to . . .
- Receive a FREE PDF tutorial when you subscribe to my daily blog updates here.
- Click for my Monthly Host Code and how you can earn up to a $50 shopping spree with my Tulip Rewards Loyalty Program.
- Check out the clearance rack and save up to 70%.
- Save 10% on coordinating product bundles!
- The $99 Starter Kit is the best deal of ALL! Discounts & benefits here.
- Visit my gallery for 1000+ paper crafting ideas.
- View my FREE PDF Project Tutorials.
- Follow me on Pinterest.
- Subscribe to my YouTube paper crafting video tutorials.


My project supply list. Click products to shop on-line!


Oh Mary, the vellum layer looks spectacular on these butterflies, what an awesome idea!!! Love the yellow cardstock peeking through.
Gorgeous card, my dear, thank you for sharing.
XO
Thanks, Maria. I want to try other color combinations, too. Combining with black really kicks up the strength of any color!
How do you make such gorgeous things day in and day out? This is quite amazing! ♥
That’s so sweet of you, Brian. I adore paper crafting and glad it shows through my projects!
Those butterflies are so pretty no matter what design or layout is used. Yours is very pretty. Thanks for the reminder about using an adhesive sheet with the vellum. I have some, but don’t always think to use it. Have a great day!
I used the adhesive sheets this time since there’s so much detailed area to connect, Hilda. However, normally, I use a little multipurpose glue or Snail in bits 🙂
I need to tell you, Mary, that I just love looking at your cards. They are so tailored and always look so well-balanced! Thank you for sharing your talents with us.
It’s my pleasure and comments really motivate me. Thank you, Roberta!
Cool idea to use the vellum cardstock as one of the layers. The vellum is so much more subtle than a cardstock layer. It makes the butterfly die “pop”, especially in combination with the other colors you used.
I have loved almost every variation of the butterfly layers I have seen, Dana!
This is one beautiful card my friend…….The vellum creates a lovely element of pretty to this card.
You’re such a sweetie, Kadie. Thanks!
Oh MsMary what a beautiful card , love the vallem,with the black , makes it look so BEAUITFUL, Tfs , Love it ♥️♥️♥️
Hugs Frenchie ♥️
Oh, Frenchie. I think I have become addicted to vellum. Thanks for stopping by!
I love the subtle design of the vellum butterfly wings underneath. Thanks for sharing!
Thank you, Linda. I thought it added a pretty and soft effect.
What a stunning card Mary. Thank you for the inspiration.
Thanks, Danuta. It’s my pleasure to share and inspire!
What a stunning card Mary. I love everything about it. Thank you for sharing.