
Wouldn’t this Country Home easel Post-It note holder be the perfect somethin’ somethin’ to brighten someone’s day? It’s so easy to create (and I’ll have a quick WOW! video for you tomorrow). I’m also giving you a sneak peek of the Country Home stamp set & Braided Linen Trim which will be available for purchase starting Sept. 5, when the Stampin’ Up! Holiday Catalog begins.

If you plan to place your next Stampin’ Up! order through me and live in the U.S., you can request a FREE copy of the holiday catalog here. Customers who have ordered through me in the past year either have received or should be receiving a copy soon! It’s one of the benefits of being a Stampin’ Pretty Customer.
STAMPIN’ PRETTY STEP-BY-STEP TUTORIAL:
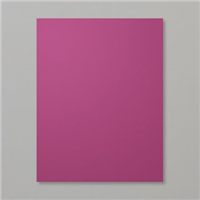
Start with a 3 1/2 x 11 piece of Rich Razzleberry card stock. Score with the Stampin’ Trimmer at 2 3/4 and 5 1/2.

Create the easel. As shown below, fold the scores “in” and adhere a 3 1/2 x 4 3/4 piece of Rich Razzleberry card stock to the front, partial panel with Tear & Tape Adhesive. Adhere a Post-It pad to the longer portion that forms the base using Tear & Tape Adhesive (for extra hold).

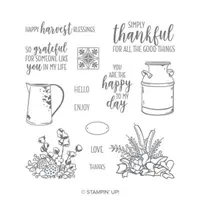
Using the Stampin’ Up! Stamparatus for precise placement and crisp images (read more here about the Stamparatus), stamp the pitcher, floral group and “hello” sentiment from Country Home Photopolymer stamp set in Tuxedo Black Memento Ink.

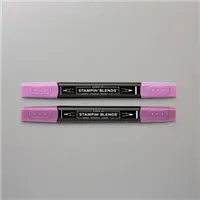
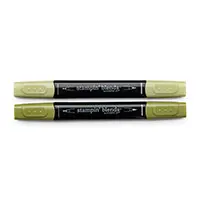
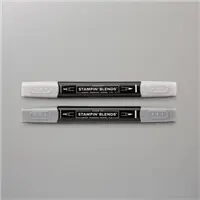
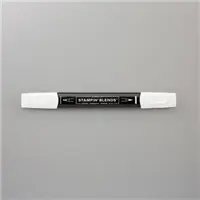
Color images with Rich Razzleberry, Old Olive and Smoky Slate light and dark Stampin’ Blends markers. TIP: I used the Color Lifter to soften the coloring and add a rustic, weathered look. Here’s my WOW! video with simple tips on coloring with Stampin’ Up! Stampin’ Blends alcohol based markers.

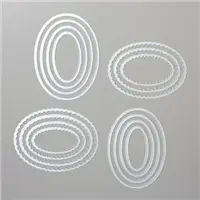
Crop the image using the largest of the Layering Ovals Dies, the Big Shot Die-Cutting Machine and Magnetic Platform (for keeping the image in place).
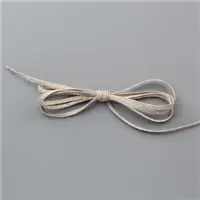
Adhere a 3 x 4 1/4 piece of Whisper White card stock to a 3 1/4 x 4 1/2 piece of Old Olive card stock. Wrap with Braided Linen Trim around the layers and tie in a bow. Adhere the oval from above with Stampin’ Dimensionals. Adhere ALL with Stampin’ Dimensionals to the front of the easel. TIP: It’s easiest to adhere if you lay the easel down flat.

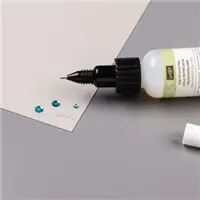
For a little glossy pizzazz, add a tiny drop of glue from the Stampin’ Up! Fine-Tip Glue Pen to each of the berries. Allow to dry.
Enjoy my FREE PDF Step-By-Step Tutorial (and supply list) for the Country Home Easel Post It Note Holder here.

BONUS DAYS END AUG. 31!! For every $50 (on a single order, price before shipping and tax) you spend between August 1 – 31, you’ll earn a $5.00 Bonus Days coupon that you can redeem between September 1 -30, 2018. Full details here.
MY TIP: Stock up on essentials in August and earn bonus coupons. Redeem the coupons in September when the NEW Stampin’ Up! Holiday Catalog begins Sept. 5!
I love hearing from you! Please leave me your questions or comments about the project for today.

If you enjoyed this post, please be sure to . . .
- Receive a FREE PDF tutorial when you subscribe to my daily blog updates here.
- Click for my Monthly Host Code and how you can earn up to a $50 shopping spree with my Tulip Rewards Loyalty Program.
- Check out the clearance rack and save up to 70%.
- Save 10% on coordinating product bundles!
- The $99 Starter Kit is the best deal of ALL! Discounts & benefits here.
- Visit my gallery for 1000+ paper crafting ideas.
- View my FREE PDF Project Tutorials.
- Follow me on Pinterest.
- Subscribe to my YouTube paper crafting video tutorials.


My project supply list. Click products to shop on-line!








As always, Mary, you never disappoint. Thank you, so much. Lovely project that I am going to incorporate into a Craft Show item. Thank you, once again.
Perfect for a craft show. Best luck, Jeneane.
I love this, Mary. Thanks for the video. They would be perfect for the nursing home residents I send cards to.
I love that idea, Marti. Enjoy! They are so easy!
Love this project, Mary. I need to make some stocking stuffers for neighbors and friends. These will be a perfect addition for them. I’m looking forward to the video tomorrow. Enjoy your day!
hope you got a chance to see the video posted today, Hilda. thanks for your daily kindness!
This may be answered in the video tomorrow but I was wondering if these fold up. I make items for Care & Concern gift bags for our church and these are so adorable. I have made other post it note holders but they are flat and easy to put in a bag with other items. Thanks.
Yes, they fold flat but they would need a bubble envelope/package since they are thicker.
Mary, this is such a cute idea! I think it would be a darling stocking stuffer. If I get started now, I could finish three in time for Christmas-one for each of my daughters.
What a perfect stocking stuffer! They only take a few minutes to create! Hugs, M
What a DARLING little project my friend. May I CASE this for my Saddle-UP! event? Such a FUN project to make for someone extra special. Thanks for sharing!
Wow! I would be honored, Kadie!
Adorable! What a fun gift for coworkers, teachers, girlfriends….anyone! Thanks Mary.
Great point about all the possibilities, Linda. A fun idea would be an apple or A,B,C for a teacher.
Such a fun project, Mary! I love the colors and the way you’ve added the twine! <3 I'd find a million reasons to reach for these post-in notes.
It’s good for me to stretch my card making parameters once in awhile, BK!