
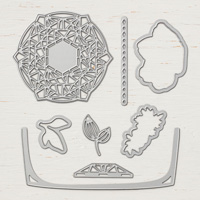
I had an “aha” moment when I discovered I could use the envelope liner die from Beautiful Layers Thinlits Dies to cover the outside flap of the note card sized envelope for today’s friend card. The die is designed to create an interior liner for Stampin’ Up! medium envelopes. Love that! However, I use a lot of the Whisper White and Very Vanilla Note Cards and am thrilled that I can dress up the note card envelope flaps (outside), too!
In today’s video tutorial, I highlight the Beautiful Layers Thinlits Dies and demonstrate how to use the liner die on note card envelope flaps. Please note that the official color of the Faceted Dots is Blackberry Bliss. However, it works equally well with Fresh Fig. The Stampin’ Up! note card sets include envelopes, not liners as I inadvertently stated in the video!
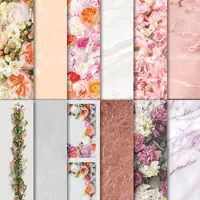
The patterns of the Petal Promenade Designer Series Paper are stunning. Here’s a card idea I created previously with the Petal Promenade Designer Series Paper along with another WOW! video.

STAMPIN’ PRETTY TIPS:
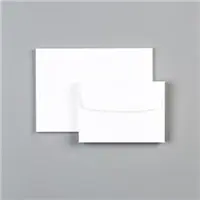
Get a fast start on your card making using the Stampin’ Up! Whisper White Note Cards & Envelopes. The 5 x 3 1/2 note cards are cut, scored and ready for your decorative touches. Offered in Very Vanilla, too!

Cut a 4 1/2 x 2 1/2 rectangle using the Stampin’ Trimmer and a pattern from Petal Promenade Designer Series Paper. Cut across the width into thirds measuring 1 1/2 x 2 1/2.
Keeping in order the original pattern, adhere each third using Stampin’ Dimensionals to a Whisper White Note Card (5 x 3 1/2).

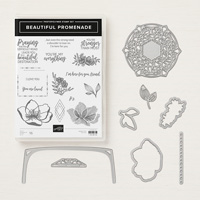
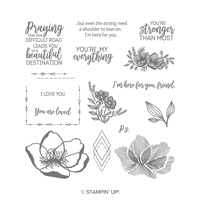
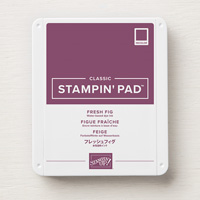
Stamp sentiment from Beautiful Promenade Photopolymer Stamp Set using Fresh Fig ink on an approximate 3 x 1/2 piece of Whisper White card stock.
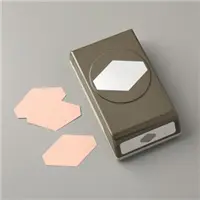
Flip over the Tailored Tag Punch and insert the right end of the sentiment into the punch, lining up the point. Crop to create a flagged end.
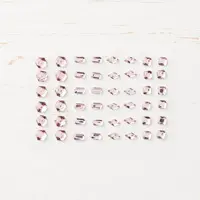
For a touch of bling and personality, add a Petal Pink Rhinestone (self-adhesive) to the left of the sentiment. Adhere sentiment to the card with Stampin’ Dimensionals.

Cut a 5 1/4 x 2 piece of Petal Promenade Designer Series Paper with the Big Shot Die-Cutting Machine, Magnetic Platform and the envelope liner die from Beautiful Layers Thinlits Dies. Adhere using Multi-Purpose Liquid Glue to outside of the note card envelope flap. I used the envelope liner die for the top (floral) envelope above. For the bottom envelope (marble flap), I used Paper Snips and carefully snipped the the pattern around the original flap.

From below, the liner is slightly different from the actual note card envelope . . . however, it looks gorgeous sealed and I won’t tell if you don’t!
Enjoy my FREE PDF Step-By-Step Tutorial (and supply list) for the Simple Saturday Petal Promenade Friend Card here.
I love hearing from you! Please leave me your questions or comments about the project for today.

If you enjoyed this post, please be sure to . . .
- Receive a FREE PDF tutorial when you subscribe to my daily blog updates here.
- Click for my Monthly Host Code and how you can earn up to a $50 shopping spree with my Tulip Rewards Loyalty Program.
- Check out the clearance rack and save up to 70%.
- Save 10% on coordinating product bundles!
- The $99 Starter Kit is the best deal of ALL! Discounts & benefits here.
- Visit my gallery for 1000+ paper crafting ideas.
- View my FREE PDF Project Tutorials.
- Follow me on Pinterest.
- Subscribe to my YouTube paper crafting video tutorials.


My project supply list. Click products to shop on-line!








Oh MsMary that’s a lovely card , thanks for the tip on the envelope, looks and gives it that elegant look,
Hugs Frenchie
Fabulous to hear that it was helpful, Frenchie!
Gorgeous, Mary! This paper is everything! Such a brilliant way to let the paper do the work. That marbled envelope liner is perfect, too! <3
This paper does an incredible job with the “heavy lifting” on a simple project!
Thank you so much Mary for showing us how to us the envelope thinlit. So pretty and I love the card !!
I love making a little discovery now and then, Lisa! Thanks for your comment.
Gorgeous card Mary, easy to make with the help of these beautiful papers.
Thank you for sharing the fab video, love it.
XO
Maria.
I appreciate your kindness and feedback on the video, Maria!
Oh my gosh, this is so quick and very pretty. Thank you for sharing this.
The envelope is as pretty as the card.
I think a coordinating envelope and card are a beautiful pairing!
I am in love with this beautiful DSP and how easy pretty cards are to make using your design today, Mary. Thanks for the video and how the different dies work on projects. Enjoy your day!
Your sweet comments are a delight, HJ.
Hi Mary, it’s Sandra-This card is absolutely gorgeous!
Thanks, Sandra. The card is easy . . . honestly, it’s the paper that’s gorgeous!
Wow! Thank you for sharing more marvelous tips for using this my favorite suite in the annual catalog!
and I adore your marvelous comment, Jennifer! it’s one of my favorite suites, too (especially the more I use it).
What a DROP DEAD GORGEOUS looking card my friend. AND the added bonus……OH SO QUICK & EASY. Many thanks for the tip using the liner die for this size envelope……WOW!!!
Definitely easy, Kadie. Could do a little collection in a snap!