
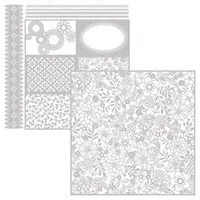
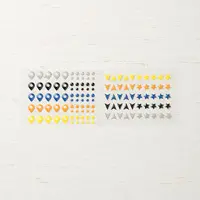
Stampin’ Up! Delightfully Detailed Laser-Cut Specialty Designer Series Paper offers quick die-cut WOW! to a card front. You can snip individual die-cut pieces for beautiful elements, too! Today’s card looks complicated but was simple due to the use of the laser-cut paper. However, my personal favorite detail may be the exclamation point on the sentiment assembled with the Best Route Enamel Shapes.

My Boris made taking today’s photos a bit of a challenge. He must have made a dozen passes over the card before I could shoot (and after I gave him a little love).
STAMPIN’ PRETTY STEP-BY-STEP TUTORIAL:
Create a 4 1/4 x 5 1/2 card base using the Stampin’ Up! Stampin’ Trimmer to cut and score.

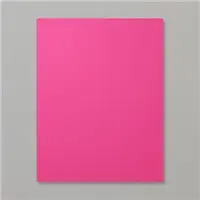
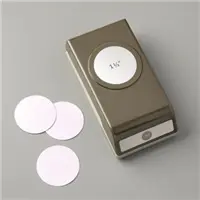
Cut a 3 1/2 x 5 pattern from Delightfully Detailed Laser-Cut Specialty Paper. Crop a Melon Mambo circle with the 1 1/2″ circle punch. Adhere the circle behind die cut as shown.

Adhere die cut pattern to a 3 3/4 x 5 1/2 piece of Basic Black card stock using lightly applied bits of Multipurpose Liquid Glue. Adhere Basic Black layer with Snail Adhesive to the card base.
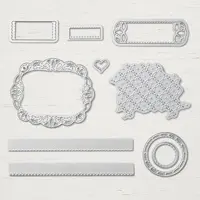
Crop the Basic Black stitched heart using the die from Stitched Labels Framelits Dies and the Big Shot Die Cutting Machine. Adhere to the center of the Melon Mambo circle with a Mini Stampin’ Dimensional.

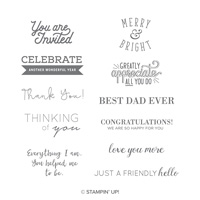
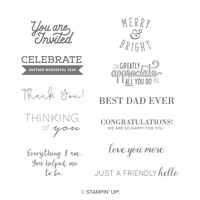
Stamp the “love” sentiment from Another Wonderful Year in Tuxedo Black Memento Ink on Whisper White card stock and trim to a 2 7/8 x 7/8 rectangle. Use the Basic Black “push pin” and dot (both are self-adhesive) from Best Route Enamel Shapes to create the exclamation point. Adhere sentiment to the card base with Stampin’ Dimensionals.

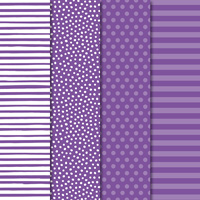
Crop a 5 1/4″ wide Melon Mambo stripe pattern from Stampin’ Up! Brights 6 x 6 Designer Series Paper using the envelope die in Beautiful Layers Thinlits Dies and the Big Shot. Adhere to the inside of a Stampin’ Up! Medium Whisper White Envelope with Multipurpose Liquid Glue.
Enjoy my FREE PDF Step-By-Step Tutorial (and supply list) for the Delightfully Detailed Card here.
I love hearing from you! Please leave me your questions or comments about the project for today.

If you enjoyed this post, please be sure to . . .
- Receive a FREE PDF tutorial when you subscribe to my daily blog updates here.
- Click for my Monthly Host Code and how you can earn up to a $50 shopping spree with my Tulip Rewards Loyalty Program.
- Check out the clearance rack and save up to 70%.
- Save 10% on coordinating product bundles!
- The $99 Starter Kit is the best deal of ALL! Discounts & benefits here.
- Visit my gallery for 1000+ paper crafting ideas.
- View my FREE PDF Project Tutorials.
- Follow me on Pinterest.
- Subscribe to my YouTube paper crafting video tutorials.


My project supply list. Click products to shop on-line!








Such an artfully composed layout and such a gorgeous color palette. Awesome job
Thanks so much, Robbye! I’m a fan of the crisp look of Melon Mambo and black!
Hi Mary! I have seen a couple cards made with this section of the paper and I didn’t like any of them, but I LOVE your card! Thanks for the inspiration! Now I know how how will use it!
How sweet of you to comment, Holly. I’m glad you were inspired!
I love everything about this card, Mary! THe color combo is striking, and you’ve really showcased this Specialty DSP beautifully! LOVE!
Thanks for your thoughts, Brian! I know you love when I work with Melon Mambo!
You never cease to WOW me with your creative eye. I agree with you about the cute exclamation accent. Great card, Mary.
I appreciate your confidence in me, Meg (exclamation point)!
Beautiful card, Mary. The design reminds me of a kaleidoscope. It makes a great card. Have a wonderful day!
I see what you mean . . . all those circles!
Now that is definitely a WOW kind of card.
Thanks so much, Kadie. I love your daily visits and kind comments!
I take it that’s when you are placing an order (July)! Thanks for stopping by Sandy.
Love it! July can’t get here fast enough.