
I have a simple and sweet matchbook gift card holder for you today using new products from the Stampin’ Up! Occasions Catalog. I shared a holiday version of this matchbook gift card holder previously here.
STAMPIN’ PRETTY TIPS:
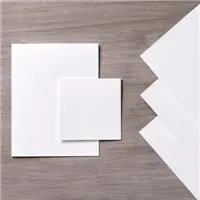
- I cropped Thick Whisper White Card Stock to 3 1/8″ x 8 5/8″. In my opinion, the thicker card stock makes for a stronger more substantial 3-D item.

- I scored the short distance of my cropped piece at 3 3/8″, 3 3/4″, and 7 3/4″.
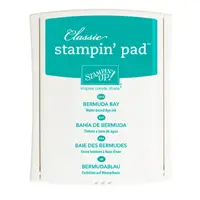
- A yummy piece of Bermuda Bay 1/8″ Stitched Ribbon keeps the base of the matchbook together.

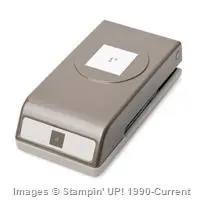
- To keep the ribbon in place, I popped in a couple small circles on the back with my Stampin’ Up! 1/8″ Circle Handheld Punch and threaded it through.

- Love this pretty presentation! A standard sized gift card tucks neatly inside.
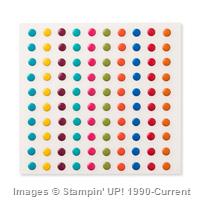
- Hover and Pin it! Here’s a photo showing key products for today’s card that you can save or pin to Pinterest. See ALL my product photos in one spot on my How to Make Simple Cards board on Pinterest.


- Enjoy the Little Things photopolymer stamp set was perfect for the square pattern (Stampin’ Up! 1″ Square Punch) and “wish” sentiment.
- Pin my Stampin’ Pretty Color Mix! Visit my Stampin’ Pretty Color Mix Board on Pinterest for more ideas.


WHAT’S MY FAVORITE WAY TO STORE PHOTOPOLYMER (CLEAR STAMPS)? Find out by watching my video.
promos, specials, & important updates
don’t forget your tulip rewards!

MY CUSTOMER EXCLUSIVE! Tulip Loyalty Rewards are my way of personally saying thank you to my frequent online shoppers. Earn a tulip for every $50 increment you spend on Stampin’ Up! products (purchased through me). Redeem tulips for a free stamp set (5 tulips) or bundle (10 tulips)!







This is why I LOVE following you! Your style is beautiful. So simple, when you break it down, but what an impact!
I loved reading your comment, Shawn! Thank you.
Thanks so much, Mary, for a great video on making the cutest matchbook cover. I love your design on the front and all the tips of how to make it very easy. Have a great day.
Thanks so much, HJ! That’s my goal. So glad it’s helpful!
I really like everything about this project – the colours, the way the ribbon is secured and just the neatness of the whole package. Beautiful.
You’re so sweet, Liz. Thank you!
This is so pretty and a great little project. TFS
Thank you so much, Sandie!
Oh MsMary, I like it a lot , love how you did the ribbon, great idea ,
And it’s so neat ,
Tfs
Hugs Frenchie
Oh, Frenchie. Do you have any idea how much you brighten my day?
Thank you for this video Mary, I hate having to struggle with peeling off the stamps from that sheet, ughhh!! the noise, arghh!!
And this card/match box is darling, love the colors and it’s a great way to give a gift card, much more beautiful than the ones the cards come with.
Mary
Thank you so much for putting the measurements. As a new person to this group, it really helps me.
I love the colors in this card.
Thank you
Hi Mary, I absolutely am crazy about the photopolymer stamps. In fact, I would not mind if all stamps were photopolymer. Thank you for your video on how to store them. It will certainly make life a little easier.
Hi Cathy: Thanks for your feedback on the storage for photopolymer/clear stamps. Everyone has strong personal preferences on rubber vs. clear. However, I’m with you. I wish photopolymer was offered for all our stamps. I would get it every time for the crisp coverage and easy placement.. M
This is fantastic! How did I overlook that stamp set? Can’t wait to see the video.
Oh, Marlene. Enjoy the Little Things is one of my favorite stamp sets (in part because it’s photopolymer). I love the fonts and interesting messages that you can mix and those sweet little patterns offer so many possibilities..
I just added it to my basket! Thanks for the inspiration.
Thank you, Kadie! That’s a huge compliment. I cropped 1″ in from each side with the handheld 1/8″ Circle Punch. Each spot was marked with an erasable pen first. Works like a champ.
I’m TOTALLY CASEing this project Mary. FABULOUS design for keeping the ribbon attached. THANKS for sharing.