
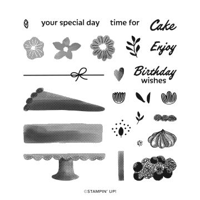
Today’s card was a stamp and ink “fest” using the Stampin’ Up! Cake Fancy stamp set. I had a ball stacking the colorful cake layers on the cake stand, adding the bow, sentiment and topping the cake with a trio of “lighted” candles.
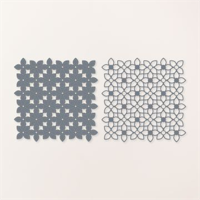
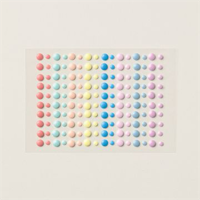
WHAT I LOVE! Rainbow Adhesive Dots were the perfect color coordinated accent for each flower (Petal Patterns Dies) and highlighting the stamped “bow.” The dots come in Flirty Flamingo, Pool Party, Petal Pink, Lemon Lolly, Azure Afternoon, Bubble Bath, Balmy Blue, and Fresh Freesia. Perfect for spring!
my simple card tutorial
CUT YOUR CARD STOCK – DIMENSIONS:
- Basic White Thick Card Stock:
- Card Base – 4 1/4 x 11, scored at 5 1/2
- Basic White Card Stock:
- Stamped Layer – 2 3/4 x 5 1/8
- Die-Cut Stitched Petals – 5 1/2 x 5 1/2 (before die-cutting)
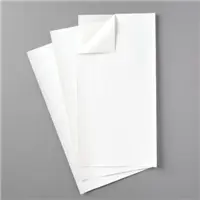
- Die-Cut Petal Outline – 5 1/2 x 5 1/2 (adhered to an Adhesive Sheet & before die-cutting)
- Subtles 6 x 6 Designer Series Paper
- Envelope Flap – 5 3/4 x 2 1/4

PROJECT TUTORIAL:
Begin by burnishing the fold of the Basic White Thick card base with a Bone Folder.
Use a Stampin’ Cut & Emboss Machine (Standard) to crop the two Basic White layers with the Petal Patterns dies.
Remove the Adhesive Sheet backing from the outlined die-cut and adhere to the stitched die-cut.
Trim to 4 3/4 wide and adhere to the card base as shown with Mini Stampin’ Dimensionals.

Use Clear Blocks to stamp the images and sentiment (Cake Fancy Stamp Set) onto the Basic White layer as follows:
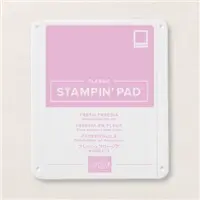
- Fresh Freesia – Candle flames, bottom cake layer
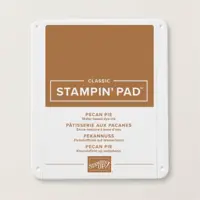
- Pecan Pie – Candles, sentiment, bow, and stand
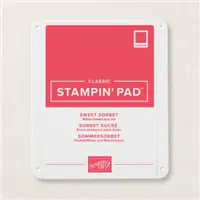
- Sweet Sorbet – Top cake layer
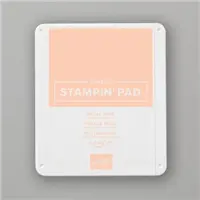
- Petal Pink -Middle cake layer
Adhere the stamped cake layer to the die-cuts with Multipurpose Liquid Glue.

POP OF PERSONALITY! Embellish the petal centers with alternating Petal Pink and Fresh Freesia Rainbow Adhesive-Backed Dots.
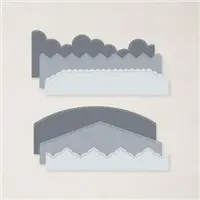
PERFECT POLISH! Adhere the 5 3/4 x 2 1/4 Designer Series Paper (DSP) to the Basic White Medium envelope flap with Multipurpose Liquid Glue. IMPORTANT: Add glue to the flap first, not the DSP. Center and line up the Basic Borders curved edge die, tape to secure (Post-It Tape) and crop with a Stampin’ Cut & Emboss Machine (Standard).
stampin’ up! product spotlight!


oh, so pretty card idea!


OH, SO PRETTY! The card above also showcases the Cake Fancy Stamp Set by Stampin’ Up! You can see the original blog post, with tips, tricks and project tutorial here.
promos, specials, & important updates
don’t forget your tulip rewards!

MY CUSTOMER EXCLUSIVE! Tulip Loyalty Rewards are my way of personally saying thank you to my frequent online shoppers. Earn a tulip for every $50 increment you spend on Stampin’ Up! products (purchased through me). Redeem tulips for a free stamp set (5 tulips) or bundle (10 tulips)!









These layers and colors are delicious! Such a sweet card, Mary!
That is so pretty!