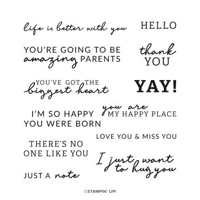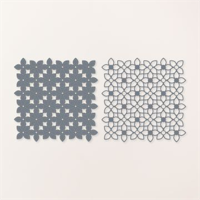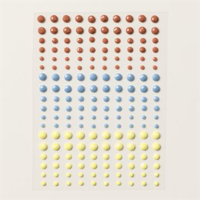
Check out how beautifully the die cut floral patterns of the Stampin’ Up! Petal Patterns Dies pair with each other. Then, think of all the color possibilities! I used Boho Blue for the solid floral die cut and Lemon Lolly for the detailed floral die cut. I discovered the large Copper Clay Adhesive Backed gems fit neatly into the open flower centers for a quick and easy pop of texture and shine. Boho blue, Lemon Lolly and Copper Clay combine for a really retro color combination.
Petal Patterns Card – lots of color possibilities!
STAMPIN’ PRETTY TIP. The actual size of the Petal Patterns die cuts is (4 7/8 x 4 7/8), larger than my card. However, after adhering the two together, I performed a little “surgery” to make them fit. I used my Stampin’ Trimmer to trim out a section and covered the seam with the sentiment. No one will ever know!

WOW! Video: Crop an Envelope Flap with Basic Border Dies!
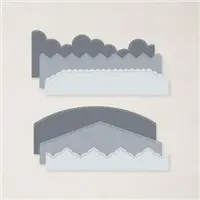
Yes, it’s a 1 Minute to WOW! Video from me! This quick video offers the perfect “shot” of creativity and technique for using the Stampin’ Up! Basic Borders Dies to create beautiful, coordinated envelope flaps (my latest obsession). I think it’s the “perfect pairing” of the envelope and card inside!
my simple card tutorial: petal patterns card
CUT YOUR CARD STOCK – DIMENSIONS:
- Boho Blue Card Stock:
- Card Base – 5 1/2 x 8 1/2, scored at 4 1/4 (top)
- Die-cut Solid Pattern – 5 1/4 x 5 1/4 (before die-cutting)
- Very Vanilla Card Stock:
- Layer – 5 1/4 x 4
- Sentiment Strip – 5 1/4 x 7/8
- Lemon Lolly Card Stock:
- Die-cut Lined Pattern – 5 1/4 x 5 1/4 (before die-cutting)
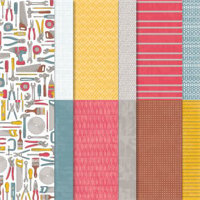
- Trusty Toolbox 12 x 12 Designer Series Paper
- Envelope Flap – 5 3/4 x 2 1/4

PROJECT TUTORIAL:
Begin by burnishing the fold of the Boho Blue card base with a Bone Folder.
Adhere the Very Vanilla layer to the card base with Multipurpose Liquid Glue.
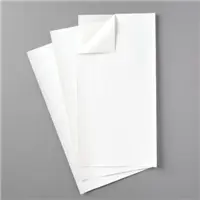
Adhere an Adhesive Sheet to the Lemon Lolly layer.
Use a Stampin’ Cut & Emboss Machine (Standard) to crop the Boho Blue and Lemon Lolly layers with the Petal Patterns dies.
Remove the Adhesive Sheet backing from the lined die-cut and adhere to the solid die-cut.
Use a Stampin’ Trimmer to trim out a section of the die-cut leaving the remaining sections as shown.
Adhere to the card base as shown with Mini Stampin’ Dimensionals.

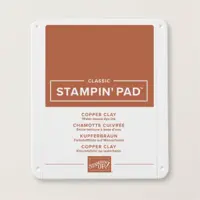
Use a Clear Block H to stamp the sentiment (Happy Labels Stamp Set) in Copper Clay Classic Ink onto the Very Vanilla layer.
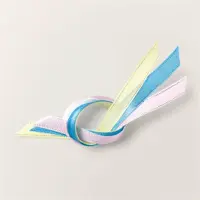
Wrap with Lemon Lolly 3/8″ Sheer Ribbon Combo Pack, securing with a bow.
Adhere the sentiment to the card, covering the seam of the die-cuts, with Stampin’ Dimensionals.

POP OF PERSONALITY! Embellish the open circle petal centers with the larger Copper Clay Adhesive-Backed Solid Gems.
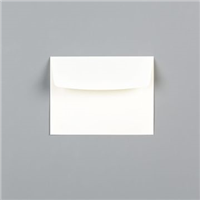
PERFECT POLISH! Adhere the 5 3/4 x 2 1/4 Designer Series Paper (DSP) to the Basic White Medium envelope flap with Multipurpose Liquid Glue. IMPORTANT: Add glue to the flap first, not the DSP. Center and line up the Basic Borders curved edge die, tape to secure (Post-It Tape) and crop with a Stampin’ Cut & Emboss Machine (Standard).
stampin’ up! product spotlight!


oh, so pretty card idea!


OH, SO PRETTY! The card above also showcases the Trusty Toolbox 12 x 12 Designer Series Paper that can be earned FREE with a $50 Purchase! (ENDS FEB. 29). You can see the original blog post, with tips, tricks and project tutorial here.
promos, specials, & important updates
don’t forget your tulip rewards!

MY CUSTOMER EXCLUSIVE! Tulip Loyalty Rewards are my way of personally saying thank you to my frequent online shoppers. Earn a tulip for every $50 increment you spend on Stampin’ Up! products (purchased through me). Redeem tulips for a free stamp set (5 tulips) or bundle (10 tulips)!


