
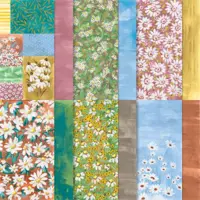
I simply can’t get enough of the Stampin’ Up! Fresh as a Daisy Designer Series Paper used on today’s thank you card. The patterns and colors bring so much vibrancy and summery style.
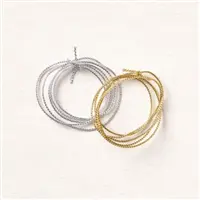
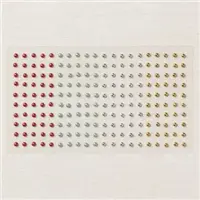
WHAT I LOVE! I’m “nutso” about adhesive dots. If you follow my blog, you’ll know that I use them on most cards and typically as a single or trio of dots. The gold Festive Pearls on today’s card are the perfect touch of “glam” and coordinate with the richness and tone of the gold Simply Elegant Trim.

my simple card tutorial
CUT YOUR CARD STOCK – DIMENSIONS:
- Basic White Thick Card Stock:
- Card Base – 5 1/2 x 8 1/2 – scored at 4 1/4
- Basic White Card Stock:
- Stamped/Die-Cut Sentiment – 2 3/4 x 1 1/2 (before die-cutting)
- Fresh as a Daisy Designer Series Paper:
- Layer (Pretty Peacock) – 4 x 4 (before cutting)
- Layer (Daisy) – 4 1/2 x 3
- Die-Cut Layer (Copper Clay) – 3 1/4 x 2 (before die-cutting/cutting)
- Envelope Flap – 5 3/4 x 2 1/4

PROJECT TUTORIAL:.
Burnish the folds of the Basic White Thick card base with a Bone Folder.
Use a Paper Trimmer to cut the left and right panels of the 4 x 4 Designer Series Paper (Pretty Peacock) piece of to 1 1/4. The remaining panel will be 1 1/2.
Adhere all three panels to the card base as shown with Multipurpose Liquid Glue.
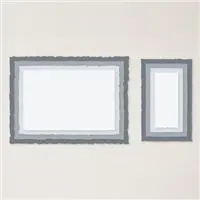
Use a Stampin’ Cut & Emboss Machine (Standard or Mini) to crop the Designer Series Paper (Copper Clay)piece with the 2nd smallest Deckled Rectangle die.
Use Paper Snips to cut the Copper Clay die-cut in half.
Adhere to the back side of the Daisy Designer Series Paper with Multipurpose Liquid Glue.
Adhere to the card with Stampin’ Dimensionals.

Adhere a piece of gold Simply Elegant Trim looped as shown to a Mini Glue Dot.
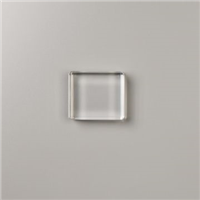
Use a Clear Block C to stamp the sentiment (Artistically Inked) in Pretty Peacock Classic Ink onto the Basic White card stock.
Crop with a Stampin’ Cut & Emboss Machine (Standard or Mini) and the smallest Deckled Rectangle die.
Adhere as shown with Stampin’ Dimensionals.
POP OF PERSONALITY! Embellish with gold Festive Pearls.
PERFECT POLISH! Use Multipurpose Liquid Glue to adhere the Designer Series Paper to the outside flap of a Basic White Medium Envelope. You can see my video demonstration with tips on adding designer paper to an envelope flap here.
stampin’ up! product spotlight!


oh, so pretty card idea!


OH, SO PRETTY! The card above also uses the Fresh as a Daisy Designer Series Paper from the Stampin’ Up! 2023-2024 Annual Catalog! You can see the original blog post and project tutorial for this card here.
promos, specials, & important updates
don’t forget your tulip rewards!

MY CUSTOMER EXCLUSIVE! Tulip Loyalty Rewards are my way of personally saying thank you to my frequent online shoppers. Earn a tulip for every $50 increment you spend on Stampin’ Up! products (purchased through me). Redeem tulips for a free stamp set (5 tulips) or bundle (10 tulips)!










Totally love these cards! Thanks for sharing.
Very pretty card, Mary. I like the different DSPs used together. Enjoy your day!