
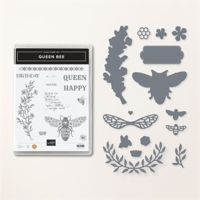
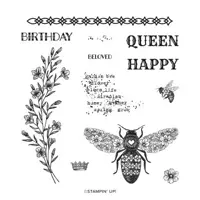
There is so much “buzz” about the Stampin’ Up! Queen Bee bundle. It’s a little bit vintage, a little bit modern and a whole LOT of fun! Today’s fancy fold happy card uses oodles of the Queen Bee bundle products.
AVAILABILITY UPDATE! The Queen Bee Bundle is currently unavailable and cannot be added to an order. It is expected to be back in stock the week of March 13! You can check inventory status on all products via this link here.
WHAT I LOVE! Check out the coordinating vellum wings created with the Queen Bee die. Looks like she’s going to take off!
my simple card tutorial
CUT YOUR CARD STOCK – DIMENSIONS:
- Very Vanilla Thick Card Stock:
- Card Base –9 1/4 x 4 1/4, scored at 3 3/4
- Very Vanilla Card Stock:
- Stamped & Die-Cut Layers – 4 1/4 x 5 1/2 (before die-cutting)
- Stamped Layer – 3 x 3 1/2
- Vellum Card Stock:
- Layer – 3 1/4 x 3 3/4
- Die-Cuts (stem & wings) – 3 1/4 x 2
- Crumb Cake Card Stock:
- Layer – 3 1/2 x 4
- Die-Cut (stem) – 1 x 1
- Smoky Slate Card Stock:
- Die-Cut (stem) – 1 x 1
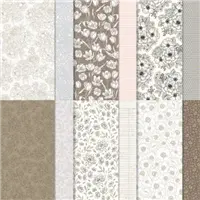
- Abigail Rose Designer Series Paper:
- Card Interior – 5 1/ 4 x 4
- Envelope Flap – 5 3/4 x 2 1/4

PROJECT TUTORIAL:
Begin by burnishing the fold of the card base with a Bone Folder.
Adhere the Abigail Rose DSP to the inside of the card base with Stampin’ Seal.
Layer and adhere the Vellum and Crumb Cake layers together and to the card as shown with Stampin’ Seal.
Wrap the entire card with burlap ribbon (Real Red & Burlap Ribbon Combo Pack) and secure with a bow.
Use a clear block to stamp the larger background texture stamp twice as shown onto the Very Vanilla layer with Crumb Cake Classic Ink .
Adhere over ribbon with Stampin’ Dimensionals.

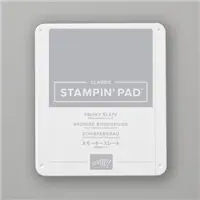
Use a Stamparatus to stamp the sentiment and the bee in Smoky Slate Classic Ink onto the Very Vanilla layer.
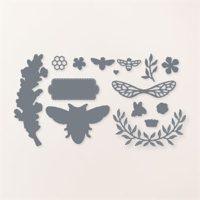
Crop with a Stampin’ Cut & Emboss Machine (Standard or Mini) and the coordinating Queen Bee dies.
Adhere to the card as shown with Stampin’ Dimensionals.
Use a Stampin’ Cut & Emboss Machine (Standard or Mini) to crop the following with the Queen Bee dies:
- Smoky Slate – Stem
- Vellum – Stem and Wings
- Crumb Cake – Honeycomb
Adhere all die-cuts as shown with Mini Glue Dots.
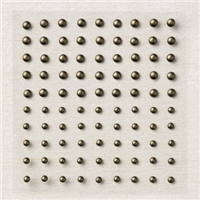
POP OF PERSONALITY! Embellish with three Rustic Metallic Adhesive-Backed Dots!
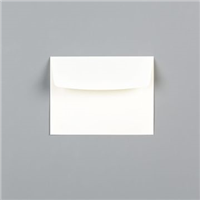
PERFECT POLISH! Use Multipurpose Liquid Glue to adhere the Designer Series Paper to the outside flap of a Very Vanilla Medium Envelope. You can see my video demonstration with tips on adding designer paper to an envelope flap here.
OH, SO PRETTY!


OH, SO PRETTY! A similar style fun fold card, only this one holds a gift card inside! You can see the original blog post and project tutorial here.
stampin’ up! product spotlight!


promos, specials, & important updates
don’t forget your tulip rewards!

MY CUSTOMER EXCLUSIVE! Tulip Loyalty Rewards are my way of personally saying thank you to my frequent online shoppers. Earn a tulip for every $50 increment you spend on Stampin’ Up! products (purchased through me). Redeem tulips for a free stamp set (5 tulips) or bundle (10 tulips)!











Absolutely gorgeous! I love that you paired this beautiful bee with the Abigail Rose Paper – such a perfect combination!
Beautiful card, Mary. I love the design, use of vellum and color combination. Enjoy your day!