Hello! Welcome to the Stampin’ Pretty Pals’ Blog Hop! This month our Design Team created “Birthday Bonanza” projects to inspire you to make birthday cards for all of your family and friends. Enjoy and don’t forget to leave comments because we love hearing from you! At the end of my post, you will find the full blog hop line-up to help you “hop” along from Pal to Pal.
 IT’S YOUR DAY! A fun-fold birthday card featuring the Dandy Garden Suite Collection from the Stampin’ Up! 2021 January – June Mini Catalog!

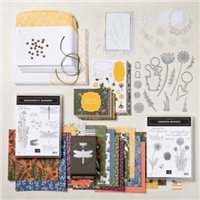
Dandy Garden Suite Collection
Enjoy garden serenity any time with the Dandy Garden Suite Collection. Images include butterflies, dragonflies, ladybugs, foliage, and more. Immerse yourself in nature and let it inspire you.
The Dandy Garden Suite Collection includes:
* Garden Wishes Cling Stamp Set
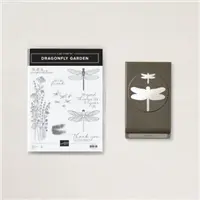
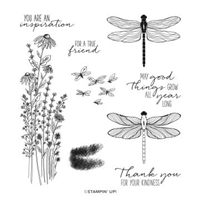
* Dragonfly Garden Cling Stamp Set
* Dandy Wishes Dies
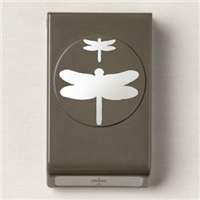
* Dragonflies Punch
* Dandy Laser-Cut Paper
* Dandy Garden Memories & More Card Pack
* Dandy Garden Memories & More Cards & Envelopes
* Ladybug Trinkets
* Mossy Meadow 3/16″ Braided Linen Trim
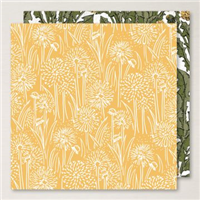
* Dandy Garden 6″ x 6″ Designer Series Paper
COORDINATING STAMPIN’ UP! COLORS: Blackberry Bliss, Bumble Bee, Calypso Coral, Misty Moonlight, Mossy Meadow

STAMPIN’ PRETTY STEP-BY-STEP TUTORIAL:
Begin with a 4 1/4 x 7 3/4 piece of Misty Moonlight card stock. Score at 2 1/4.
Layer and adhere a 1 3/4 x 3 3/4 and a 2 x 4 piece of Dandy Garden 6 x 6 Designer Series Paper together and to the card flap with Stampin’ Seal.
Layer and adhere a 1 1/2 x 3 3/4 and a 1 3/4 x 4 piece of Dandy Garden 6 x 6 Designer Series Paper to a 2 x 4 1/4 piece of Misty Moonlight card stock with Stampin’ Seal.
 Use the Stamparatus to position and stamp the floral image (Dragonfly Garden Stamp Set) in Tuxedo Black Memento Ink onto a 1 7/8 x 4 1/2 piece of Basic White card stock.
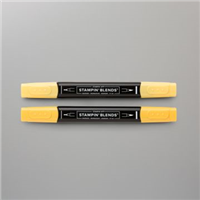
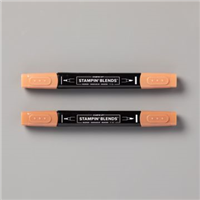
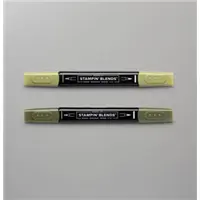
Color with the following Stampin’ Blends Combo Packs: Daffodil Delight, Cinnamon Cider, and Mossy Meadow.
Adhere to a 2 1/8 x 4 3/4 piece of Misty Moonlight card stock with Stampin’ Seal.
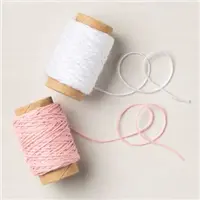
Wrap with a piece of White Baker’s Twine, securing with a bow.
Adhere to the two pieces as shown with Stampin’ Dimensionals.

LOVE THIS! Crop the dragonfly from the Dandy Garden 6×6 Designer Series Paper with the coordinating Dragonflies Punch.
Adhere with Stampin’ Dimensionals.
Layer and adhere a 3 3/4 x 5 piece of Basic White card stock to a 4 x 5 1/4 piece of Dandy Garden Designer Series paper together and to the inside of the card as shown with Stampin’ Seal.

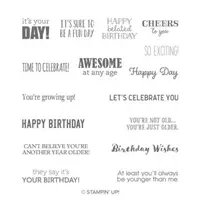
Use a Stamparatus to position and stamp the sentiment (Itty Bitty Birthdays) in Tuxedo Black Memento Ink onto the inside of the card as shown. Make sure it peeks through when the card is closed.
PERFECT POLISH! Use Multipurpose Liquid Glue to adhere a 2 1/4 x 5 3/4 piece of Coordinating Designer Series Paper to the outside flap of a Basic White Medium Envelope. Trim to size with Paper Snips. 
More inspiration awaits! Use the Blog Hop Line-up below to visit the rest of this month’s Design Team. My fellow Pals are excited to show you what they’ve created!
Mark your calendars for our next blog hop on March 10th when our theme will be “Cute Critters” where the design team will be sharing projects that will feature critters of all sorts to inspire you. Don’t miss the fun! Until then, please stay safe and have fun in your craft room.
Stampin’ Pretty Pals Blog Hop Line-Up:
- Mary Fish at Stampin’ Pretty
- Melissa Seplowitz at The Stamping Ninja
- Peggy Noe at Pretty Paper Cards
- Lori Pinto at LollyPop Paper and Ink
- Rosanne Mulhern at Heartfelt Stamping
- Renae Novak at Blessed By Cards w/Renae Novak
- Su Mohr at Aromas And Art
- Windy Ellard at Windy’s Wonderful Creations
- Deb Walker at Deb Stamps Life
- Stesha Bloodhart at Stampin’ Hoot!
- Tricia Chuba at ButterDish Designs
- Beth McCullough at Stamping Mom
- Jeanie Stark at Just Stampin’
- Rae Harper Burnet at Wild West Paper Arts
- Debbie Mageed at Secrets to Stamping
- Ann Murray at Murray Stamps INK
- Jackie Beers at Blue Line Stamping
- Jennifer Roque at Stamp Camp with Jen
- Pamela Sadler at Stampin Pink Rose
- Sara Stuart at Sentiments by Sara
- Lisa Milligan at Stamping Made Simple
- Leah O’Brien at Honey Bee Stamping & More!
- Sue Jackson at Just Peachy Stamping
- Debbie Crowley at expressively deb…
- Karen Hallam at Karen’s Stamping Habit
- Lisa Ann Bernard at Queen B Creations
- Mary Hanson at Up North Stampin’
- Lori Webb at Clever Copies
- Lynn Kolcun at Avery’s Owlery
Mary






I just made this card and it turned out so cute. Thank you for the wonderful instructions!
Great fold! I love this card and the stamp set.
I just love this fun card, and the way the Misty Moonlight gives a softer look to these darling bees!
H Mary! Love this card so much making it this morning. I have never done one like this before.
I did run into a snag with the dimensions you listed for the stamped imagine and misty CS that surrounds it. The misty width dimension is smaller then the stamped imagine. Otherwise these were great instructions.
Definitely Dandy! Love it Mary.
Wow, so beautiful Mary. I love the colors and the layers!
What a great fun fold! Thanks, Mary!
Only thing I would do different would be to start with a 10″ x 4 1/4″ piece for the card base, score at 2 1/4″ from BOTH ends and then just attach the floral piece to the top flap. Love the papers you used.
Love all the panels and layers!
Totally love this card. It’s so pretty and fresh!
And thank you for the tutorial.
Love it, Mary! It’s like summer on a card!
Beautiful work here! A pleasure to see how you put your own stamp on Birthday Bonanza!
I love this paper and the fun fold. Thanks for the tutorial. Enjoy your day!
Beautiful card Mary. This is HANDS DOWN…….One of my favorite card designs.
Beautiful and soft fun fold. This is definitely on my list to try.
Beautiful combination, Mary!
This card is beautiful! Can’t wait to try this fold.
Anyone would love to receive this card. It is so pretty and the fold is a favorite of mine.