
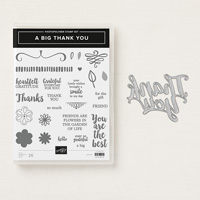
Today’s card sends a bold thank you message. I love how the die cut Thank You layers over the vellum oval and appears to be floating. Good placement of Mini Stampin’ Dimensionals below are the secret! I’ll share the details on the square “Just a Note” card that uses the “negative” space from one of the stems on Thursday’s post.

Get them now as a bundle and save 10%! The A Big Thank You Stamp Set and Thank You Dies will carry over and be available individually in the new 2019-2020 Annual Catalog (starts June 4). However, they will no longer be offered as a 10% off bundle. See all current bundles (includes retiring and carry over bundles) here.
STAMPIN’ PRETTY STEP-BY-STEP TUTORIAL:
Start with a 5 1/2 x 4 1/4 card base of Granny Apple Green card stock.
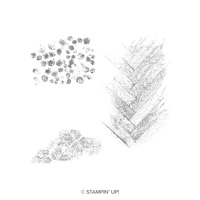
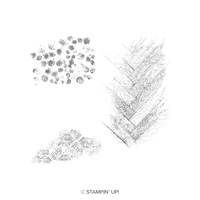
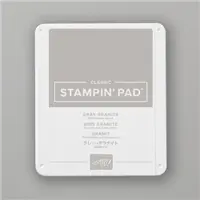
Use the Gallery Grunge Stamp to stamp a 5 1/4 x 4 piece of Whisper White card stock in stamped-off Gray Granite Ink. Adhere with Snail Adhesive.

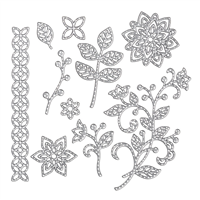
Use a die-cutting machine to crop the leaves (Flourish Dies) from Granny Apple Green card stock. Adhere to the card as shown with Snail Adhesive or Glue Dots.
Use a die-cutting machine to crop a piece of Vellum card stock with the largest Layering Ovals Die and a piece of Basic Black card stock with the Thank You Die. Adhere the “Thank You” to the vellum oval with bits of Snail Adhesive. Adhere the vellum oval to the card base with Mini Stampin’ Dimensionals that have been cut in half and hidden behind the widest part of the “Thank You” die cut.

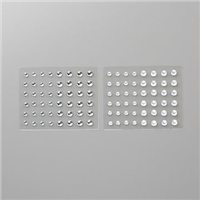
A Pop of Personality! Add five self-adhesive Clear Epoxy Droplets as shown.
I love hearing from you! Please leave me your questions or comments about the project for today.

If you enjoyed this post, please be sure to . . .
- Receive a FREE PDF tutorial when you subscribe to my daily blog updates here.
- Click for my Monthly Host Code and how you can earn up to a $50 shopping spree with my Tulip Rewards Loyalty Program.
- Check out the clearance rack and save up to 70%.
- Save 10% on coordinating product bundles!
- The $99 Starter Kit is the best deal of ALL! Discounts & benefits here.
- Visit my gallery for 1000+ paper crafting ideas.
- View my FREE PDF Project Tutorials.
- Follow me on Pinterest.
- Subscribe to my YouTube paper crafting video tutorials.


My project supply list. Click products to shop on-line!










Mary, what a lovely bright, crisp and eye catching Thank You card. I will be looking for your tips (always helpful) tomorrow. Beautiful, clean work.
Another beautiful card, Mary! I love the green and black.
I love these.
Great goodness! I love this combination of green and black. Such a fun way to use the leftovers for a sweet second card. ♥
These cards are really pretty. Those green, black, and white colors go together so beautifully.
Pretty cards, Mary. I love the diecut “Thank You” over the vellum and the color combo for both. Black is really on trend, isn’t it? And you do it so well. Have a great day!
Seriously pretty card my friend. LOVE the addition of the Gallery Grunge single stamped image behind your vellum circle piece. BRILLIANT for an added look of texture.
Great cards, Mary. I like that the colors strongly represent Spring and one can never have too many “thank you” and “note” cards around. TFS.