
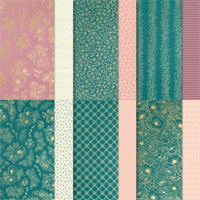
My husband, Scott, and I recently celebrated our 35th anniversary and this is the Happy Anniversary card I created for him. I think the Moody Mauve stripe (Forever Love Designer Series Paper) is classic and looks decidedly masculine with the Early Espresso card base and ink on the stamped sentiment.

wow video: divide & conquer jute for card making
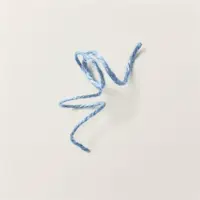
STAMPIN’ PRETTY TIP. I found the Moody Mauve Twine a bit bulky to tie for a card front. However, if you twist it, you’ll see it separates into three strands. I used two of those strands to create the individual bows. This creates a very soft, textured and color coordinated effect behind the sentiment. Love the waviness! Watch my quick WOW! video below for a demonstration.
my simple card tutorial: anniversary card
CUT YOUR CARD STOCK – DIMENSIONS:
- Early Espresso Card Stock:
- Card Base – 5 1/2 x 8 1/2, scored at 4 1/4 (top)
- Very Vanilla Card Stock:
- Layer – 5 1/4 x 4
- Sentiment Strip – 5 x 1
- Vellum Card Stock:
- Layer – 5 1/4 x 1 3/8
- Forever Love Specialty 12 x 12 Designer Series Paper
- Layer – 5 x 3 3/4
- Envelope Flap – 5 3/4 x 2 1/4

PROJECT TUTORIAL:
Begin by burnishing the fold of the Early Espresso card base with a Bone Folder.
Adhere the Forever Love Designer Series Paper to the Very Vanilla layer together with Multipurpose Liquid Glue and to the card base with Stampin’ Dimensionals.
Adhere the Vellum strip as shown with Stampin’ Seal.

Use your fingers to divide the Moody Mauve 2023-2025 In Color Jute Trim into three separate strands. Watch my Stampin’ Pretty WOW Video here.
Tie two of the three strands into a loose bow as shown.
Tie a piece of Linen Thread into a bow as shown.
Adhere both bows as shown with Mini Glue Dots.
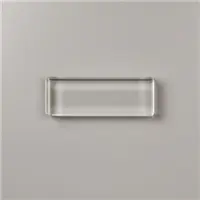
Use a Clear Block H to stamp the sentiment (Sweetly Scripted Stamp Set) in Early Espresso Classic Ink onto the Very Vanilla layer.
Adhere the sentiment to the card as shown with strategically placed Stampin’ Dimensionals.

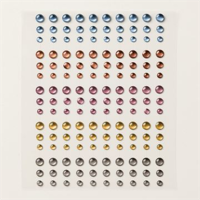
POP OF PERSONALITY! Embellish with Moody Mauve 2023-2025 In Color Dots.
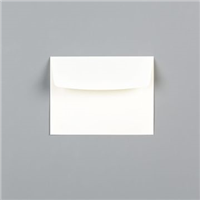
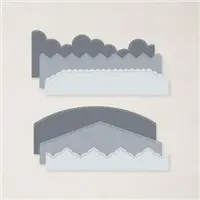
PERFECT POLISH! Adhere the 5 3/4 x 2 1/4 Designer Series Paper (DSP) to the Very Vanilla Medium envelope flap with Multipurpose Liquid Glue. IMPORTANT: Add glue to the flap first, not the DSP. Center and line up the Basic Borders angle edge die, tape to secure (Post-It Tape) and crop with a Stampin’ Cut & Emboss Machine (Standard). Watch my Stampin’ Pretty WOW Video here.
stampin’ up! product spotlight!


promos, specials, & important updates
don’t forget your tulip rewards!

MY CUSTOMER EXCLUSIVE! Tulip Loyalty Rewards are my way of personally saying thank you to my frequent online shoppers. Earn a tulip for every $50 increment you spend on Stampin’ Up! products (purchased through me). Redeem tulips for a free stamp set (5 tulips) or bundle (10 tulips)!
my project supply list – click products to shop online!
Price: $16.50






I adore everything about this card–the linen threads, the layering the colour, the script. I love your creativity Mary!
Now, Mary, you just used all kinds of products I haven’t even looked at. How could you? 😉
I’m sure Scott loved this beautiful card, Mary. Thanks for showcasing the lovely sentiment stamp set with the wonderful font. Love it! Enjoy your day!